Kitchen Update – Making Progress!

Over the winter and spring Jordan has made a lot of progress on our kitchen! I am so excited about it. The kitchen has long been one of the most unfinished spaces in our house, and its exciting to see it getting a face lift!

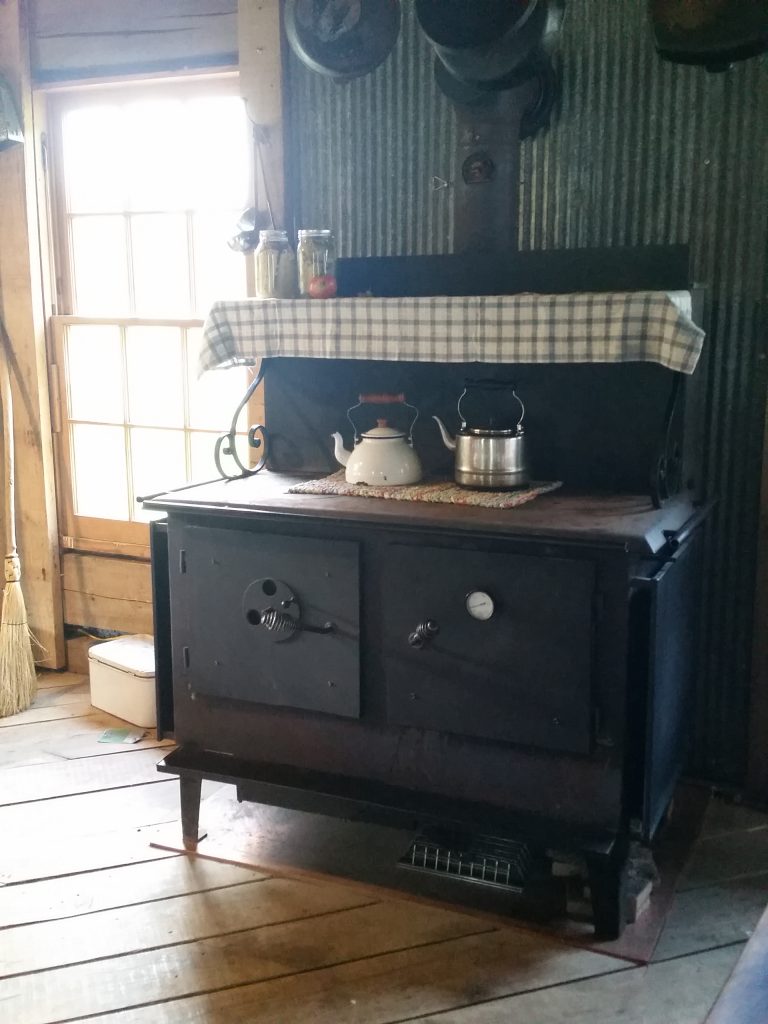
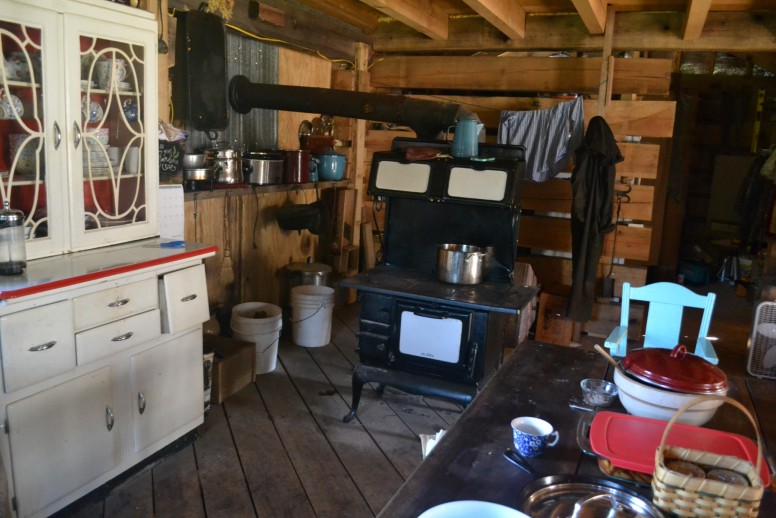
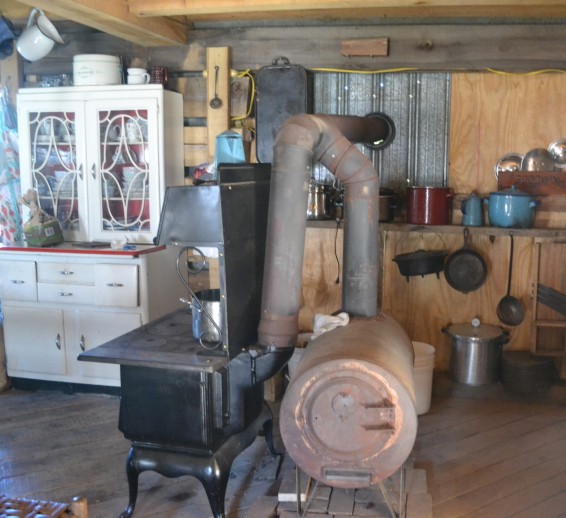
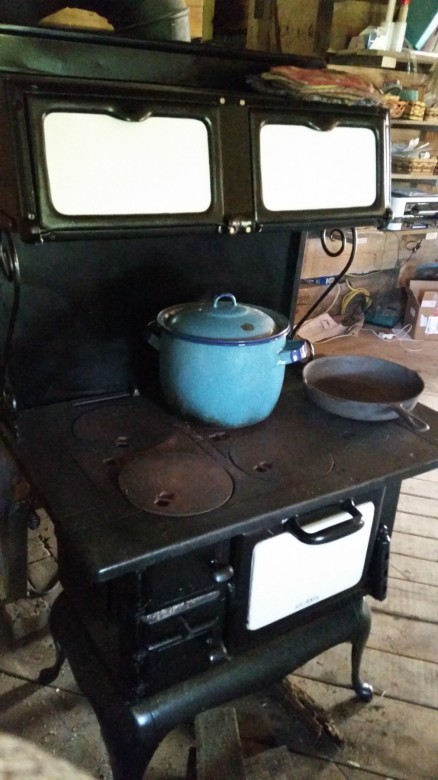
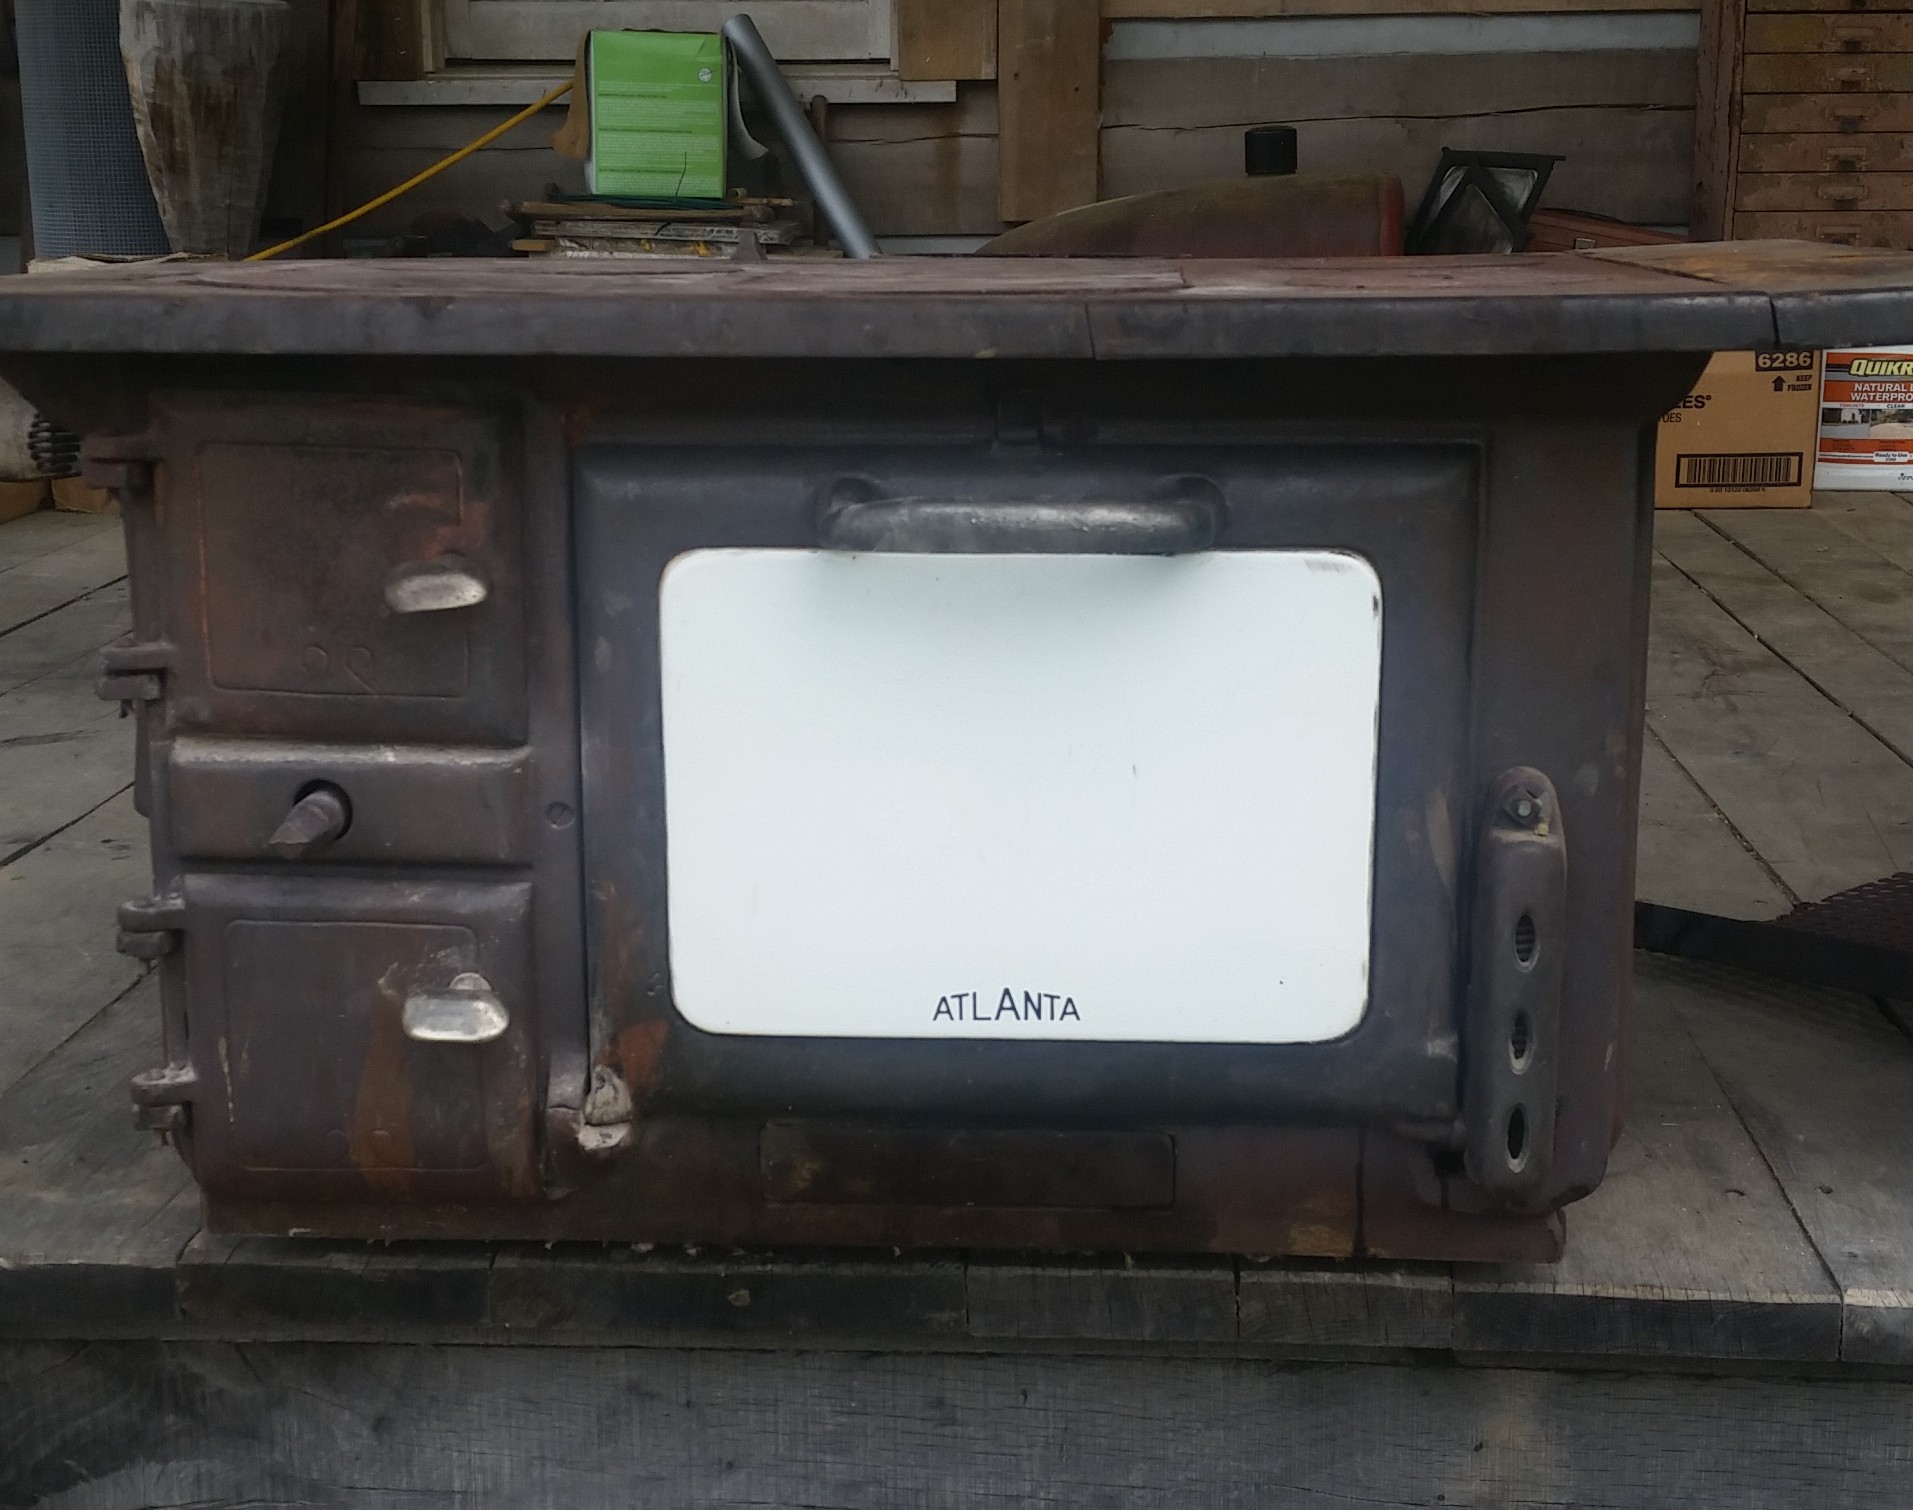
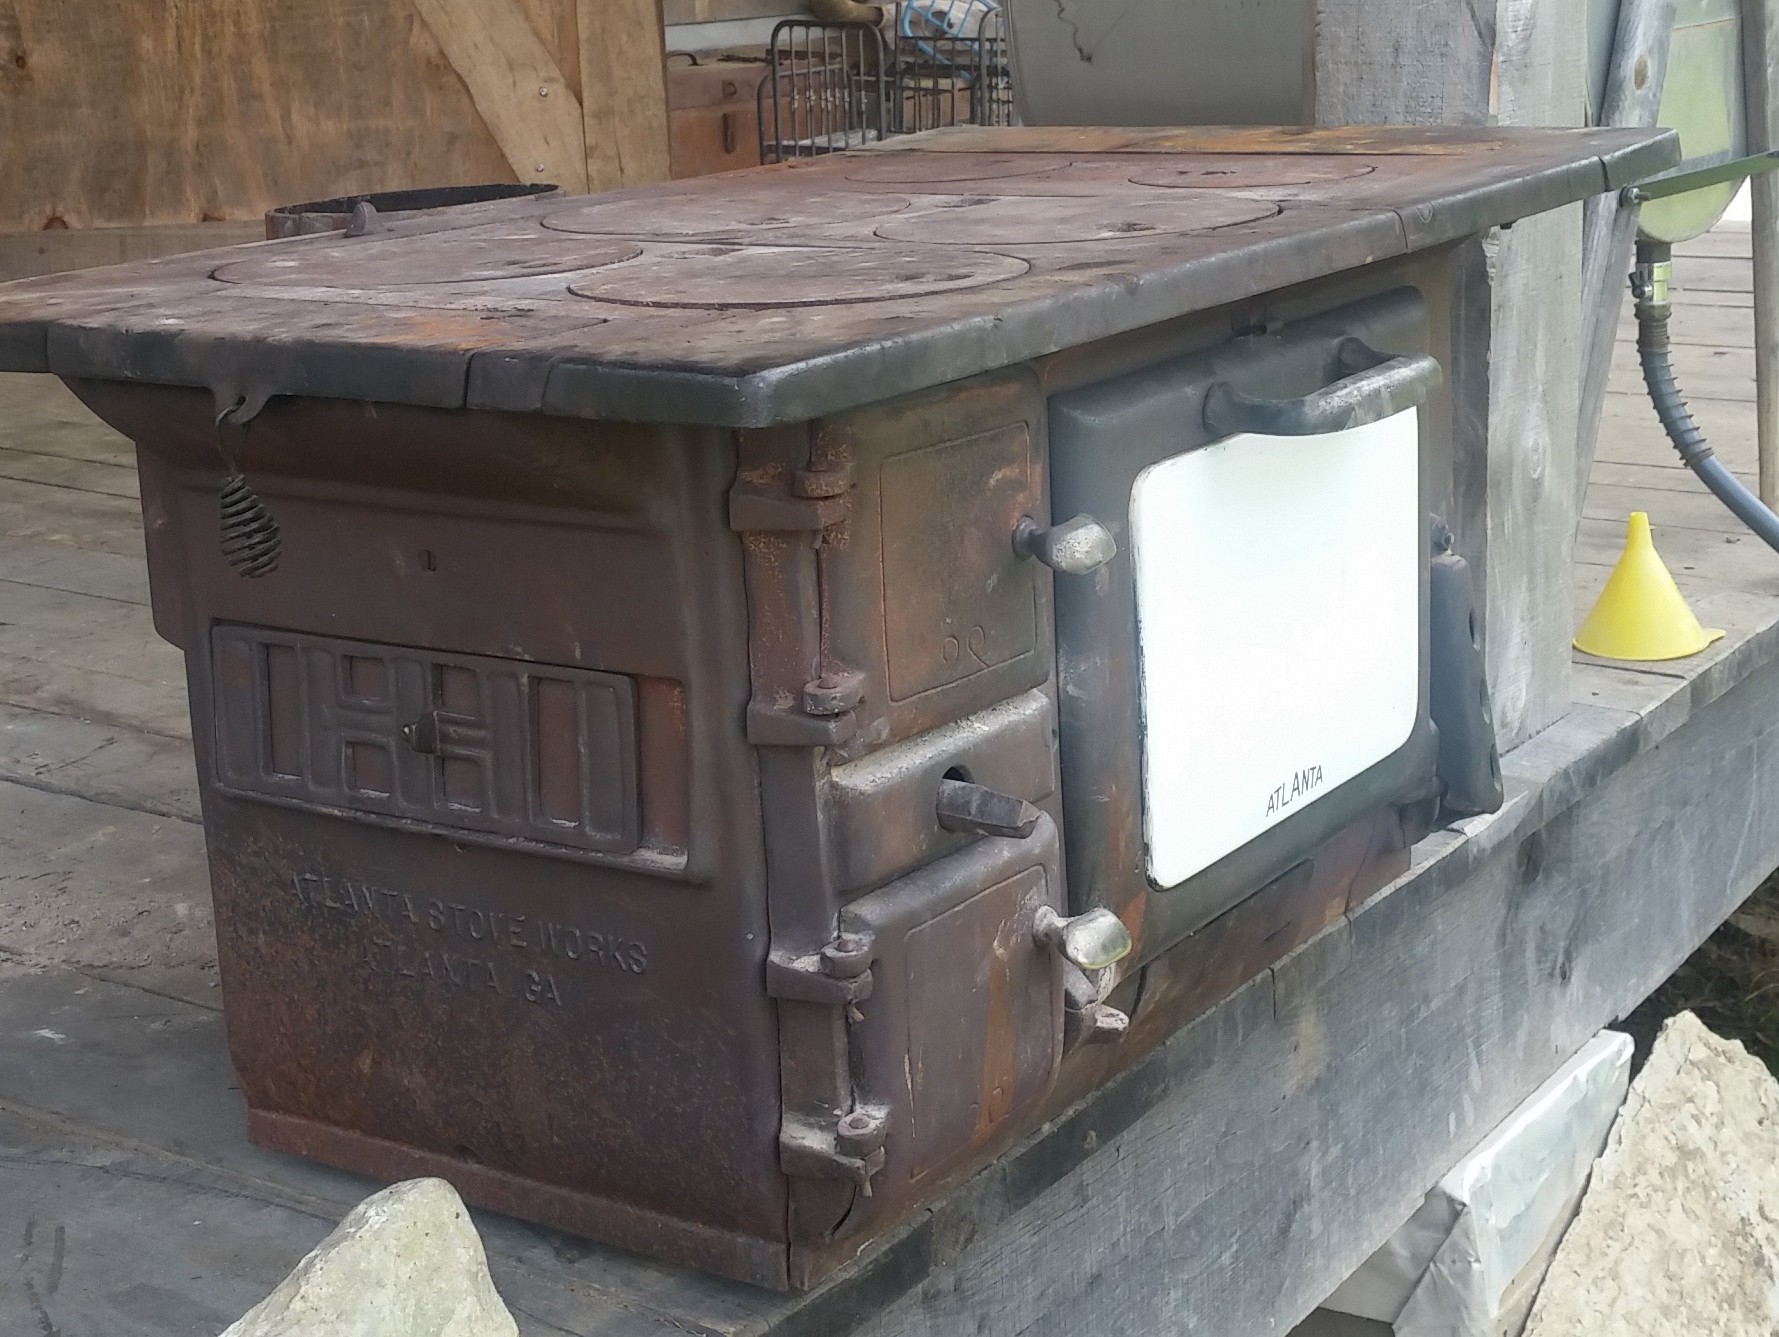
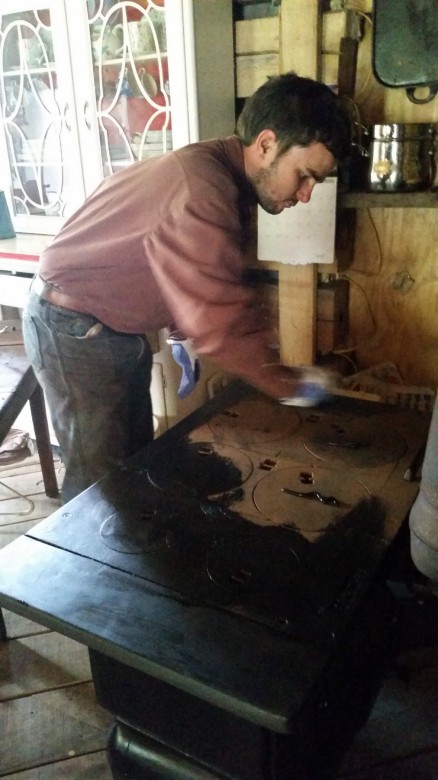
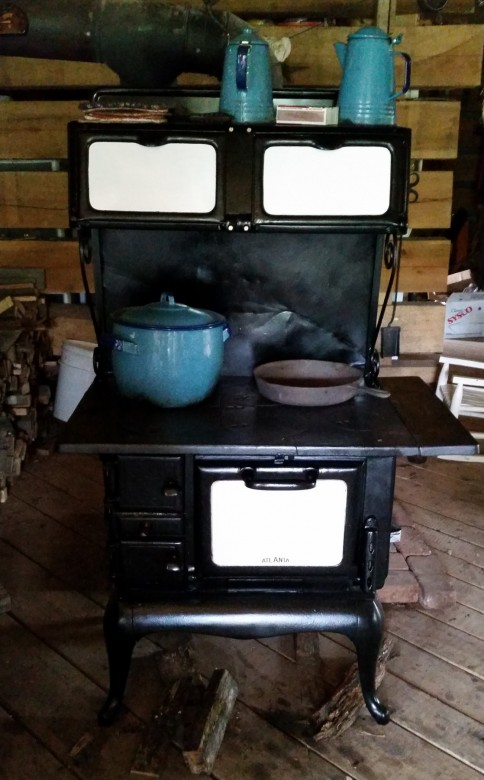
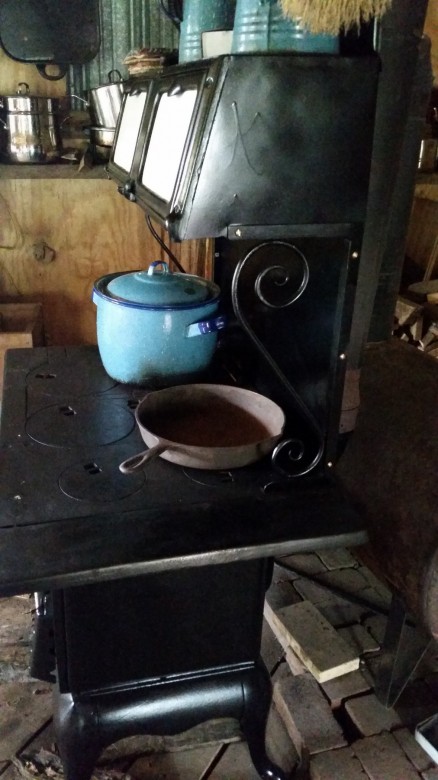
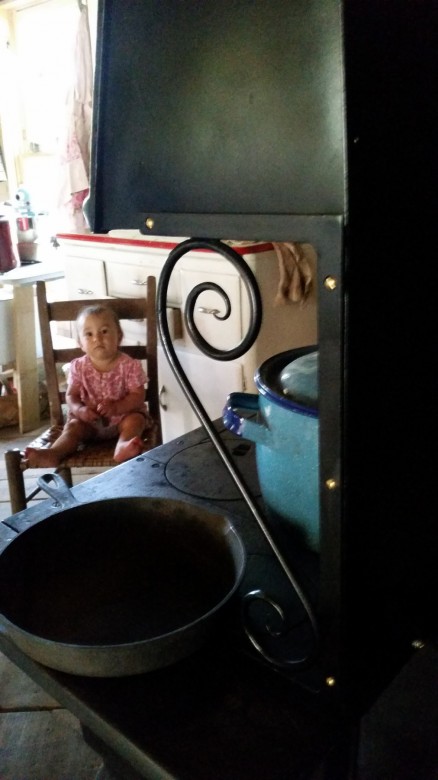
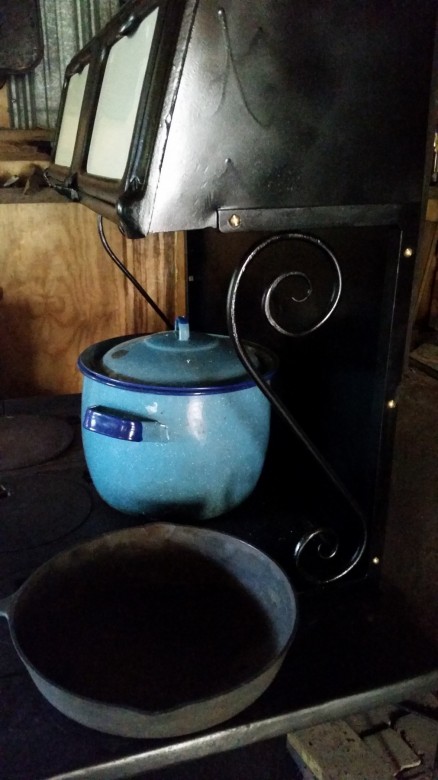
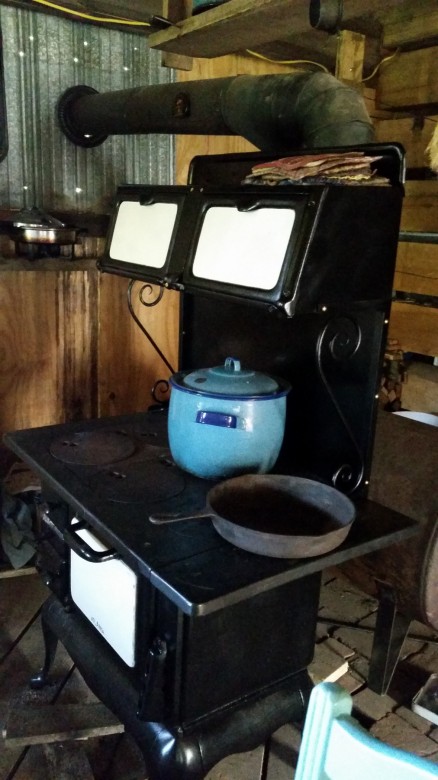
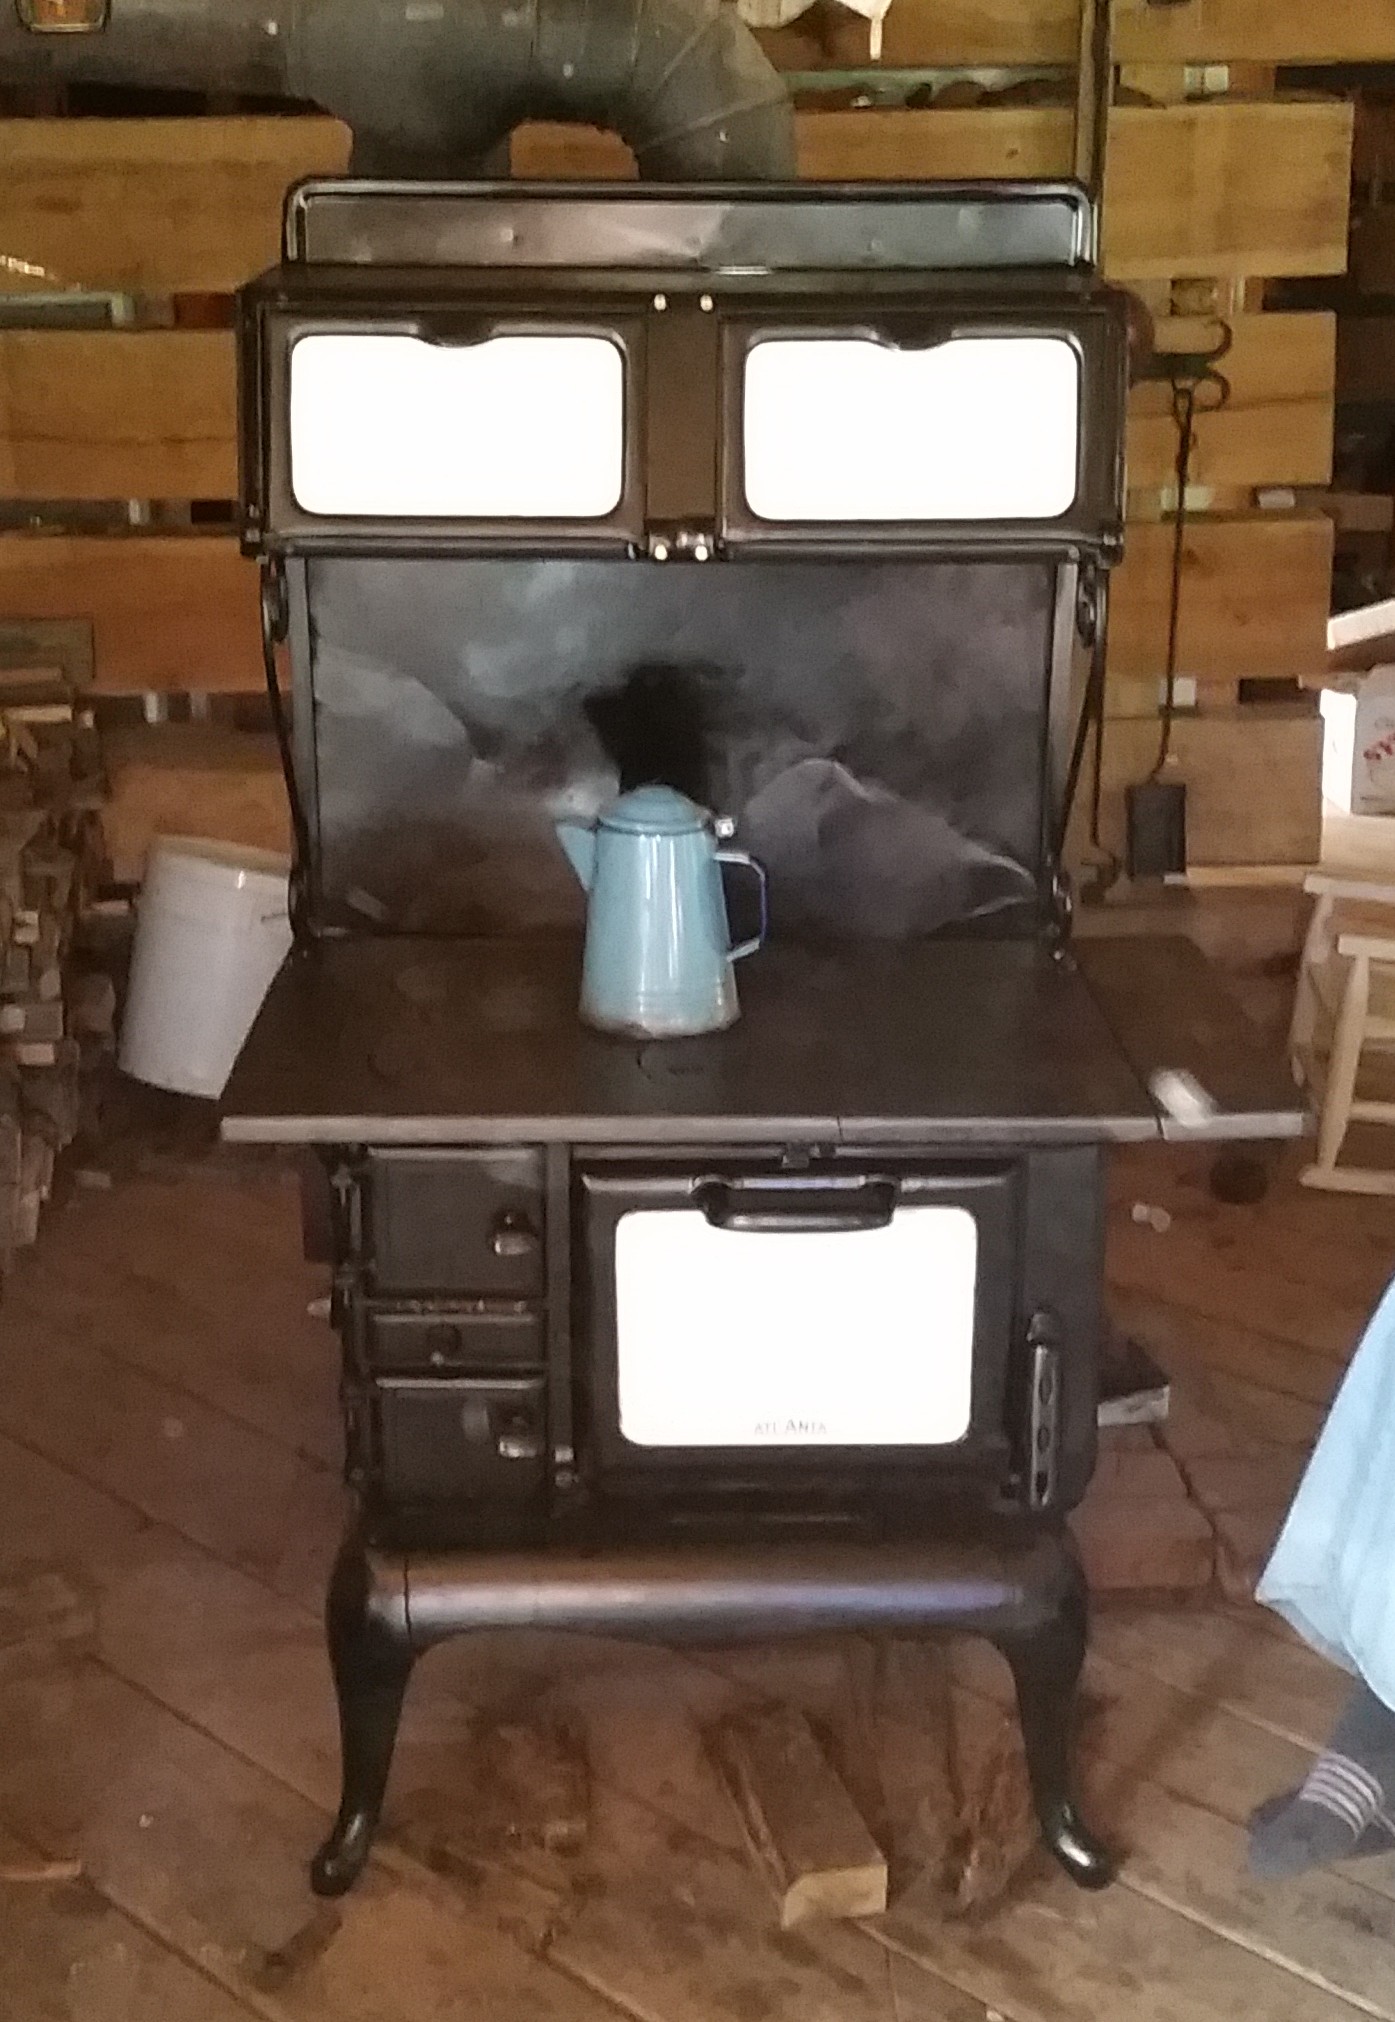
The first big change was when Jordan found and purchased a used Kitchen Queen woodstove. We’d been on the lookout for a cookstove big enough to also heat the house, and this one is perfect! My small antique woodstove will have an eventual home in the summer kichen and be used during hot weather. Installing that was a big project! He insulated he wall behind and put the tin barn metal heat shield and stovepipe vent, installed all new stovepipe and made braces for the outside, then made a copper covered heat shield and platform for underneath the stove. Lots of work!

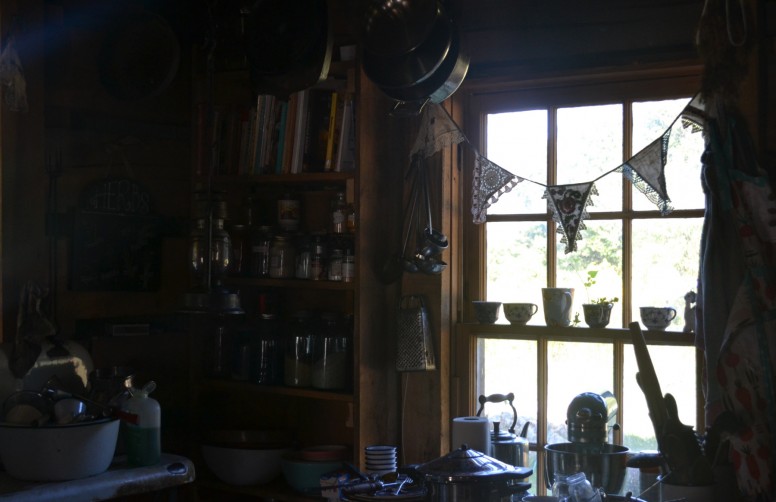
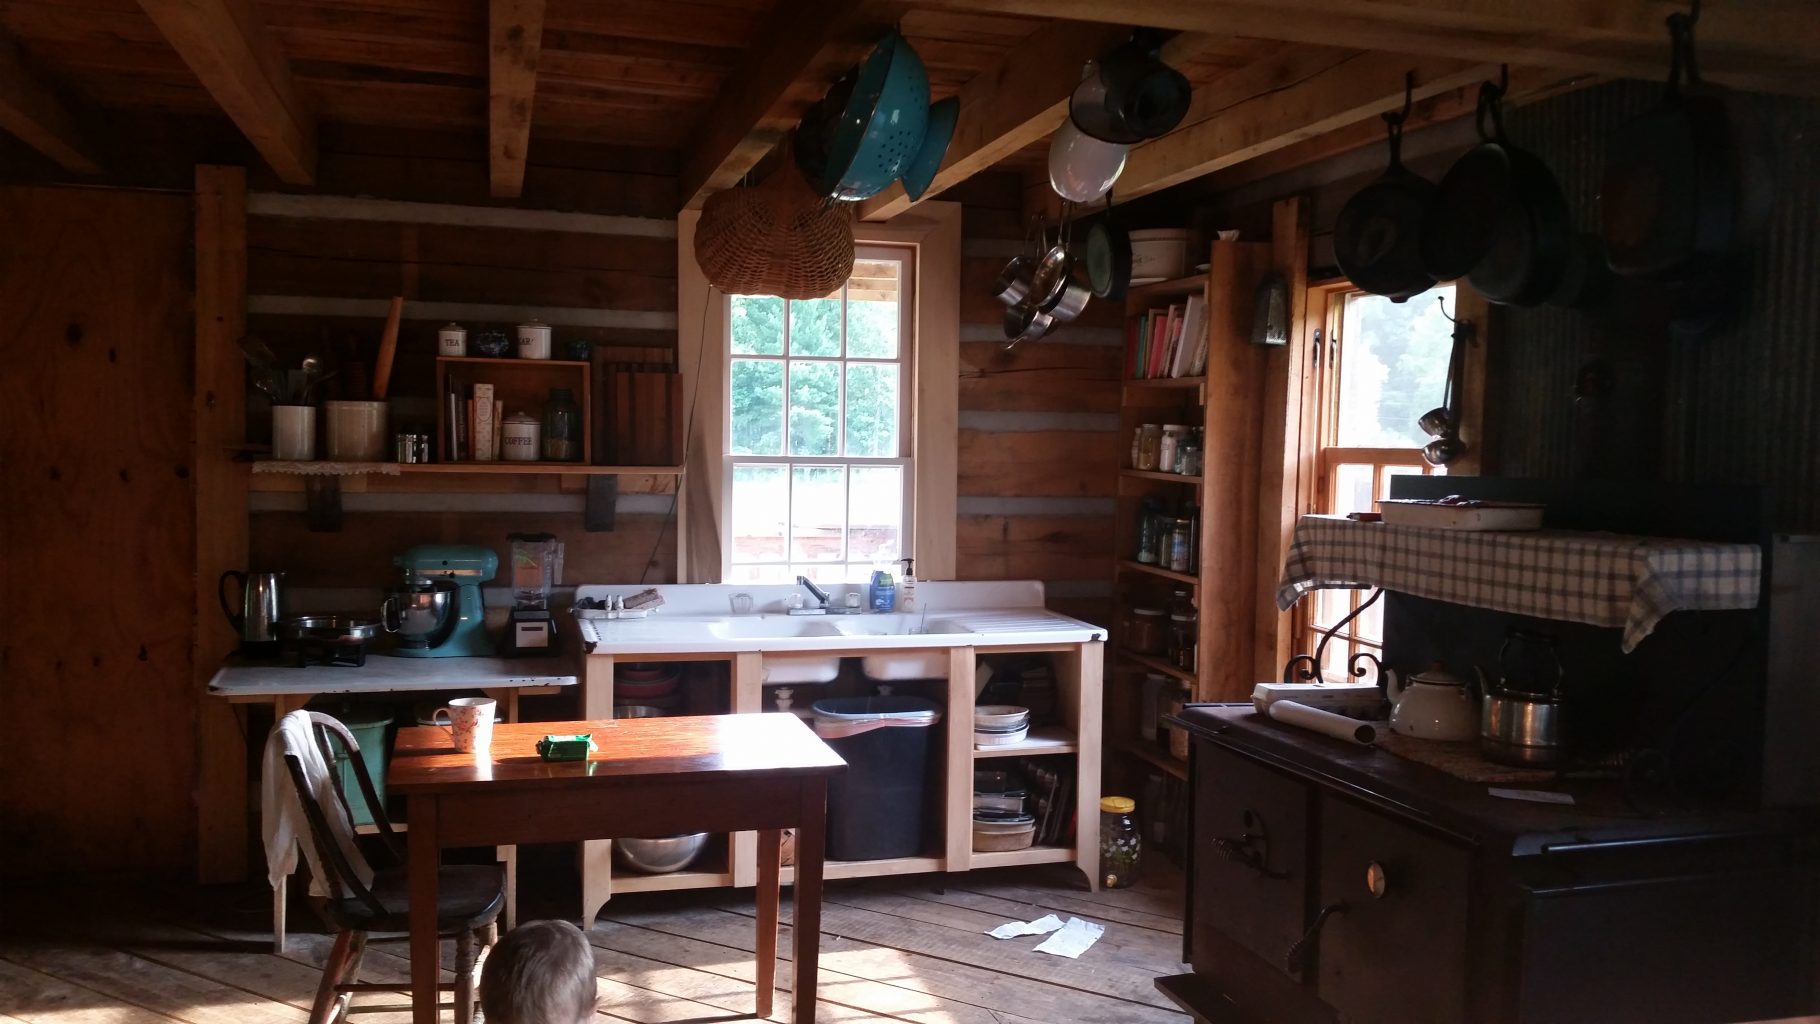
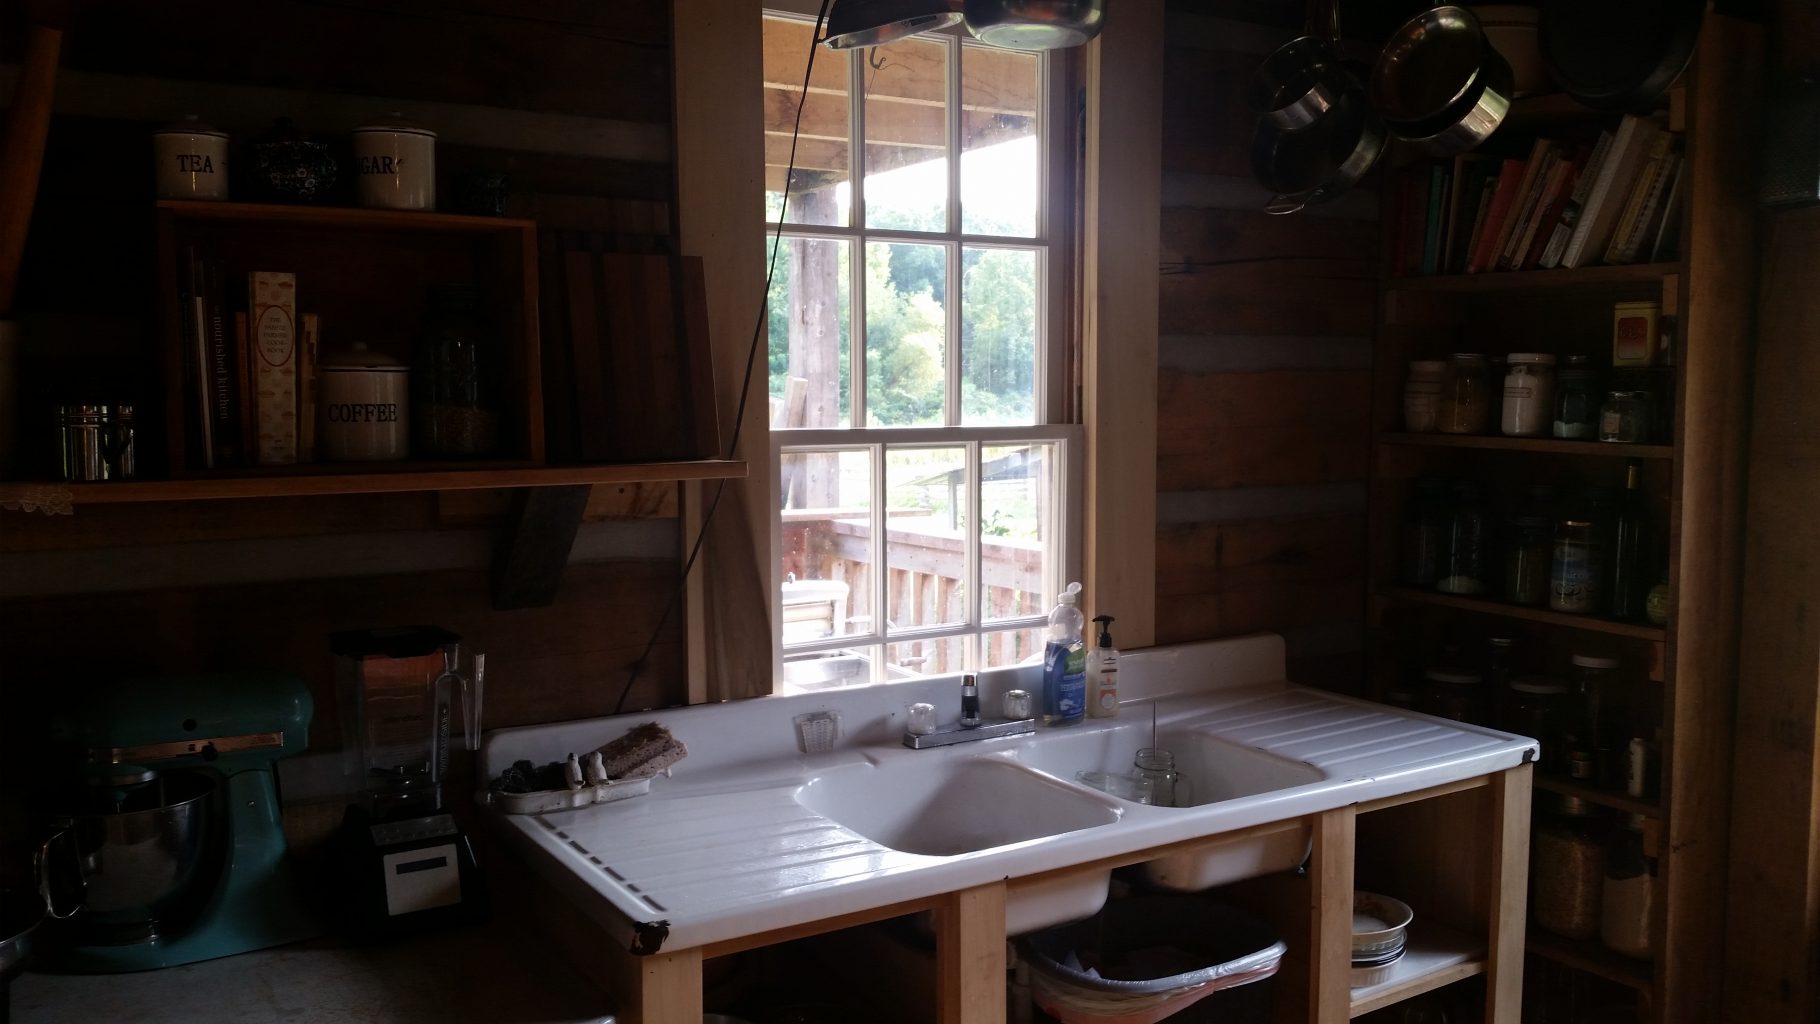
The window over the sink was taken out and completed re-glazed and the inside painted white. While it was out, Jordan chinked the two walls in the kitchen, and when the window went back in, it was the first in he house to have it’s proper trim installed as well! The trim will be painted white too.

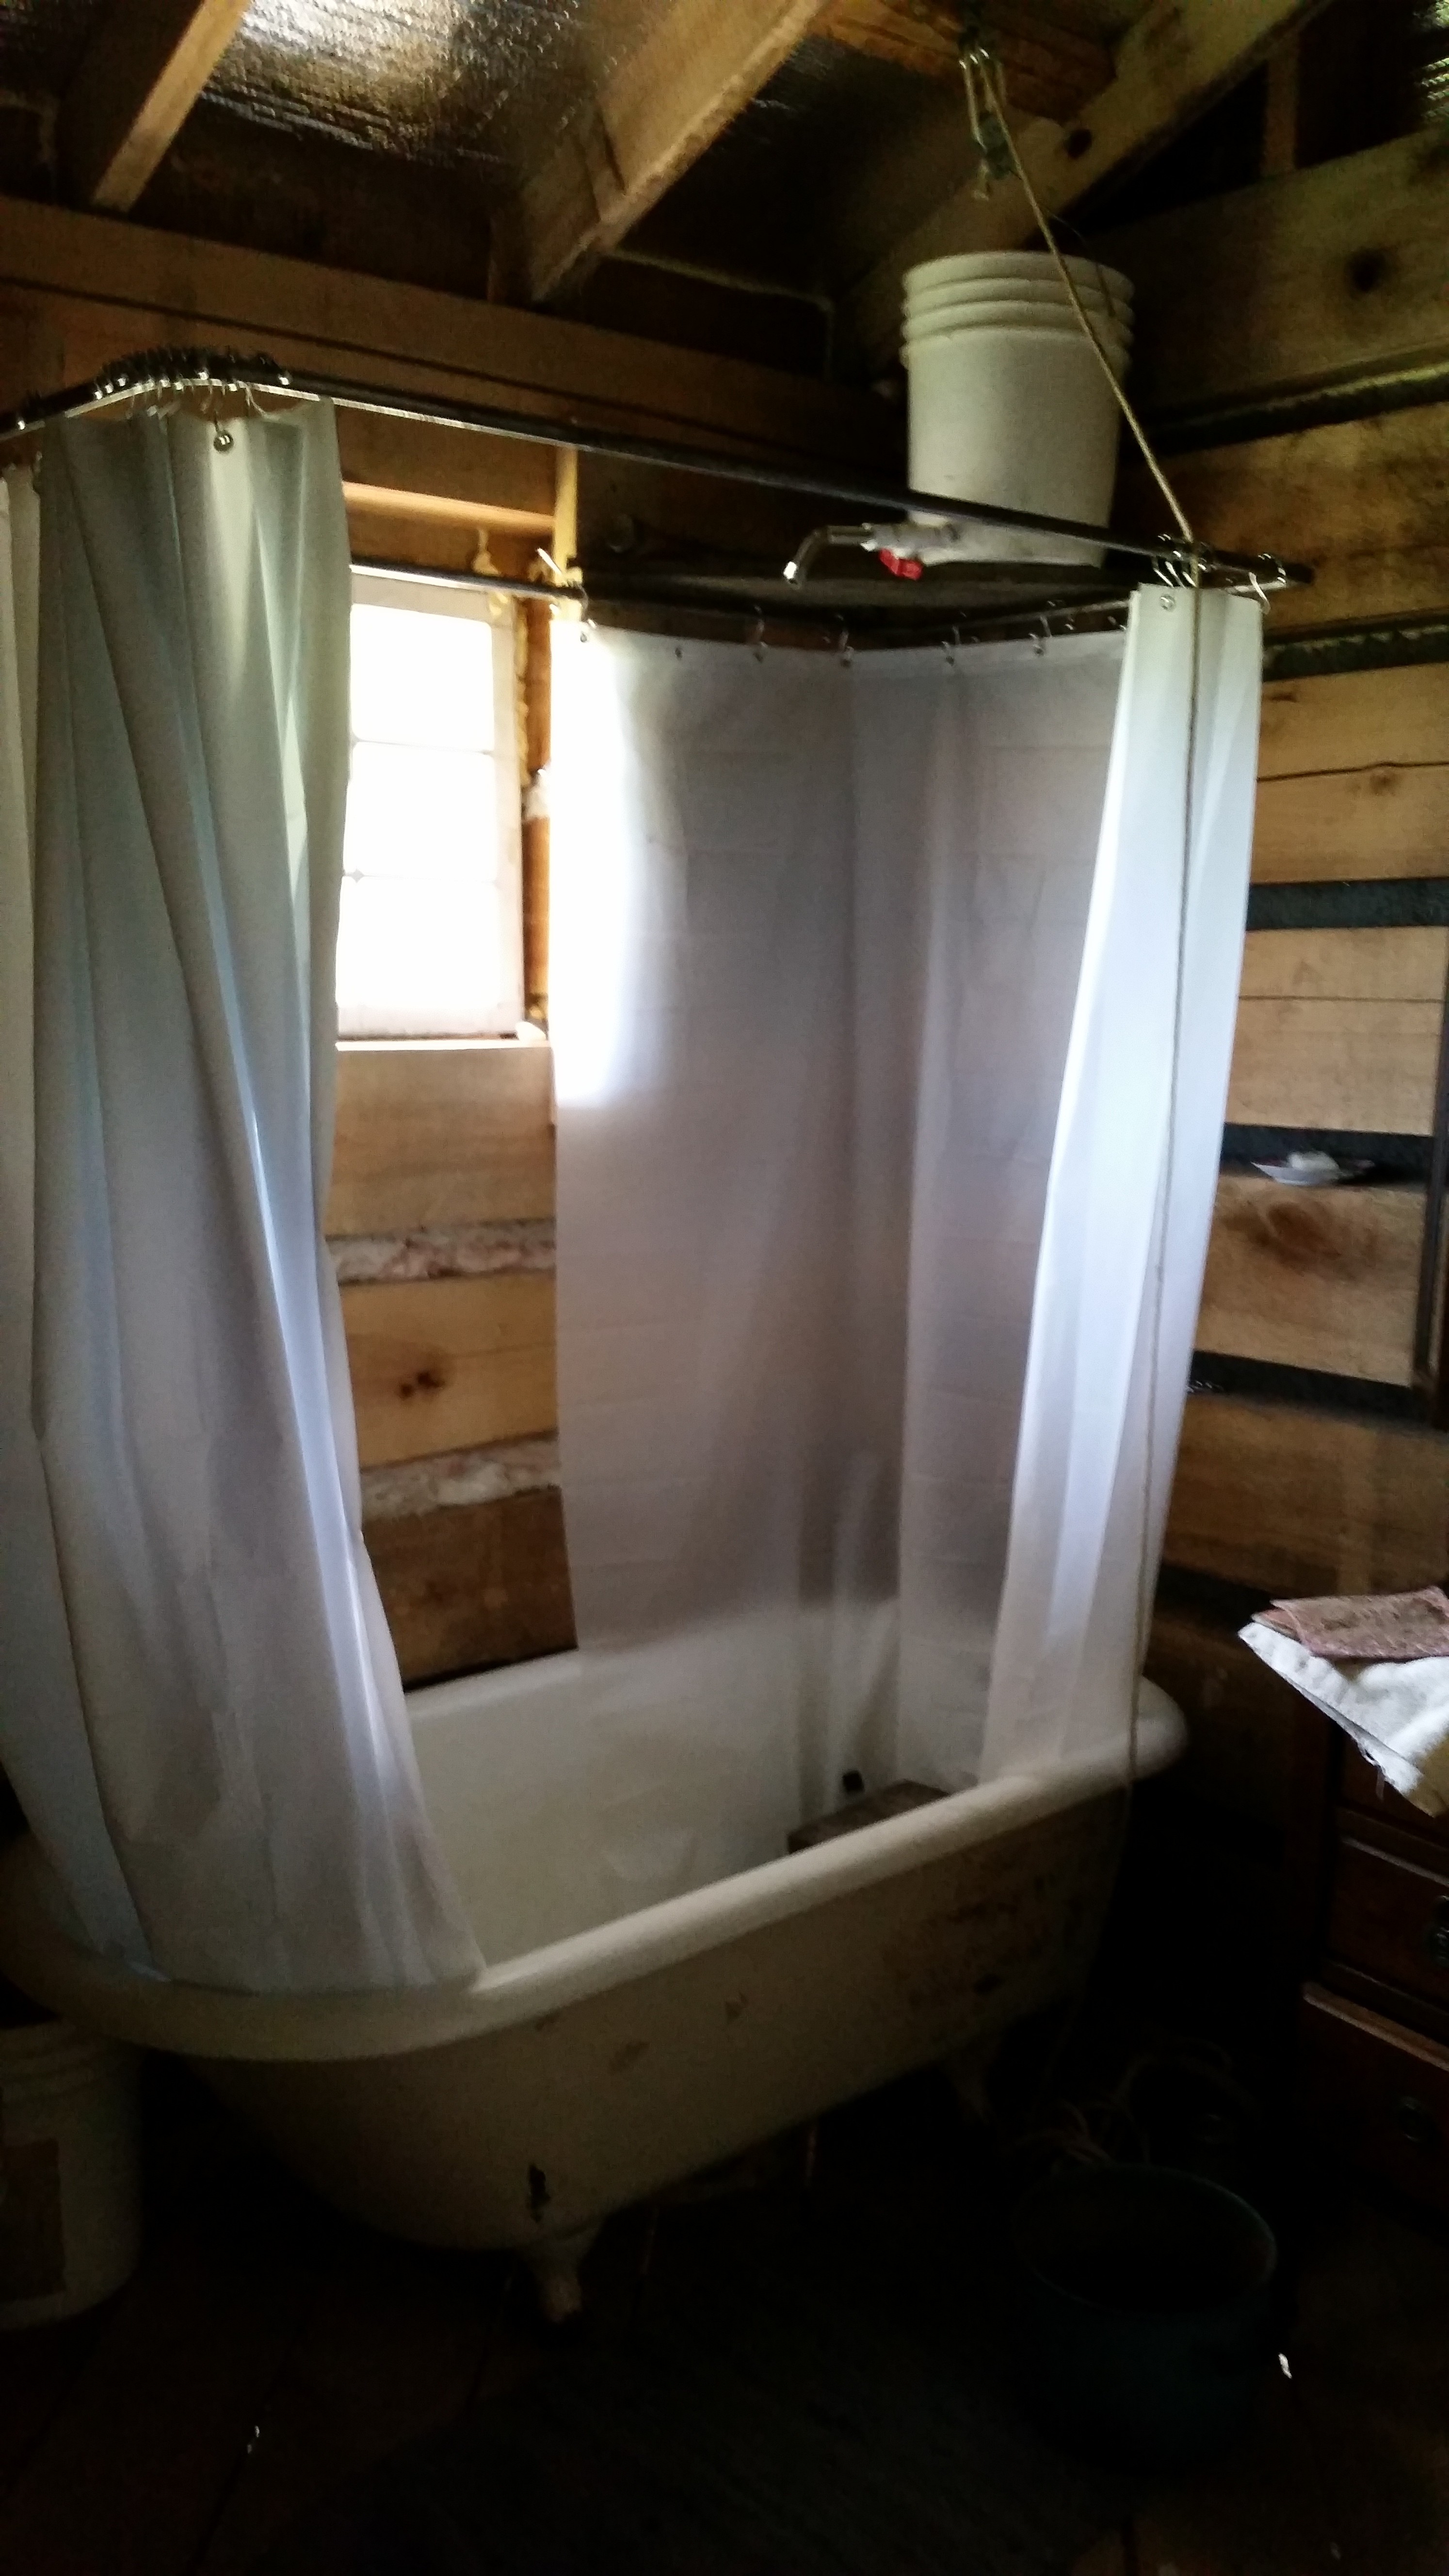
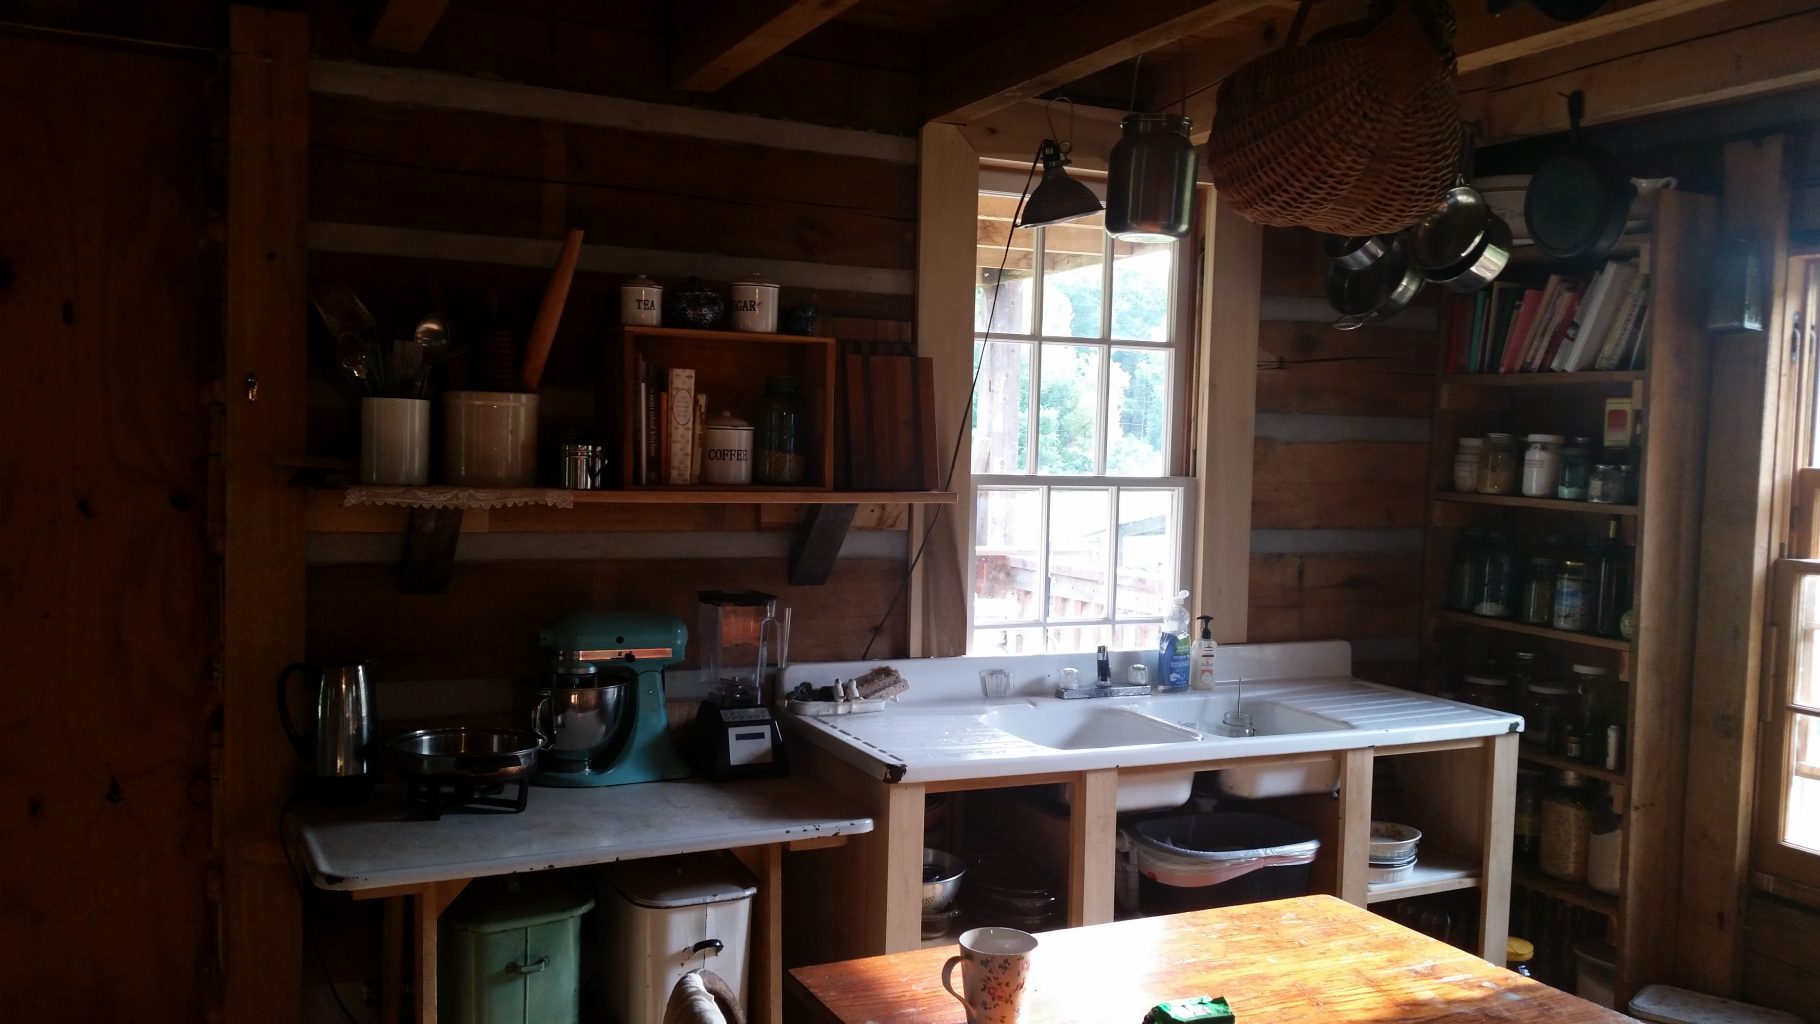
The sink cabinet he built (still needs doors) and installed our sink and our real plumbing! (no hot water yet) The vintage enamel sink we bough at the local ‘Octoberfest’ sale last year for $25. I am really loving the progress! Read on to see what’s next….

Eventually the wall behind the sink will be our cabinets – there will be a larger cabinet and counter to the left of the sink which will be my ‘baking station’, and to the right of the sink will be a narrow cabinet with a space for a ‘coffee station’. The wall will be covered with a combination of open shelves and small cabinets, and there will be a hanging light fixture over the sink. The picture below is very inspiring to us, and the feel of our cabinets will be similar:

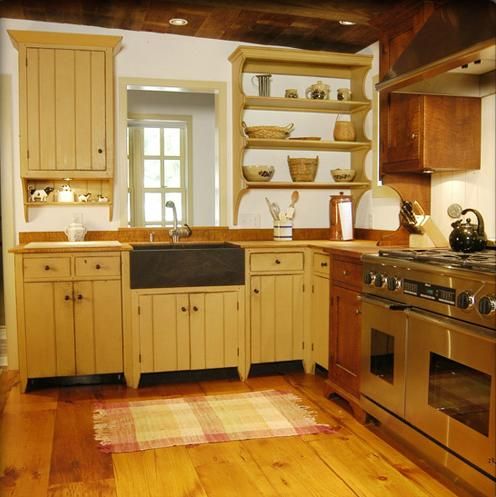
Picture credit David T. Smith

The color of the cabinets and shelves will be milk painted a distressed and muted aqua/sky blue, much like the antique cabinet below. 
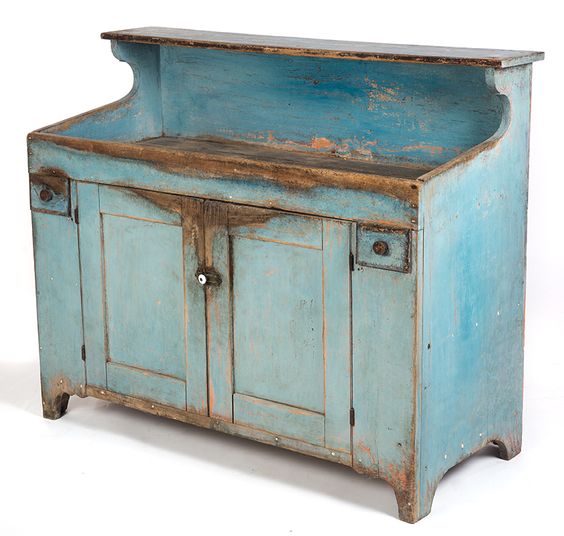
Picture credit Garth’s Auctions

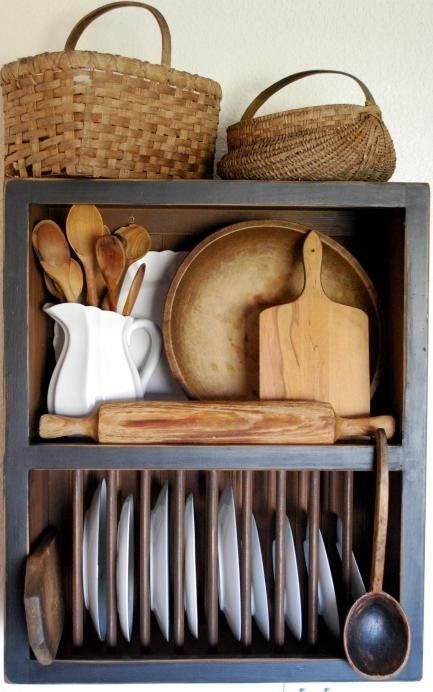
To the right of the sink, there will be a plate rack and cup hooks incorporated somewhere above the ‘coffee station’.

There will also be a work station in the middle, sort of a large island with a space underneath for firewood storage.

It’s been so fun to see our ‘real’ kitchen finally coming together!

If you are interested to see lots more of my farmhouse kitchen inspiration – be sure to visit my Pinterest board on the subject!

Garden Happenings

The gardening is growing so fast these pictures I took just a few days ago are already outdated! Every time I walk out to the garden I feel like the plants have doubled again in size! You can’t see them in this picture, but we also have our tomatoes coming along nicely now and staked up.

Last week we harvested all that was left of our cauliflower, as it was all ready at once.

This was the biggest head.

My biggest basket was full. We stored all but one in the fridge, and that one got included in supper –

A rather delicious stir-fry.

Romaine Lettuce and Dill growing together. We’ve gotten so many salads off our 3 varieties of lettuce we have planted. The kids like to go out and snack on lettuce, and on occasion have nearly killed a few of the plants by eating off too many leaves!

Speaking of, they also nearly destroyed the poor basil plants (in the right hand pot) last week. I asked them to go out and pick A FEW basil leaves for seasoning the dish I was making. When I checked on them, both plants had no leaves, and Alan was holding one uprooted plant in his hand. Thankfully we were able to replant quickly and they both seem to be recovering. The other sad plants in the chips are eggplants. The flea beetles are really hindering their growth, but I’m hoping once they get their roots established enough they will be able to produce anyway. (that’s what happened last year, so…)

I planted a few Sweet Meat Squash seeds in egg cartons that recently got transplanted out to an empty place in the garden. Hoping they do well.

This is our Swiss Chard, also seedlings of Okra beginning to get a few leaves.

And this – this is our Kale patch. Before I harvested 5 stuffed gallon bags for the freezer.

And this is the Kale patch afterwards…though its already growing back so fast.

Recently we added potatoes.  This method may look a little strange, but works very well. First you lay down newspaper (or in our case, ripped apart feedsacks) and space the cut up seed potatoes over the top. Then thickly cover it all with hay. We actually covered ours with fresh grass cut with Jordan’s scythe, and it dried out very quickly.

After a few weeks the potato sprouts begin to push up through the hay, then before long it looks like this:

When we get ready to harvest potatoes in the fall, we just push aside the straw and pick them up!

I’ll leave you with this picture of collard greens and fresh eggs that were in the process of migrating into the house.

I’m sure I’ll have more thrilling garden news for you soon!

Split Rail Fence

Earlier this spring, we got around to starting on our fence which will, when finished, run the perimeter of our little homestead. The fence is built of split cedar rails, made by splitting eastern red cedar logs that are around 8 inches in diameter into fourths lengthwise, and is modeled after those commonly used up into the early 20th century in America.
A steel splitting maul with a 6 pound head is used as a hammer, and a combination of wooden and steel wedges are driven into the logs to split them. More traditionally, a large wooden mallet would have been used to drive wooden wedges, called gluts, to do the splitting.

To start the split, the first wedge is driven into the end of the log.


As the crack forms and widens, another wedge is inserted and driven in to widen the crack further.

As the second wedge is driven in, and the crack grows, the first wedge loosens and is removed. It is now leap-frogged over the other wedge, and driven in again, further up the log.

The split is continued to the end of the log, and then the resulting log halves are split into quarters. It is usually easier to split the log halves than it is the first split.

I consider this quite enjoyable work. As the wood splits it makes a very loud satisfying crackling sound. Split wood also lasts longer than wood cut by a sawmill, because the split follows the fibrous grain of the wood, while a saw cuts the wood with no regard to the direction of the grain, and leaves a sort of fuzzy surface which soaks up water.

When ever I see a good building rock – one that is somewhat square – I gather it from the creek bed for future use. These rocks or stacks of rocks  8 to 12 inches high are placed in a zigzag pattern which straddles the line the fence is to follow, and the first rails are set in place. The rocks add some height, and will keep the wooden rails away from the damp ground, helping the already-rot-resistant cedar wood to last even longer.

Got some great help from our dear friends, Jesse and Alice from over at The Wright Family Farm.

Marian and Alan love to watch anything that is being done outside. They’re joined here by little Gavin.

The finished fence will be stacked 5 rails high, with vertical braces and an added top rail, which add stability to the fence and bring it to about 6 feet in height.

This type of fence is sturdier than you might think from simply being stacked – once the height is completed the weight of the wood is considerable, and the rails and sections of fence lock together well. We also like how it provides a significant visual barrier (as opposed to a hot-wire fence for instance) and we are hoping this will discourage any escape-minded animals we may have in the future, as well as acting as a deterrent to the occasionally wandering critters belonging to neighbors. Looking forward to trying it out with livestock. Until then, we love how picturesque the split-rail fence is and are anxious to add more sections!

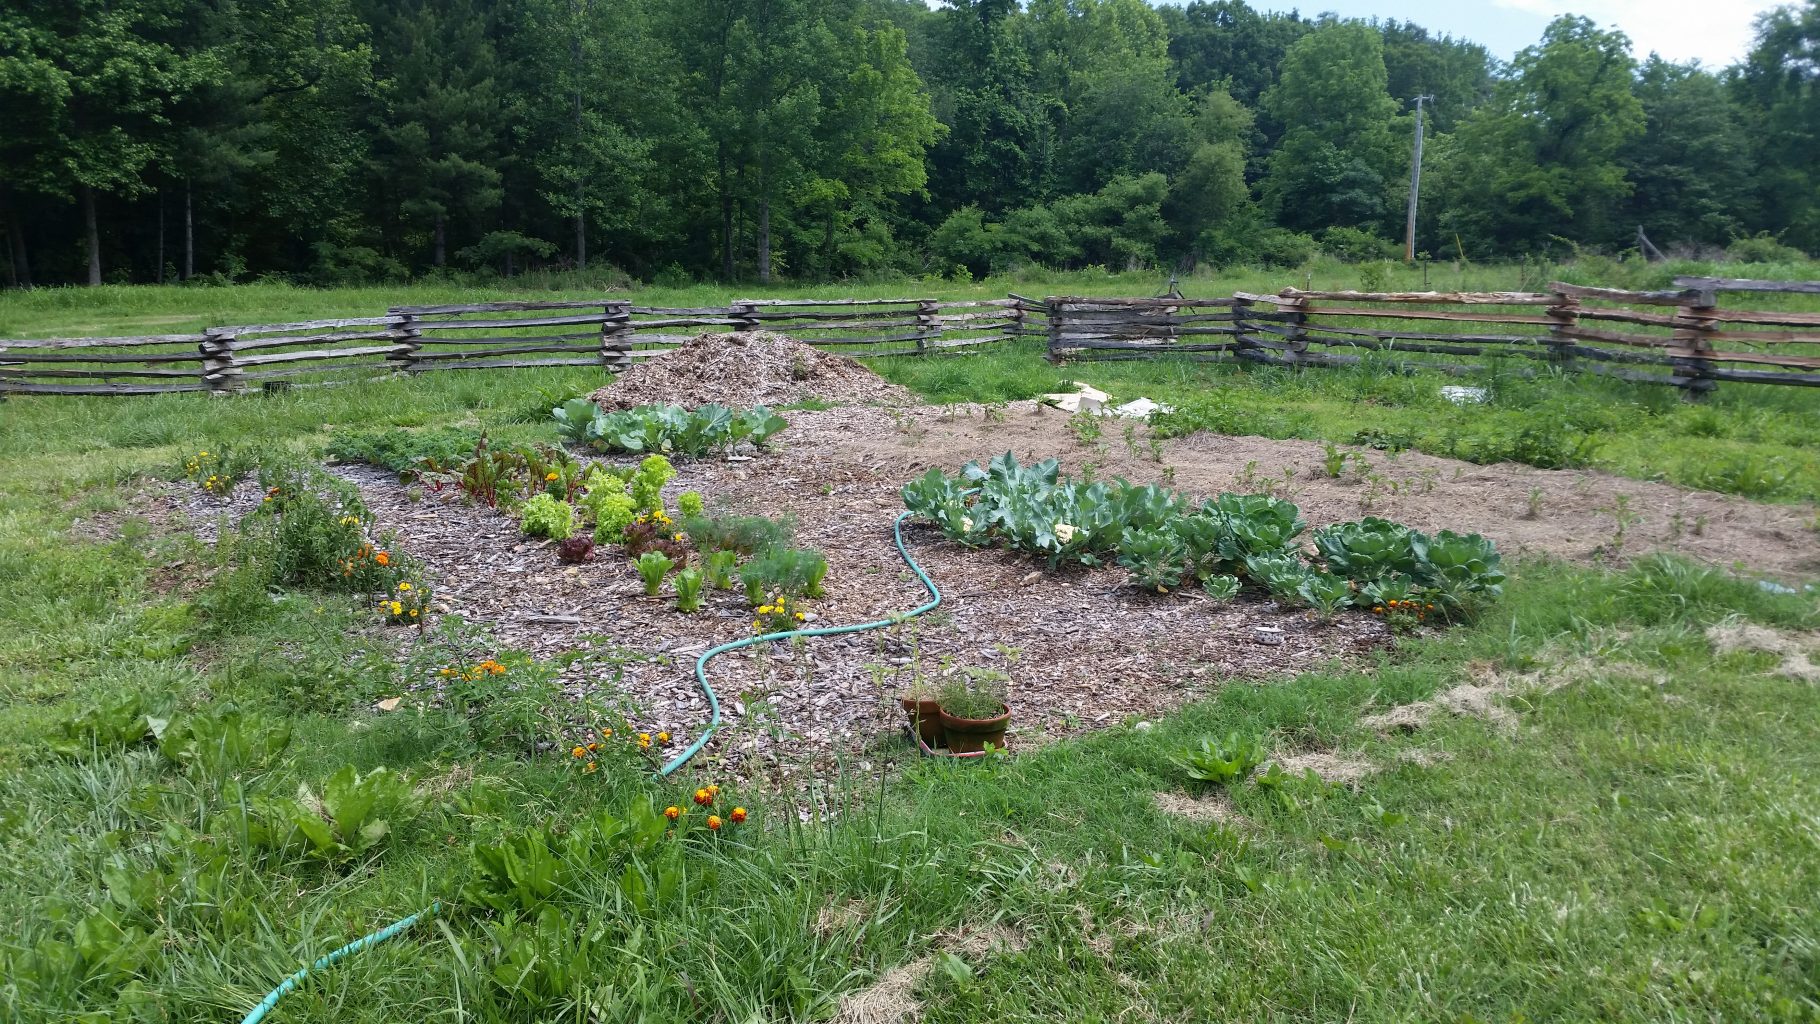
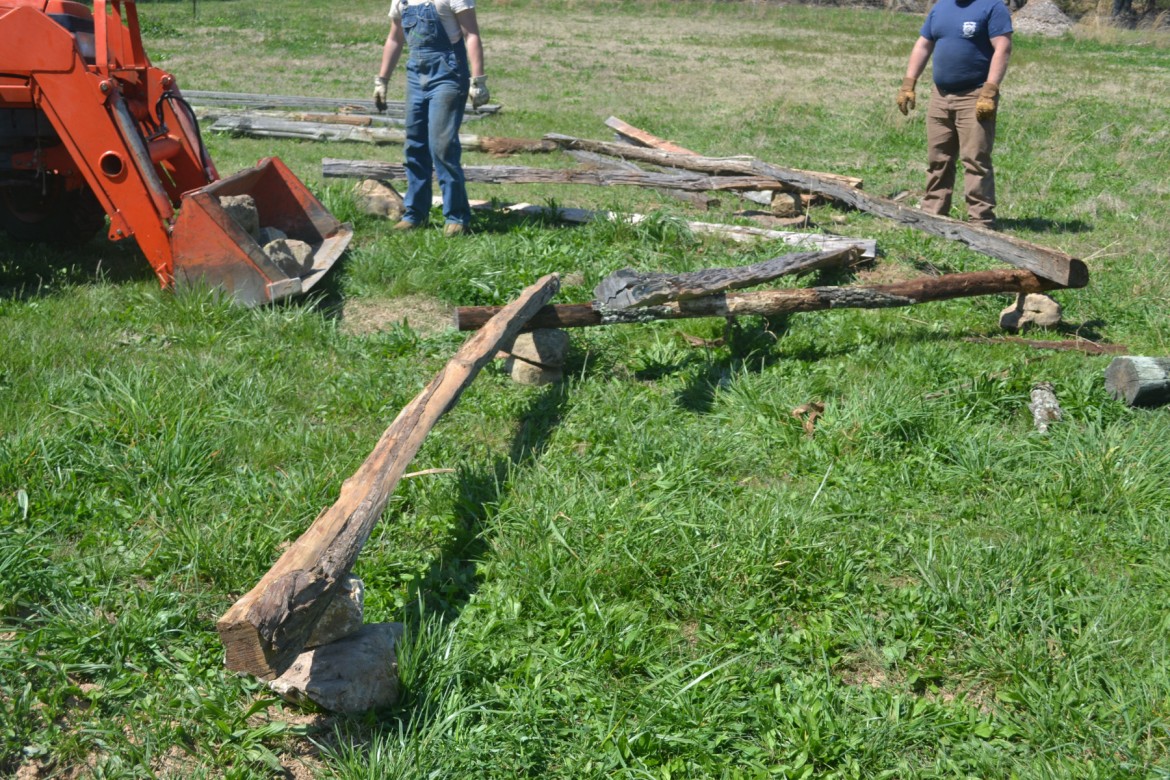
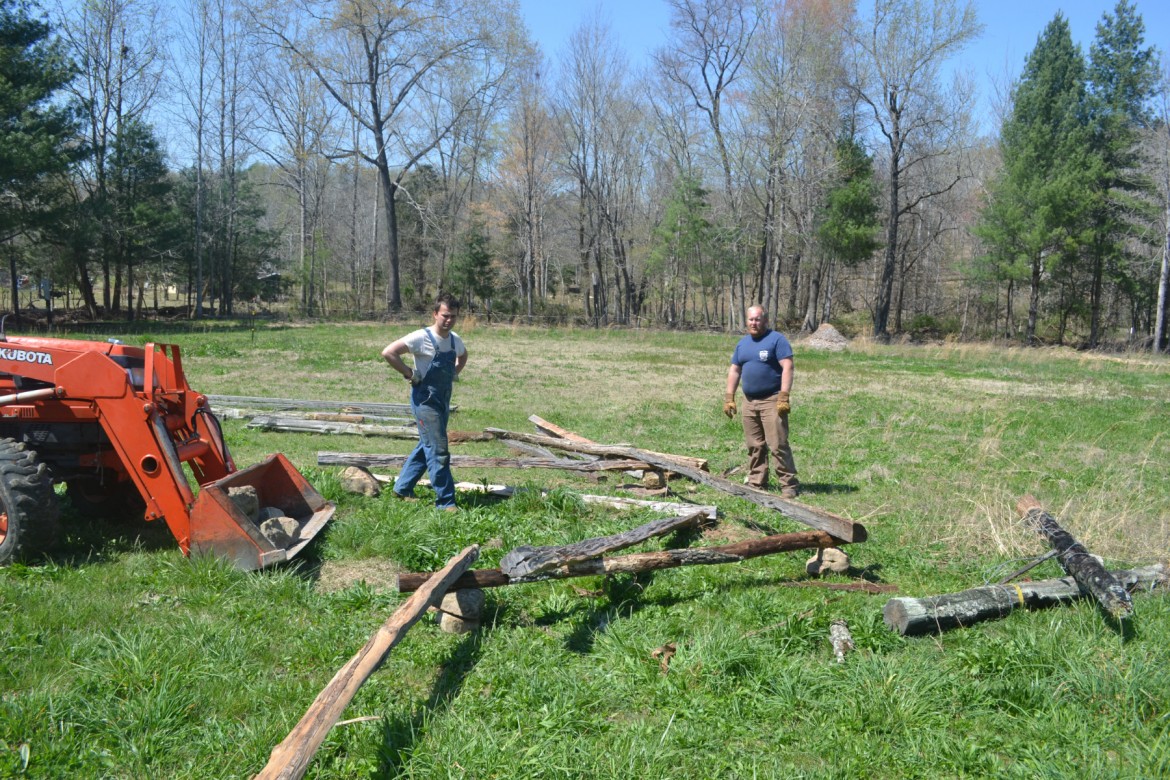
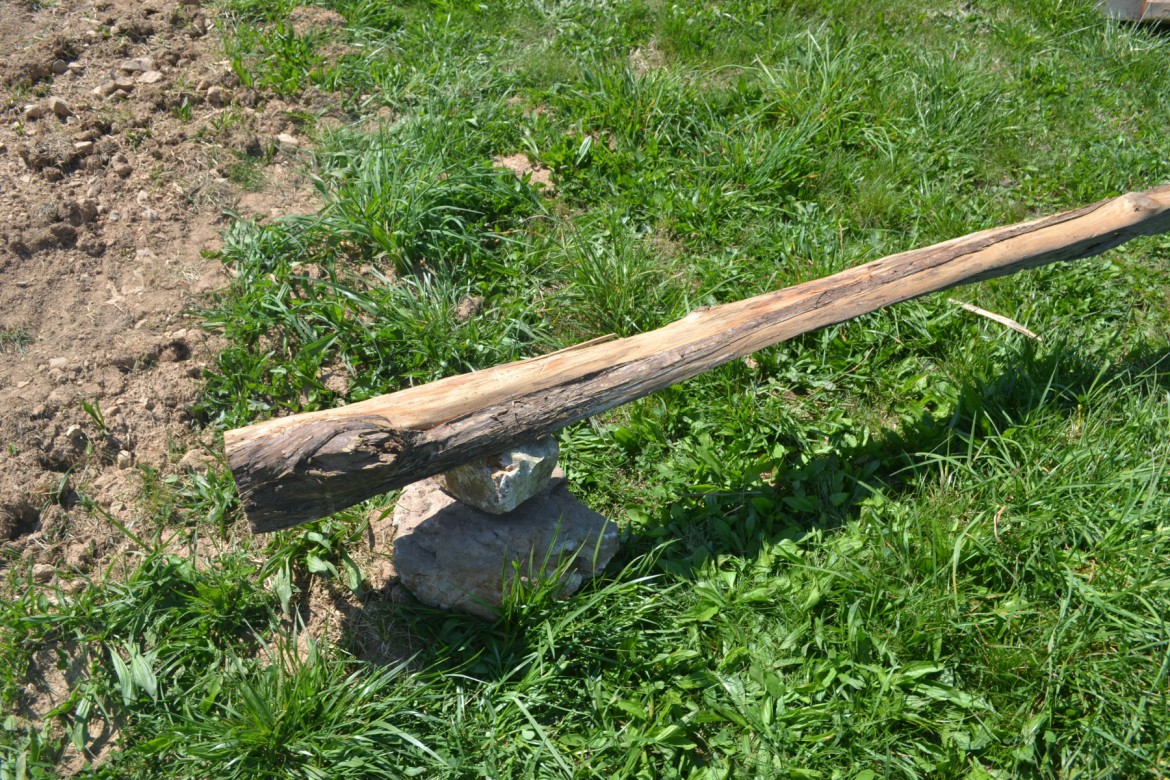
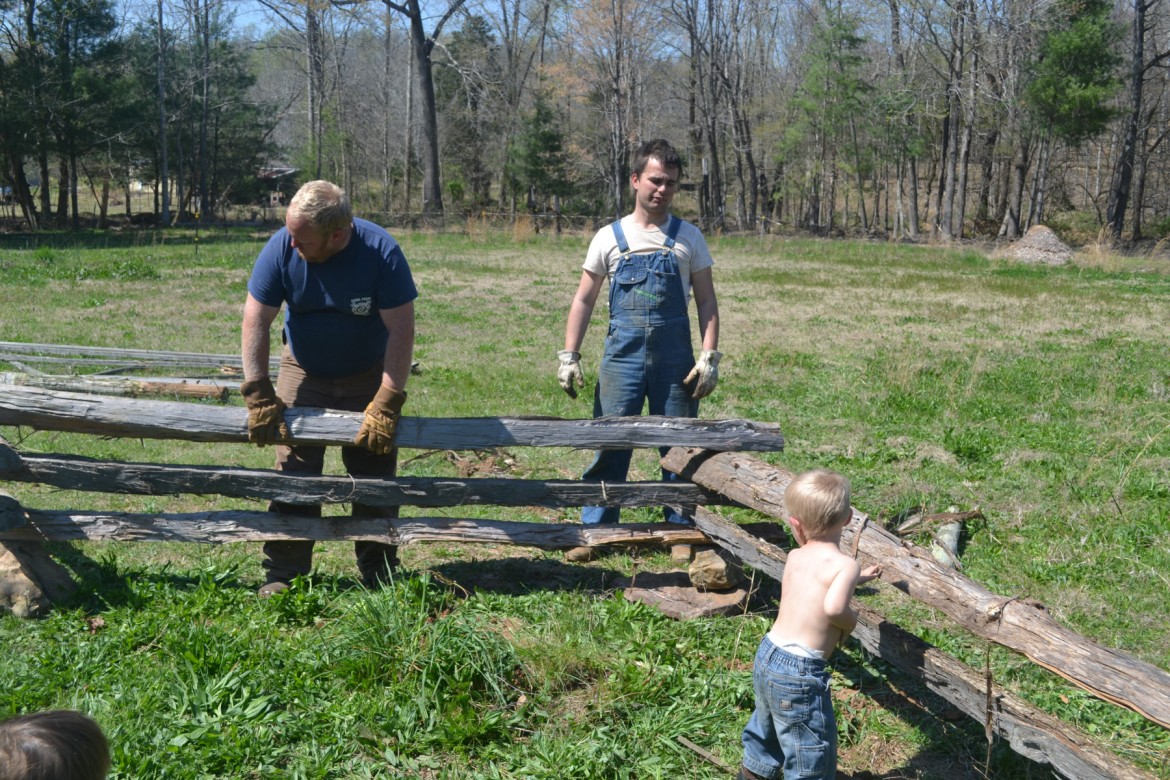
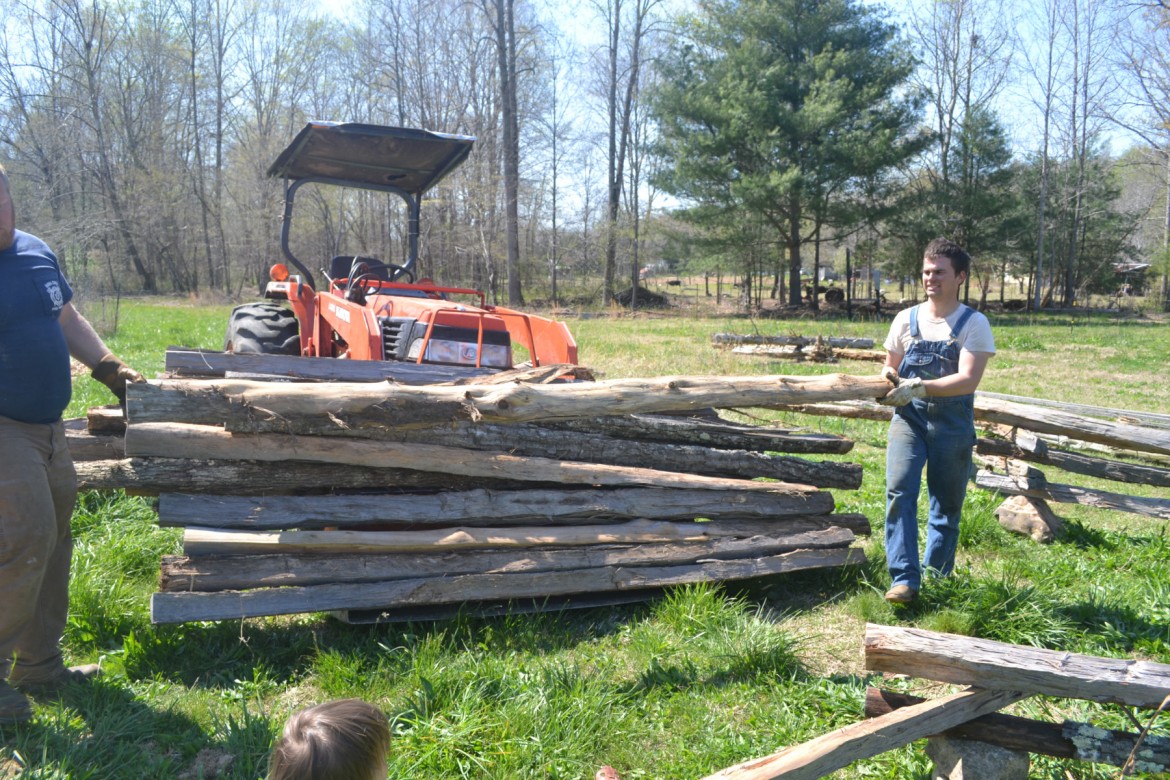
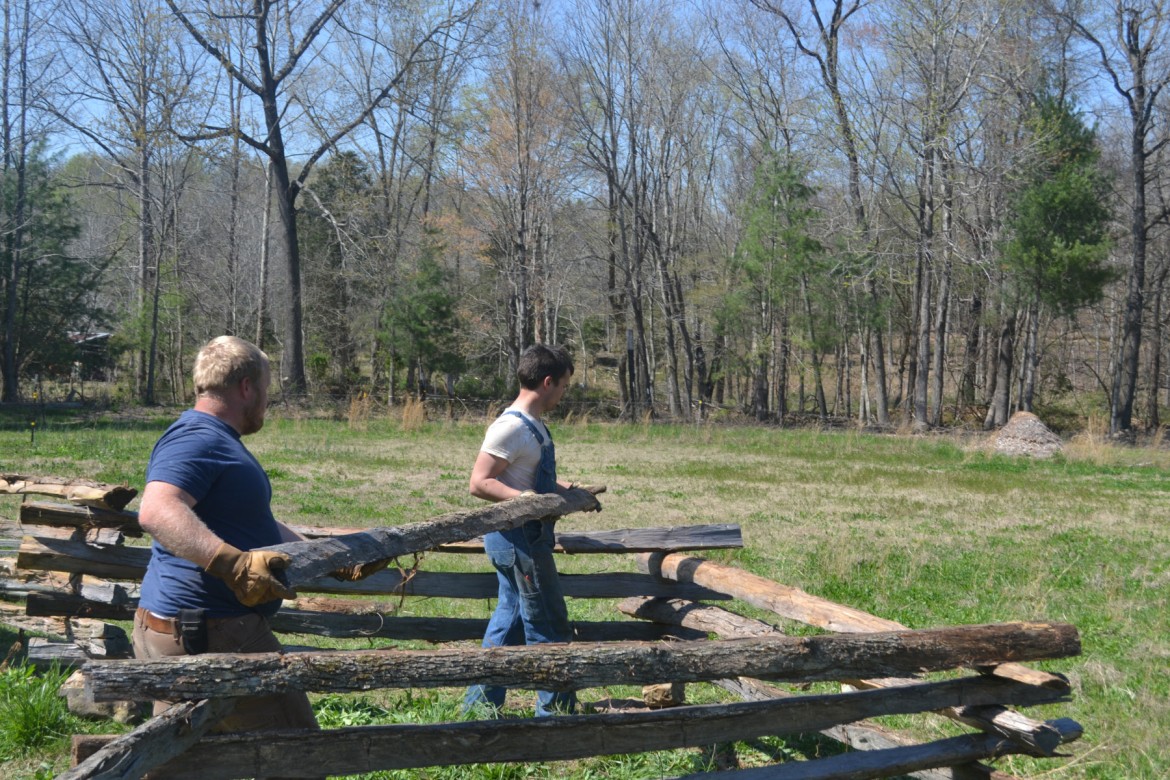
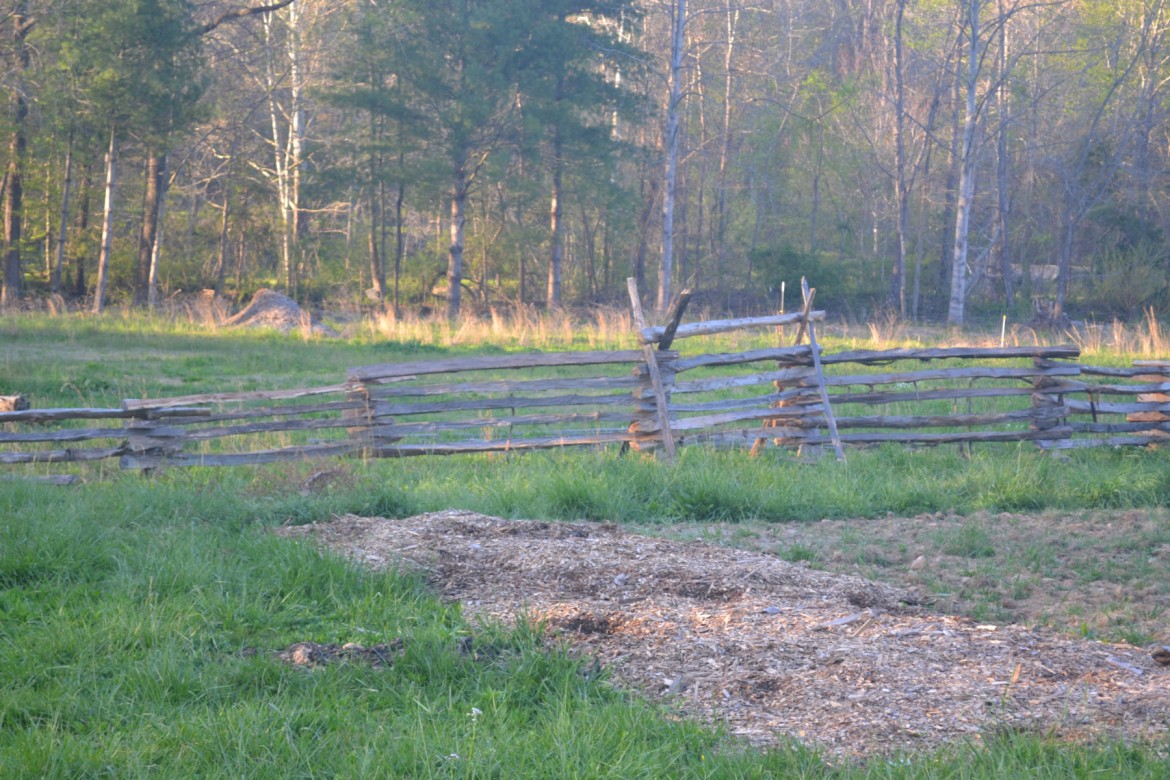
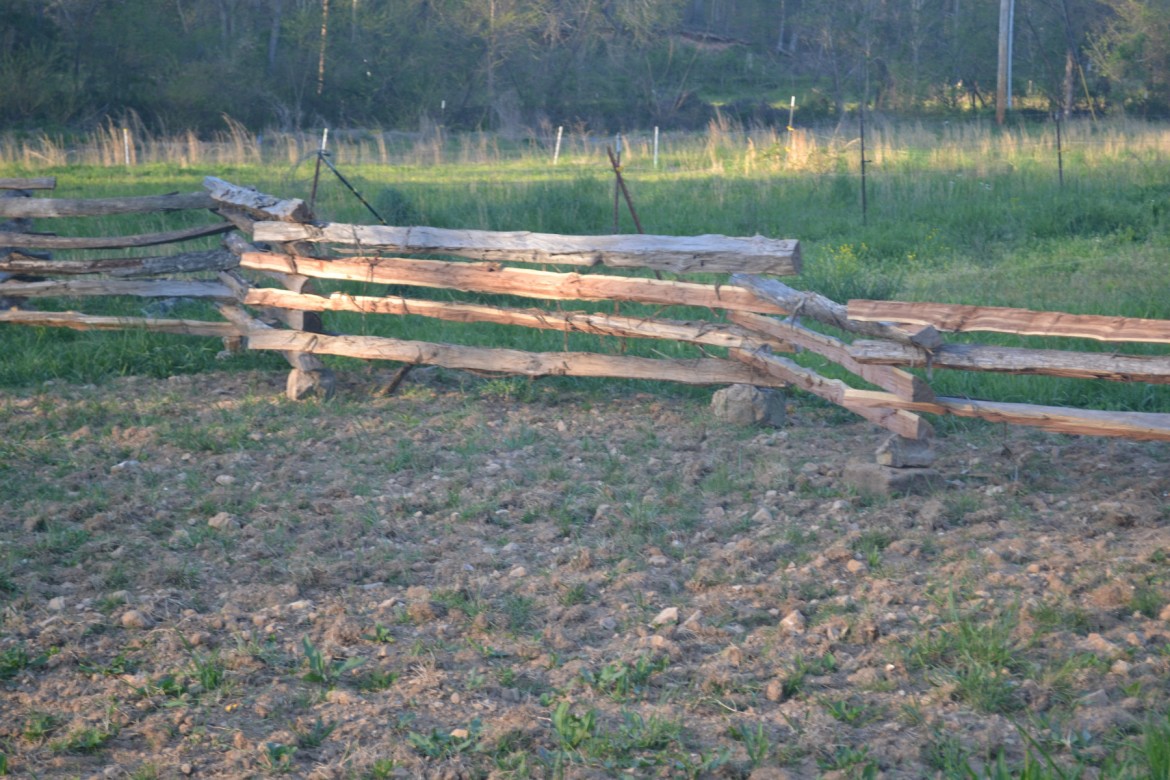
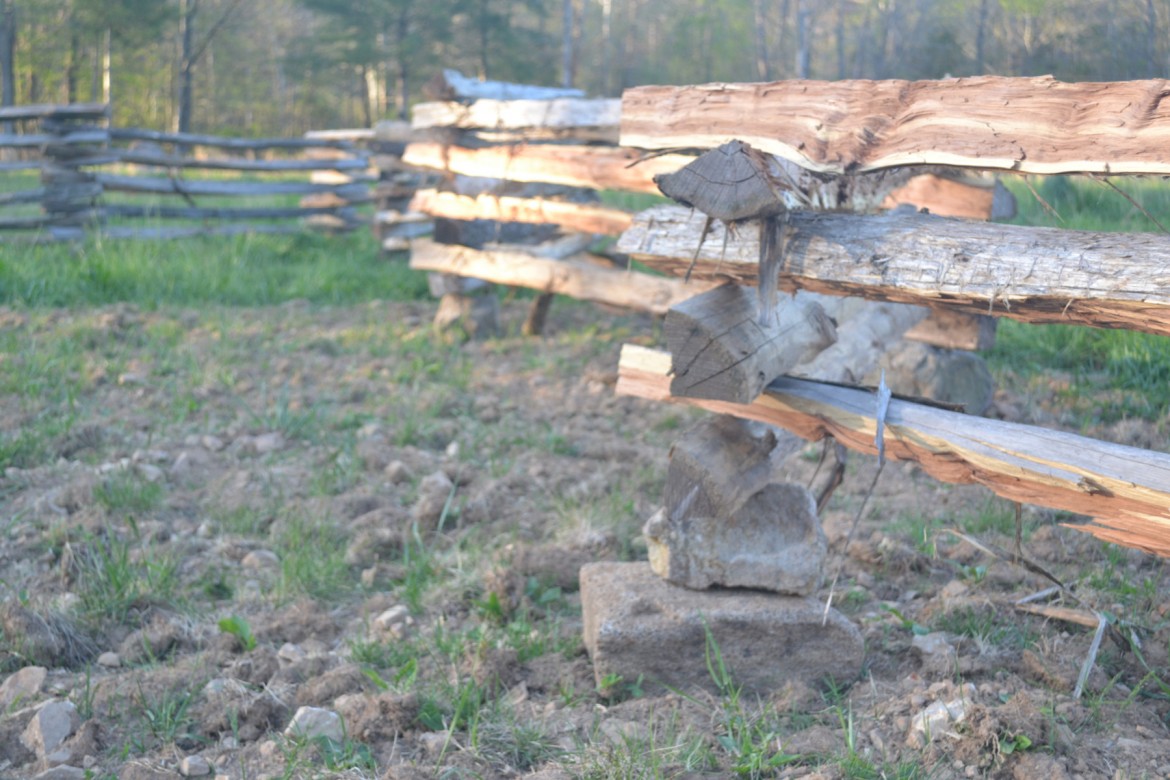
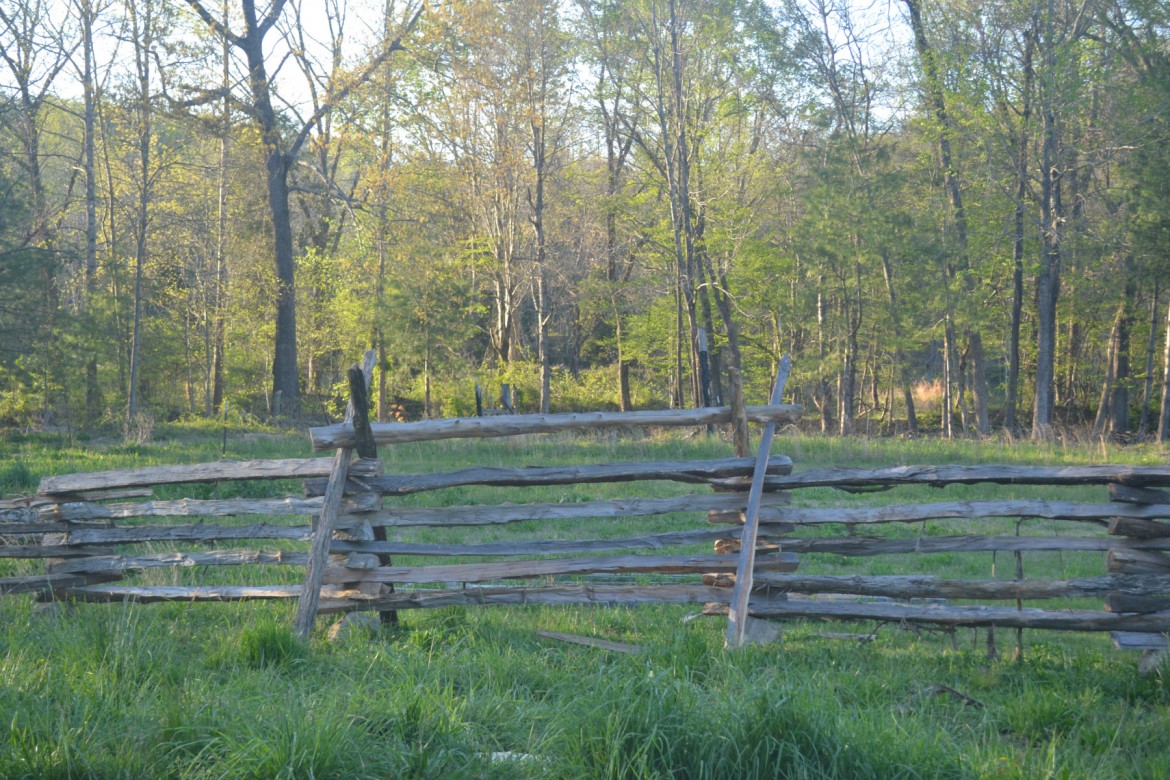
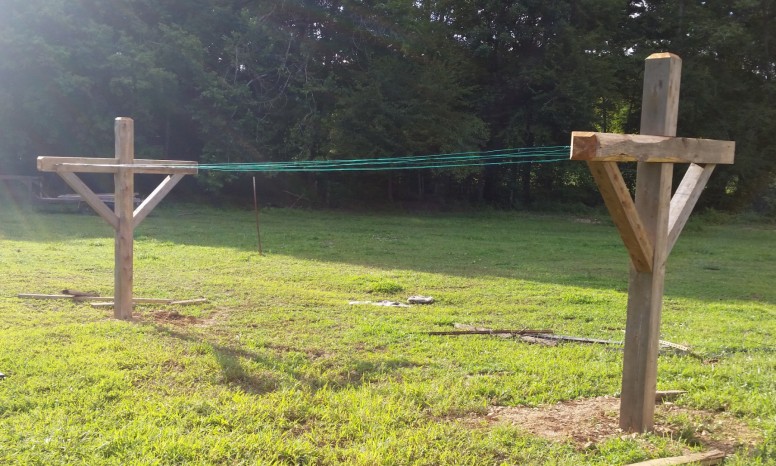
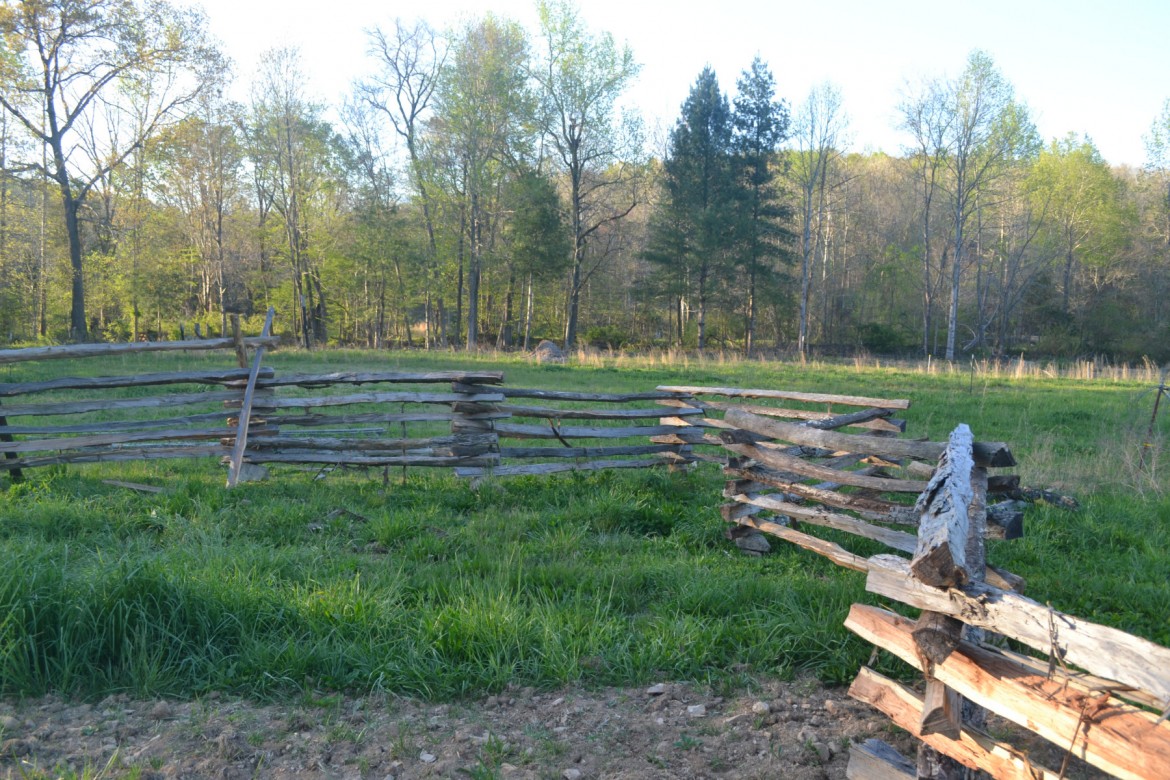
So far, only a little corner of the fence is (mostly) done. Lots more to build!

House Tour

Hello friends! It’s high time for another house update and current tour. We’ve made some progress on the house over the summer and fall – the most recent big change is walls upstairs! We have also added some furniture and small items since the last house tour in 2014 which you can see here.

But, first things first.

If you were to come in our front door, you would enter into the sitting room –

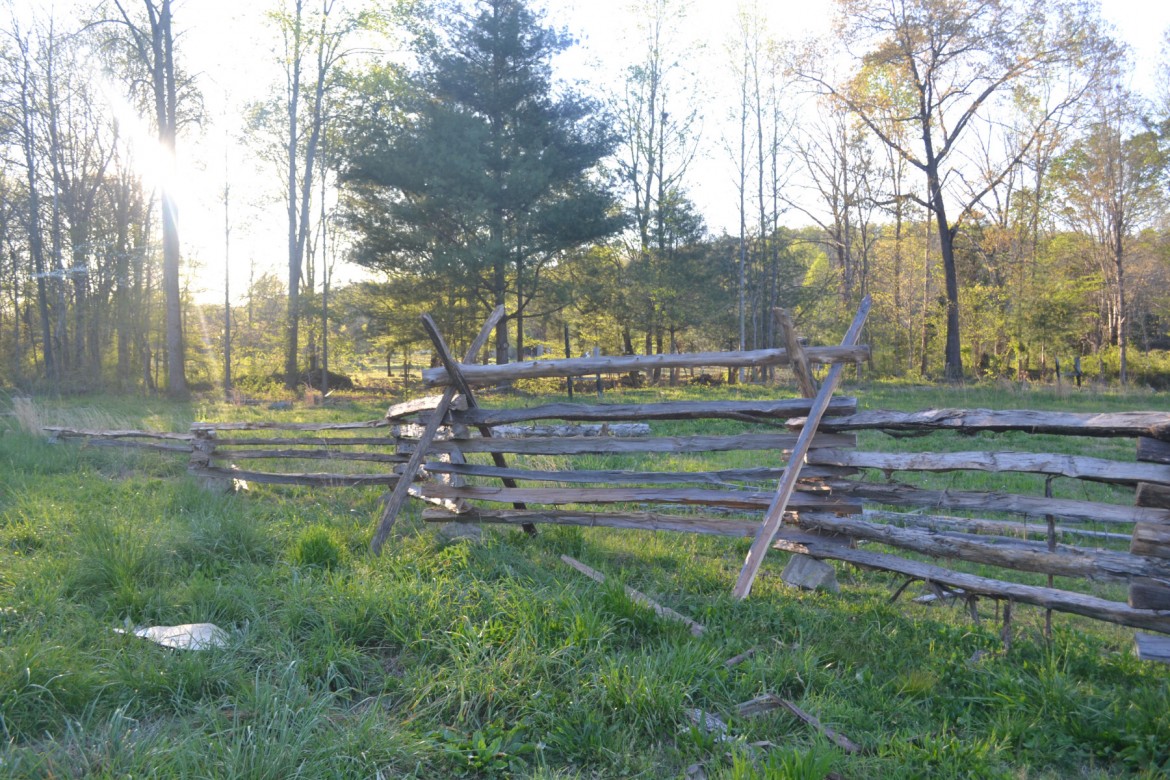
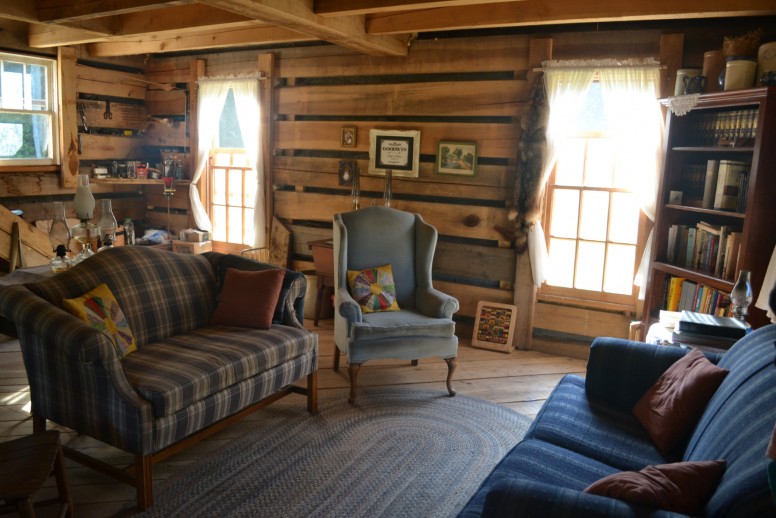
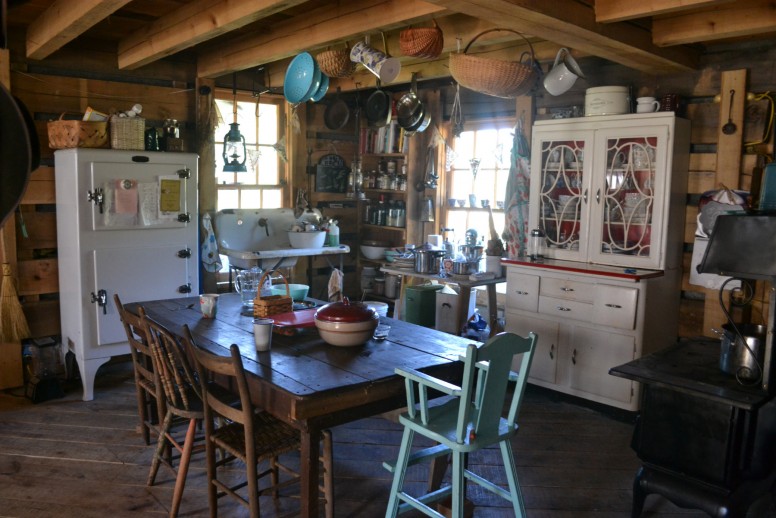
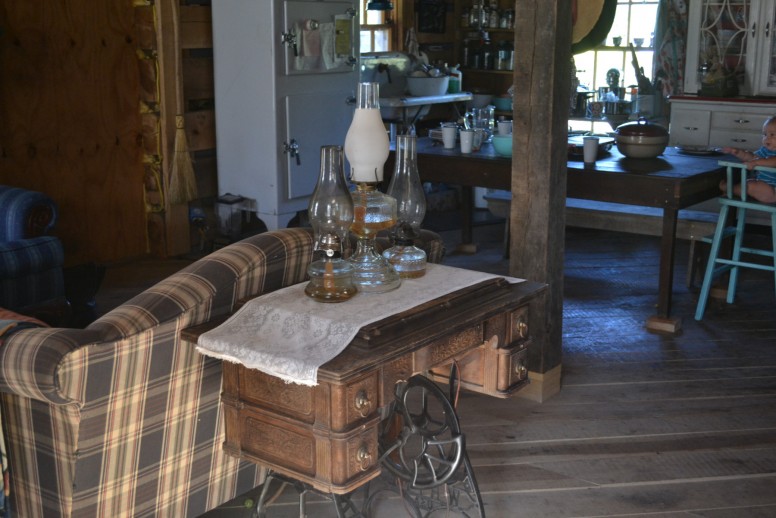
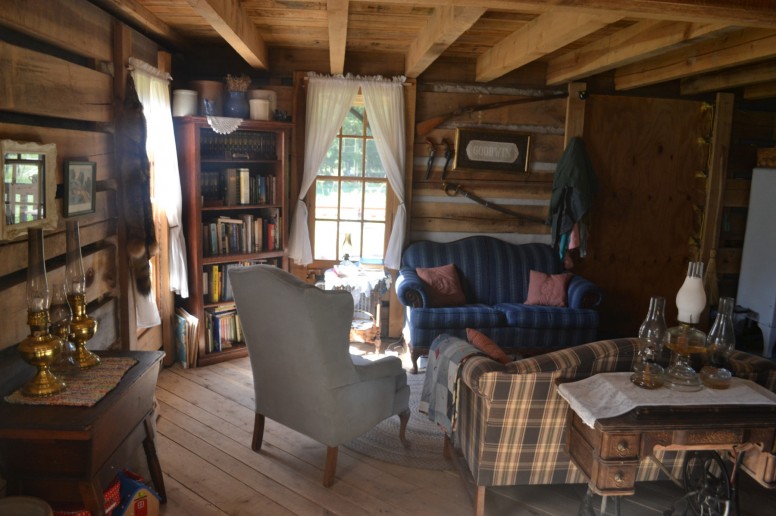
On the other side of our big open downstairs is the kitchen –

When we add a few more features to the house – such as the summer kitchen, pantry, and have a bigger woodstove – things will be arranged very differently in the kitchen. But for now, what we have works.

Because our current cookstove isn’t big enough to heat the house in the winter, we have this barrel stove attached. Eventually it will be moved to Jordan’s shop.

Now, continuing to the back room from the kitchen, you will pass my freezer and temporary pantry area. (messy, overflowing ragbag and all…) but hey. At least we have plenty of preserves to last until next blackberry season!

keep going through the next doorway, and you are in the bathroom. We don’t have running water here yet, but will someday.

Our clawfoot tub which will one day be painted, and our composting toilet system.

Lets take a quick peek at the front porch, then then we will head upstairs…

once you are up the stairs…you are now greeted with another flight of stairs! These lead to the attic, our third story.

Little peep into the attic – which is just storage right now. When it is finished out it will be bedrooms for the kids.

Back to the 2nd story – turn left into our bedroom.

Walls are coming together! It’s so exciting to be able to feel the size of the rooms now! This is a closeup of my closet area. Jordan was able to frame in lots of extra storage space, much more than I was counting on! yay! (please tell me I’m not the only wife who gets excited about closets….)

Bonus picture – Marian was napping in her crib while I snuck around taking these pictures…

Now, through the doorway into my sewing room…which may or may not be my favorite room in the house.

Fabric, research books, iron, patterns and notions all within reach. Heaven.

The last room of the 2nd story is the guest room:

We did finally find a matching window for the hole in this room. When we get that put in I will begin making this into Marian’s room. Right now it’s mostly a staging area for various projects of mine – here it was being used as a place to organize my purchase of a huge lot of vintage hats for resale.

From the sewing room you can step out on the top porch…

…which has a beautiful view!

wpid-img_20150918_185344.jpg

That’s our home as of now.

The World’s Most Amazing Clothesline

A few weeks back Jordan made me this beautiful, sturdy clothesline. I was so excited to start using it! I’ve had little cords tied from porch post to porch post to dry clothes, so this is a colossal improvement in our laundry system.

The posts are from big cedar trees that Jordan logged and sawed last summer, set deep into the ground with concrete. It has six strands of wire – so plenty of room to hang out the entire laundry hamper!

wpid-2015-09-17-17.04.17.jpg.jpeg

Here it is in action. Notice the full sun?? So nice. My little porch clothesline was in shade almost all the day, so this is another wonderful improvement. I love how the sun fades away stains, and of course speeds up drying time.

This may seem like a simple thing – but it makes me really happy! Marian loves coming out to ‘help’ me hang clothes – she hands me clothespins and says ‘thank you!’ every time. (I suspect she thinks the pins are called ‘thank yous’!)

What things have been making you happy lately?

How to Construct an Off Grid Shower with a 5-gallon bucket

The 5-gallon bucket Shower

So, I did this project back in march, and this post should have gone up then… but, better late than never, right? :)

For awhile now, we’ve had our claw-foot tub in the bathroom, with the drain plumbed in. But having no running hot water yet (and running cold water in only one place in the house so far- the kitchen sink), we have not been able to take showers, only baths, and that’s not terribly easy. We have to heat water on the stovetop or in a big cast-iron kettle outside, and then haul it to the tub in pots or buckets. It takes a lot of hot water to get a decently-deep bath in our large tub, too.

We got the “bucket bath” down to an art, too. The advantage to the bucket bath is that it takes much less hot water than filling the tub (it’s also not a real bath- and therefore not as awesome :).

Bucket bath: set a 5-gallon bucket in the tub, and fill with water at the desired temperature. Then, using a small pot or other vessel as a scoop, pour the water over yourself, being careful not to run out of water before finishing washing. Sound awkward? It is. And that cast iron tub is normally cold when you sit in it. :P

Back in march, I made the time to put us a temporary shower rig together. Here’s what I came up with.

Here’s the hardware I used. At the top of the first picture are the pulleys I attached to the bucket and ceiling, for the lifting rope to be run through. I wound up not using the showerhead, as the weight of the water in the bucket did not create enough water pressure for the head to work. The water just sorta trickled out. I intended to try to make or locate a showerhead that would work with the low pressure, but never got it done, and we have pretty much gotten used to just a solid stream of water. Had I known this was going to happen, I would not have used the shiny tube either, but used cheaper PVC pipe instead.  I used a 5-gallon plastic bucket for the water reservoir.

Note the “o” ring at right, used with simple threaded PVC fittings to attach the assembly to the bucket, and seal the joint. Works great, and the rig doesn’t leak a drop.

wpid-20150318_094416.jpg

Fittings, 1/2″ PVC. Left to right: female thread/female glue, pipe, double female glue ball valve, pipe, female glue/male thread, rubber “O”-ring, female thread/female glue. All is assembled except for the last fitting (next photo), and the male threaded end w/o-ring is inserted into a properly-sized hole drilled in the bucket, near the bottom. The last fitting, the coupler with female threads in one end, is then screwed by hand onto the male threads from the inside of the bucket, clamping the assembly firmly to the bucket.

wpid-20150318_095253.jpgwpid-20150318_100131.jpg

Here, I removed one end of the wire bail on the bucket in order to slip the eye of the pulley directly onto the bucket.

wpid-20150318_100507.jpg

Here’s the bucket fitted with the shower.

wpid-20150318_102253.jpg

There are two pulleys. One is a single pulley, while the other is a double. The rope is tied to the bucket handle, goes up to the ceiling and through one side of the double pulley, back to the bucket and through the single pulley, and back through the other side of the ceiling pulley, with the free end of the rope hanging where it can be easily reached. The multiple pulley system is absolutely necessary in my opinion, as a full bucket of water would be very hard to lift with a single pulley. The more pulleys you have, the easier it is to lift the weight.

wpid-20150318_105631.jpgwpid-20150318_105729.jpg wpid-20150423_115355.jpg

Kinda fuzzy, but you can kinda see the rope and pulley setup here, along with the shelf that the bucket sits on after it is hauled up.

wpid-20150423_115431.jpgwpid-20150423_115409.jpgThe shower works pretty well, and certainly much better than the old “bucket bath”. A full bucket can give a really good shower for one person, and we can actually both get a pretty good shower only using 1/2 a bucket each. It doesn’t take a lot of hot water to make a warm enough bucket of water, either- 4 to 6 quarts of near-boiling water seems to be plenty, usually. So there you have it- one man’s 5-gallon-bucket shower. :)

Atlanta’s Antique Woodstove

This is my cook stove. It is an antique from about 1899, designed to burn wood or coal. It was make by ‘Atlanta Stoveworks’ in Atlanta, GA. I bought the stove for $350 when I was 15 years old, at an estate sale.

My Granny actually found it first – she was at the sale and called to say she had found ‘my’ stove – since my name was written right across the door! Once I saw it I just fell in love with it. It sat on our back porch for about seven years, we cooked on it occasionally, even did some canning one summer. I did dream of using it for everyday in my own home in the future. (of course I thought I would never be able to find a guy who would want to live old fashioned enough to have a wood cookstove in the house!) Well – I did find that guy – or he found me, or something. At any rate – I was actually going to be able to use my beloved little stove!

wpid-img_20150418_155647.jpg

Before the wedding, when we were moving all of my belongings up from Texas, Jordan did some cleaning up on the body of the stove – it was covered in old rust, dirt, and thick paint (the wrong kind). He ground all of it off to make it useable. We used it in that condition, clean but bare, and sans warming oven for the first two years in our house.

I had been anxious to get it restored and looking ‘pretty’. It cooked just fine – but I think all you ladies will agree with me that its much better for morale too cook on something cute as well as utilitarian? Anyhow – this spring Jordan finished the restoration project, and I couldn’t be happier with it! He cleaned and brushed every part – and then took apart and painted everything with high-heat black satin paint.

The before pictures:

wpid-img_20150418_155709.jpgwpid-img_20150418_171538.jpgwpid-img_20150418_155657.jpgwpid-img_20150331_184733.jpgThe original warming oven brackets had been broken and then patched at some point, so Jordan hand-forged some pretty new scrolls to take their place!  The white enamel doors on the warming shelf had gotten damaged as well. We may some day replace it with new enamel – but for now we decided to just paint them with white gloss, which turned out looking great.

wpid-img_20150401_092707.jpg

Jordan painted everything but the stove top. This he polished with stove black. We will have to re-black it from time to time.

And – the finished piece! I’m so, so happy to finally have my little stove in my kitchen as I’ve been envisioning it for so long!

Don’t those scrolls look nice?

I’ve been using my handy warming oven to make yogurt. It makes a great place for bread to rise, too!

wpid-img_20150424_074121.jpg

I feel quite fancy cooking on such a pretty piece!

I’m so proud of Jordan for doing such a beautiful job.

Homestead Progress

wpid-20150424_171354.jpgWell folks, it’s time for an (EXTREMELY overdue) update. :) We are slowly making some visible progress around the homestead. Here are a few pictures showing some of the things we’ve had going this spring.

The next three photos show the area of our yard that has been covered in leftover lumber, wood scraps, and metal roofing (originally used to cover the stacks of lumber) since the initial construction of the house. This has been what Jordan calls a “colossal mess” for the two years we’ve been married. Now the mess is cleaned up, and the area is closer to ready for it’s use as yard and gardens. Jordan’s brother Jeremiah was hired to do much of the work of cleanup, while Jordan worked on other pressing projects.

wpid-20150424_171238.jpgwpid-20150424_171301.jpgwpid-20150424_171314.jpg

The lumber was sorted, and some moved and re-stacked, some given to friends, and the culls and scraps cut and split into firewood for our little cookstove. The “cooking wood” section of the woodshed is full to overflowing.

wpid-20150424_171743.jpg

Here’s another project we’ve had going: our red raspberry patch. This patch was originally planted nearly ten years ago by Jordan’s family, and after they moved because of a house fire, became neglected. Our house now stands just a few feet from these raspberry plants. With help from another part-time hand,  and Atlanta’s brother Stockton, we cleaned the weeds out from between the plants, and transplanted the many young plants that had sprouted in the past few years. Some of these plants went to start a new berry patch at Jordan’s parents house, and some were given to friends, and all the rest were used to fill out these two rows. The patch now has around 60 plants, at a spacing of about 18″ between plants. The patch is mulched heavily with wood chips about 8″ deep. The next step is to build trellises for the raspberry canes to climb on. We don’t expect the plants to bear fruit this year, but hopefully they will next year!

wpid-20150424_171945.jpgwpid-20150424_172048.jpgwpid-20150424_172132.jpgThat’s all for now, but we have lots more to show y’all real soon, including things like porch railings, splitting fence rails, vintage tractor restoration work, and more!

Stay tuned, and God bless.

Little Moments

Just a few shots of little moments from the past few weeks.

Winter morning light in my sewing room.
Marian taking a nap.
Pancakes with blackberry & honey syrup for breakfast. The berries we picked last year and froze – very much looking forward to this summer’s berry season!
…because every baby girl wears Carhartt overalls, right? (actually these are amazing for her crawling adventures. Keeps her knees protected and her clothes underneath clean!)
I recruited Jordan to help me do a bit of early spring cleaning…or perhaps its ‘nesting’ in my case. Beating out our (very filthy) braided wool rug. After this we also pressure washed it with the hose. It looks SO much better now.
Beans, rice and cornbread for lunch!
Recently Jordan’s right hand got rather badly burned. We treated it with an Amish method involving wrapping the hand in healing salve and burdock leaves. I’d never done this before so I was very glad to learn about it!
His hand looked pretty strange all wrapped up with leaves!
Marian attempting to throw rocks in the creek.
A really beautiful picture Jordan took while driving.
Jordan recently got my washing machine moved to the front porch so it would be easier to do small loads of laundry on these cold days. Yay!
Marian is quite fascinated by the whole process.
Wringing out a load of Marian’s little things.
Yes, I take pictures of our bathroom. Isn’t the morning light pretty, though?
Enjoying a warm sunny day outside with Marian.


Our cozy bedroom.
This was so sad and sweet. Marian was getting ‘droopy’ while riding on Dad’s shoulders when we were walking in the woods one morning. He laid her on his chest and told her she could sleep if she wanted to, and she just closed her eyes and didn’t move the rest of the walk! (she was even snoring!)
A breath-taking sunset we got to watch from our second story porch.

Homestead Layout Plan

As we start this New Year, Atlanta and I have big plans. We won’t be able to accomplish everything that we’d like to, but we certainly have a list of projects to work on. We want to make a lot of progress this year on finishing the house; we want to have a garden (we have not had one to speak of since we married); and we want to start setting up our little homestead in earnest.

I have several outbuildings planned, of which I hope to complete one or two this year. I am going to share with you an aerial photo of Winshaw, with a rough layout plan for outbuildings & etc. drawn over it. The photo was taken by good friend Jesse Wright, from over at Wright Family Farm, using a remote-controlled aerial photography drone. The technology available nowadays is mind-boggling (to me, anyways:)!

I will go through the items in the photo in order:

#1, at the extreme left, is my temporary fabrication shop, in which I do most of the work on the miniature steel beds for our online business, Dream Come True Beds. This temporary structure was built two weeks after our wedding, and measures 10 feet wide and 12 feet long, and houses one steel 3’x8’ workbench, my MIG welder, and an oxy-acetylene gas cutting torch. I am in the process of enlarging this temporary shop to 10’x18’ and adding two more 3’x8’ steel benches.

#2 is the site of a “pole-barn” that I plan to build later this year, Lord willing. It will measure 20 feet wide and 50 feet long, and will have a more permanent, larger space for my fabrication shop, along with storage areas for our farming and construction-related tools and materials, plus a room to house my 1941-vintage Farmall tractor (which belonged to my grandfather. I’m in the process of restoring it.). This barn will probably have a fairly large loft, but I’m not exactly sure what said loft will be used for-yet. There’s rarely any such thing as “extra” space for us.

#3 is another building site. On this one will stand our main shop. I hope to construct this building using traditional “timber-framing” methods. The main part of the structure will be essentially two stories, and will measure 20 feet wide and 70 feet long. The bottom story will have several different work spaces, and the top story will be finished out into living quarters and household storage. There will be a mostly open porch, or “lean-to” on the side nearest the house, that will add an extra 20 feet in width for the full length of the building.

#4, the dotted line, is the approximate route of a proposed driveway loop around the house.

#5. The flotsam inside this circle is mostly gone now- it was the left-overs from the many stacks of lumber I had sawed for building the house. We plan to finish clearing it out this spring. Most of the area around the front of the house and inside the future driveway loop will eventually be filled with raised-bed gardens.

#6. Mostly obscured by the trees, this is where the creek runs by the house.

#7. This is the house, and the narrow red box on the left edge of the house is the site of an unfinished portion of the house- the summer-kitchen/pantry/woodshed. The summer kitchen will be a screened-in porch set up as a second kitchen, providing extra storage, as well as a well-ventilated workspace in the hot summertime. The pantry will be a well-insulated store-room, designed to stay (relatively) cool in the summer, and warm (but not too warm) in the winter.

#8. Not really visible, but this is the hill-side site of our root cellar. Basically an underground basement separate from the house, its finished dimensions are planned at 8 feet wide and 16 feet long. The root cellar will be used as storage for vegetables and fruits, such as potatoes, squash, apples… plus canned goods.

So there you have it. Follow along here to watch us on our journey, as we build our homestead!