The 5-gallon bucket Shower
So, I did this project back in march, and this post should have gone up then… but, better late than never, right? :)
For awhile now, we’ve had our claw-foot tub in the bathroom, with the drain plumbed in. But having no running hot water yet (and running cold water in only one place in the house so far- the kitchen sink), we have not been able to take showers, only baths, and that’s not terribly easy. We have to heat water on the stovetop or in a big cast-iron kettle outside, and then haul it to the tub in pots or buckets. It takes a lot of hot water to get a decently-deep bath in our large tub, too.
We got the “bucket bath” down to an art, too. The advantage to the bucket bath is that it takes much less hot water than filling the tub (it’s also not a real bath- and therefore not as awesome :).
Bucket bath: set a 5-gallon bucket in the tub, and fill with water at the desired temperature. Then, using a small pot or other vessel as a scoop, pour the water over yourself, being careful not to run out of water before finishing washing. Sound awkward? It is. And that cast iron tub is normally cold when you sit in it. :P
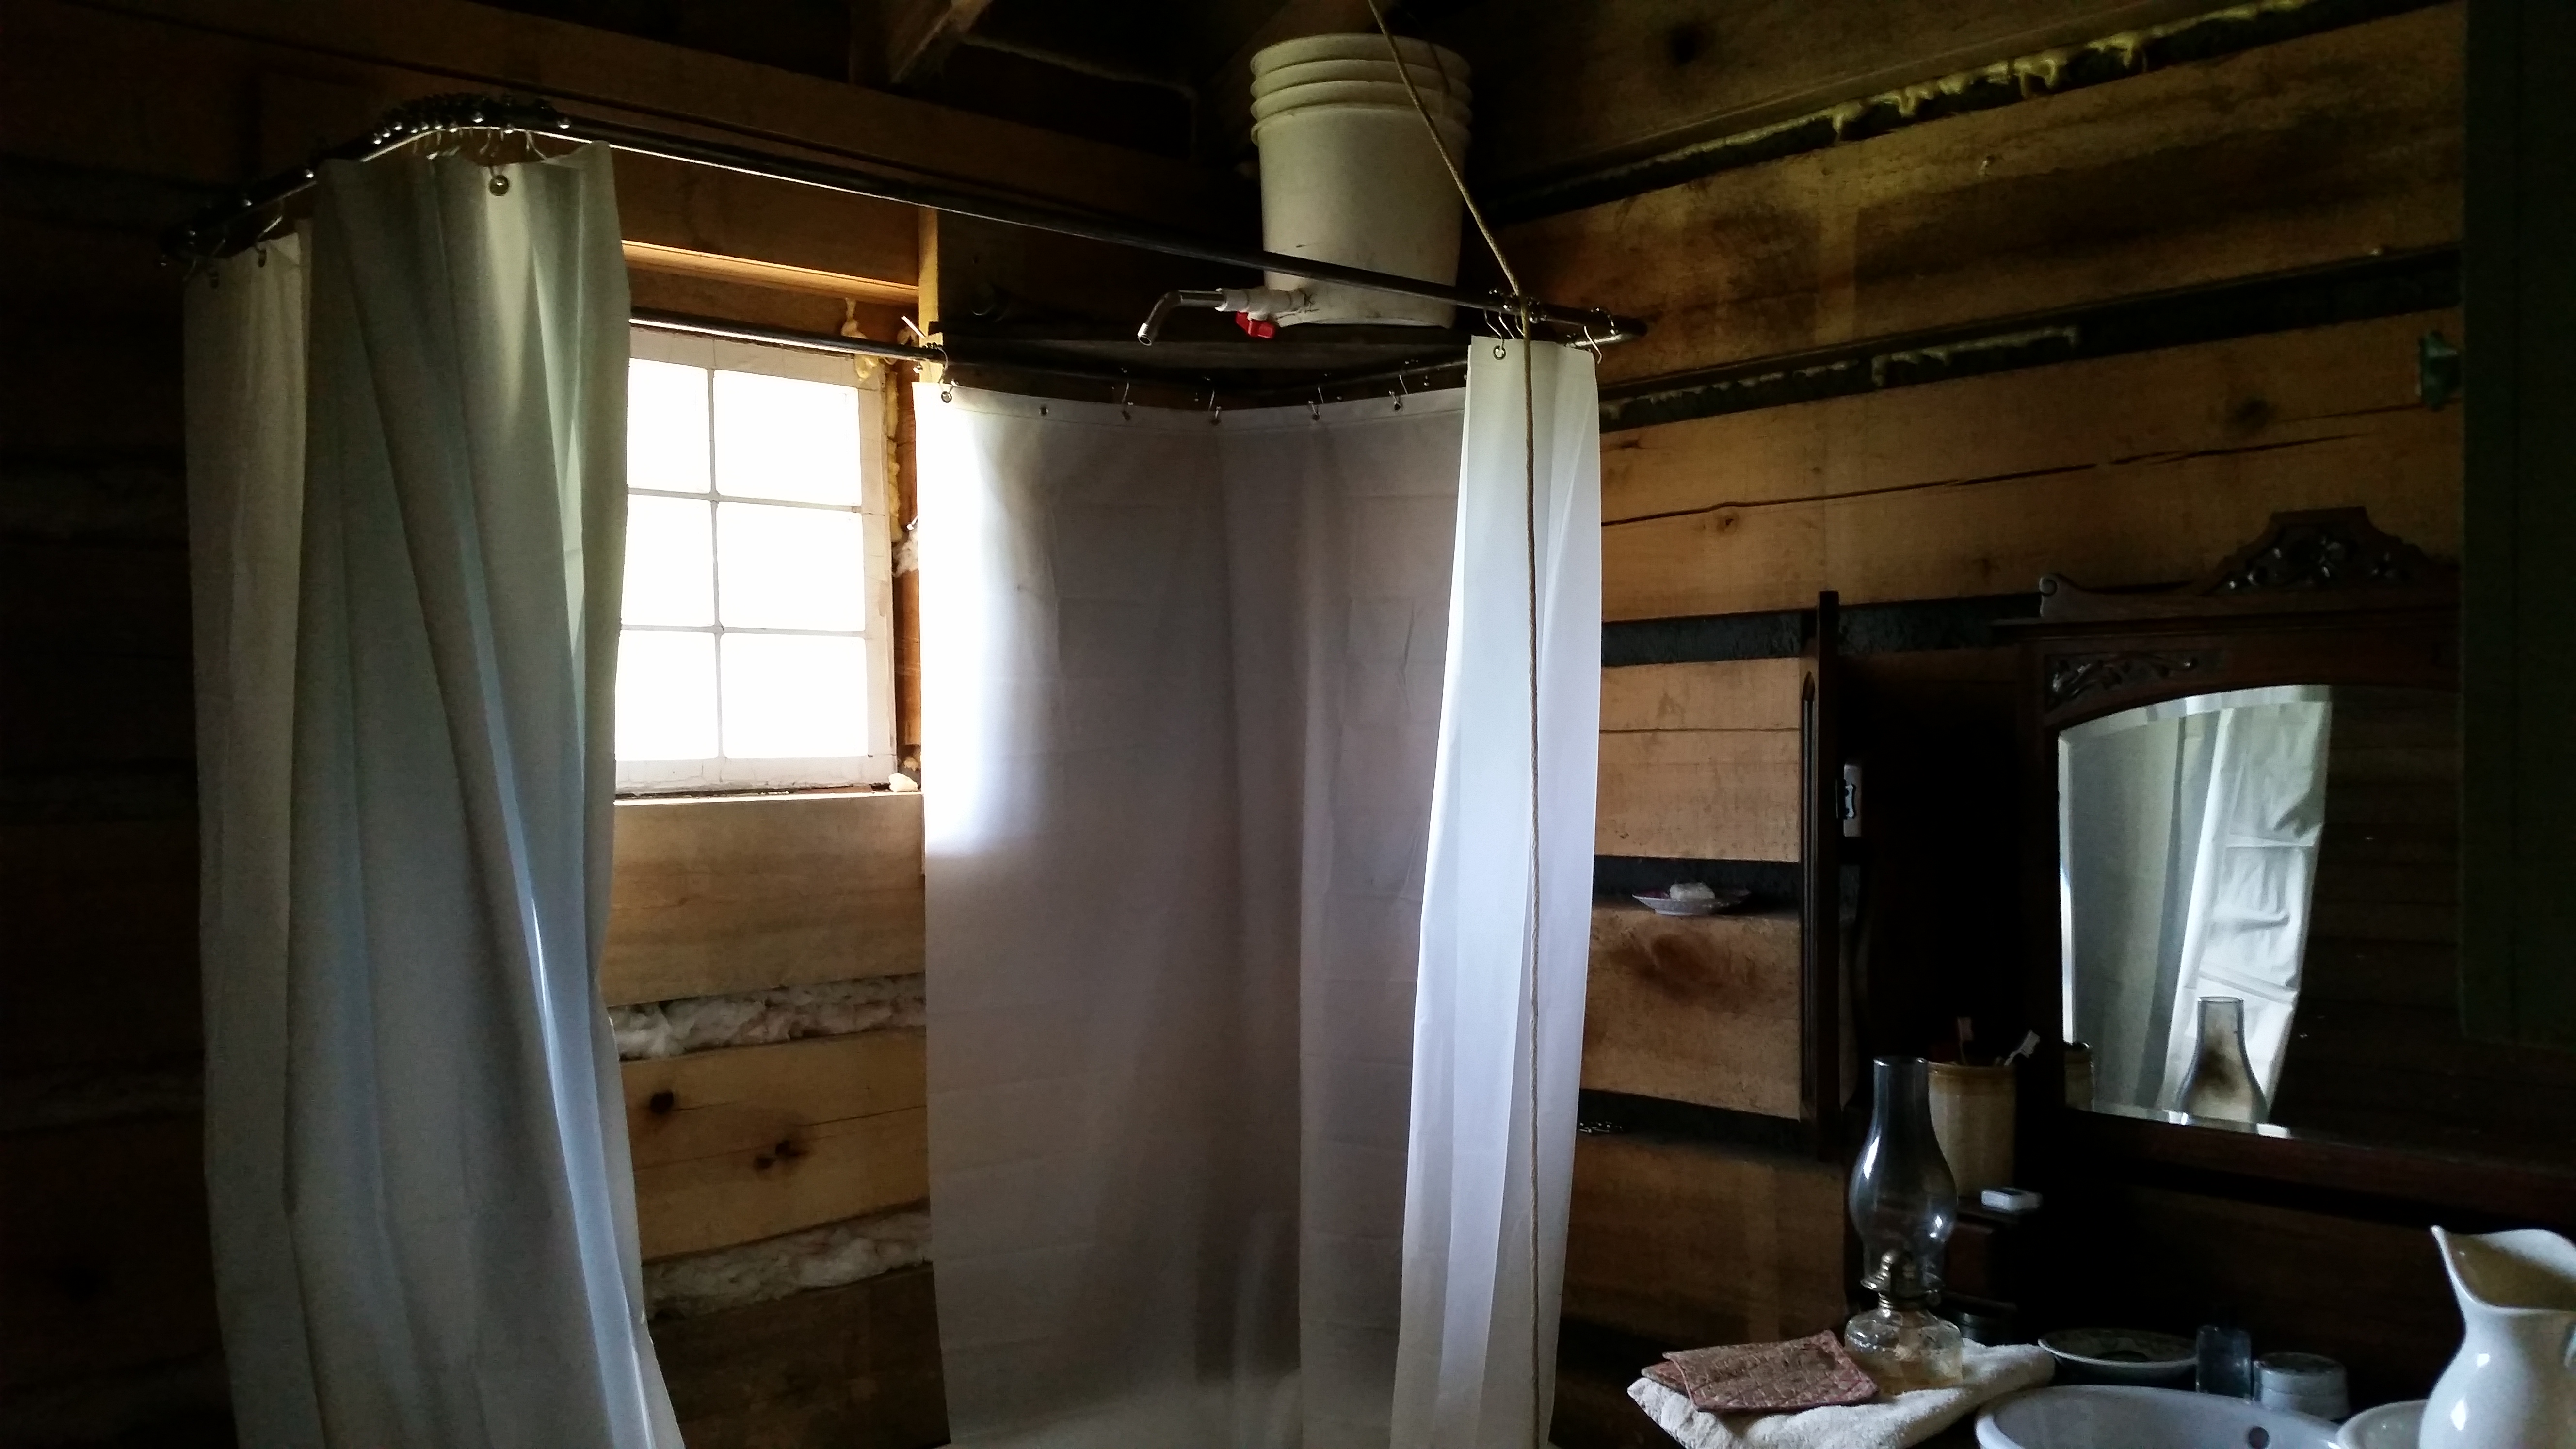
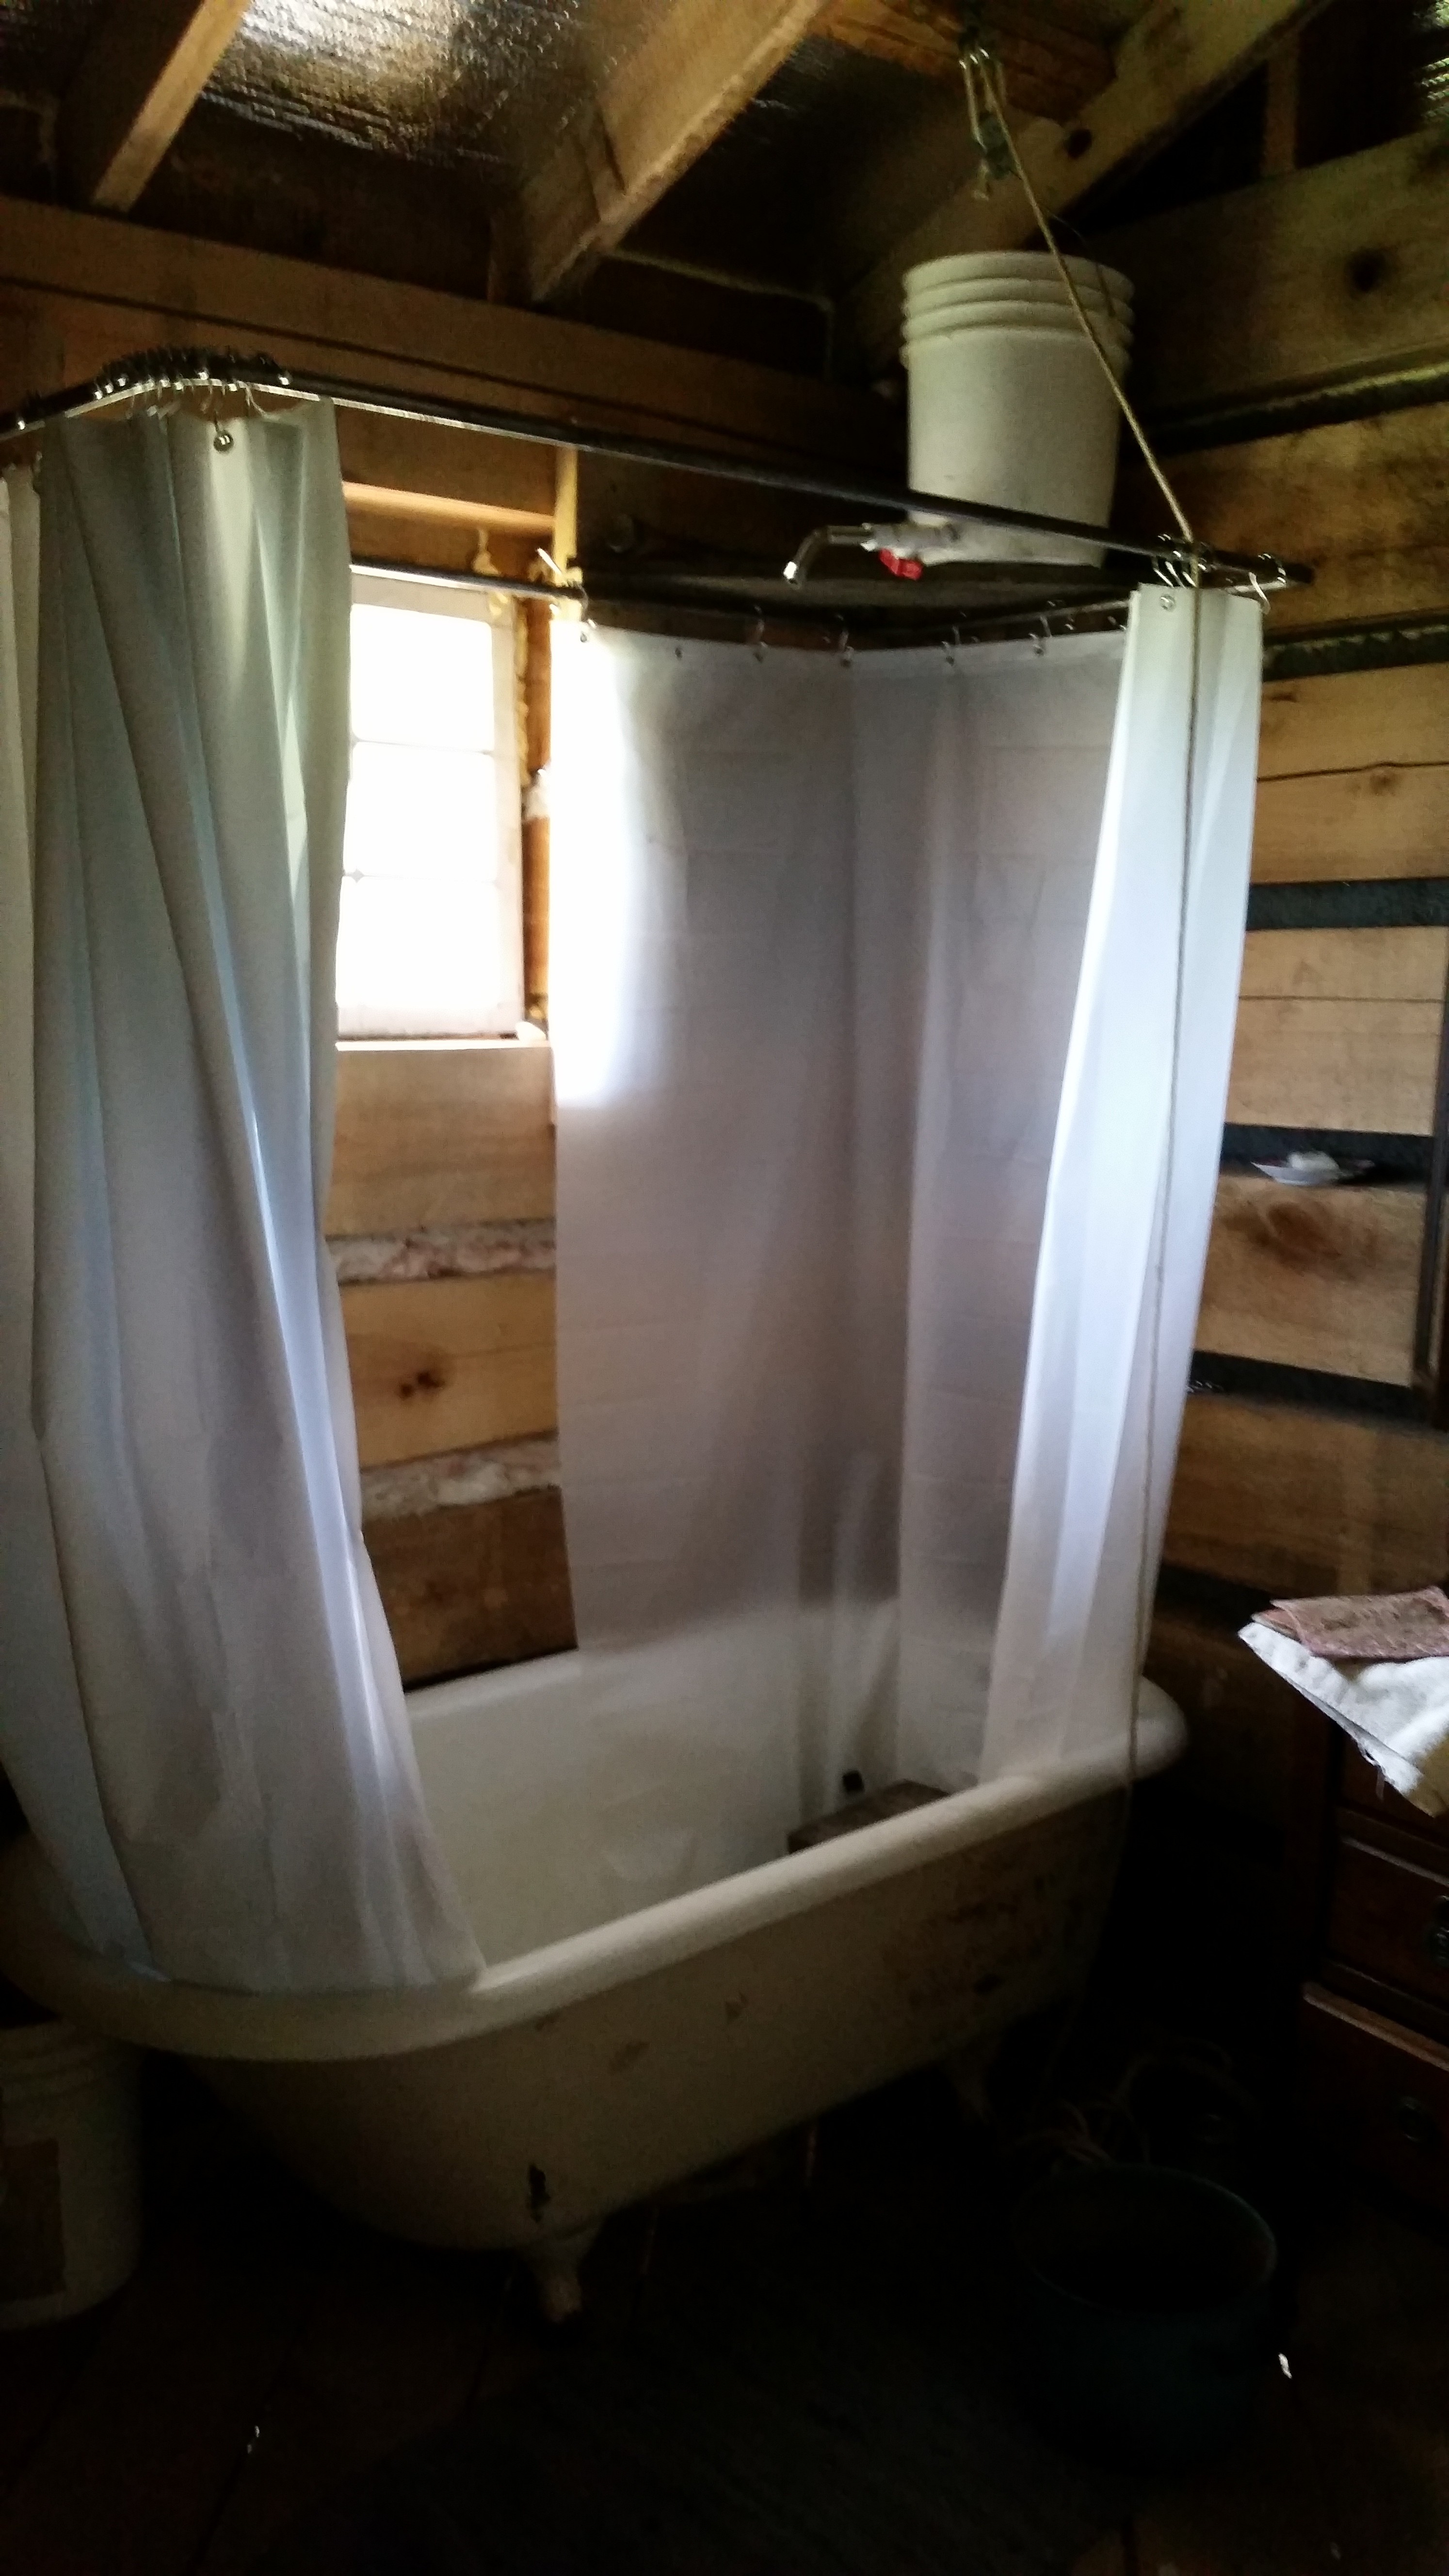
Back in march, I made the time to put us a temporary shower rig together. Here’s what I came up with.
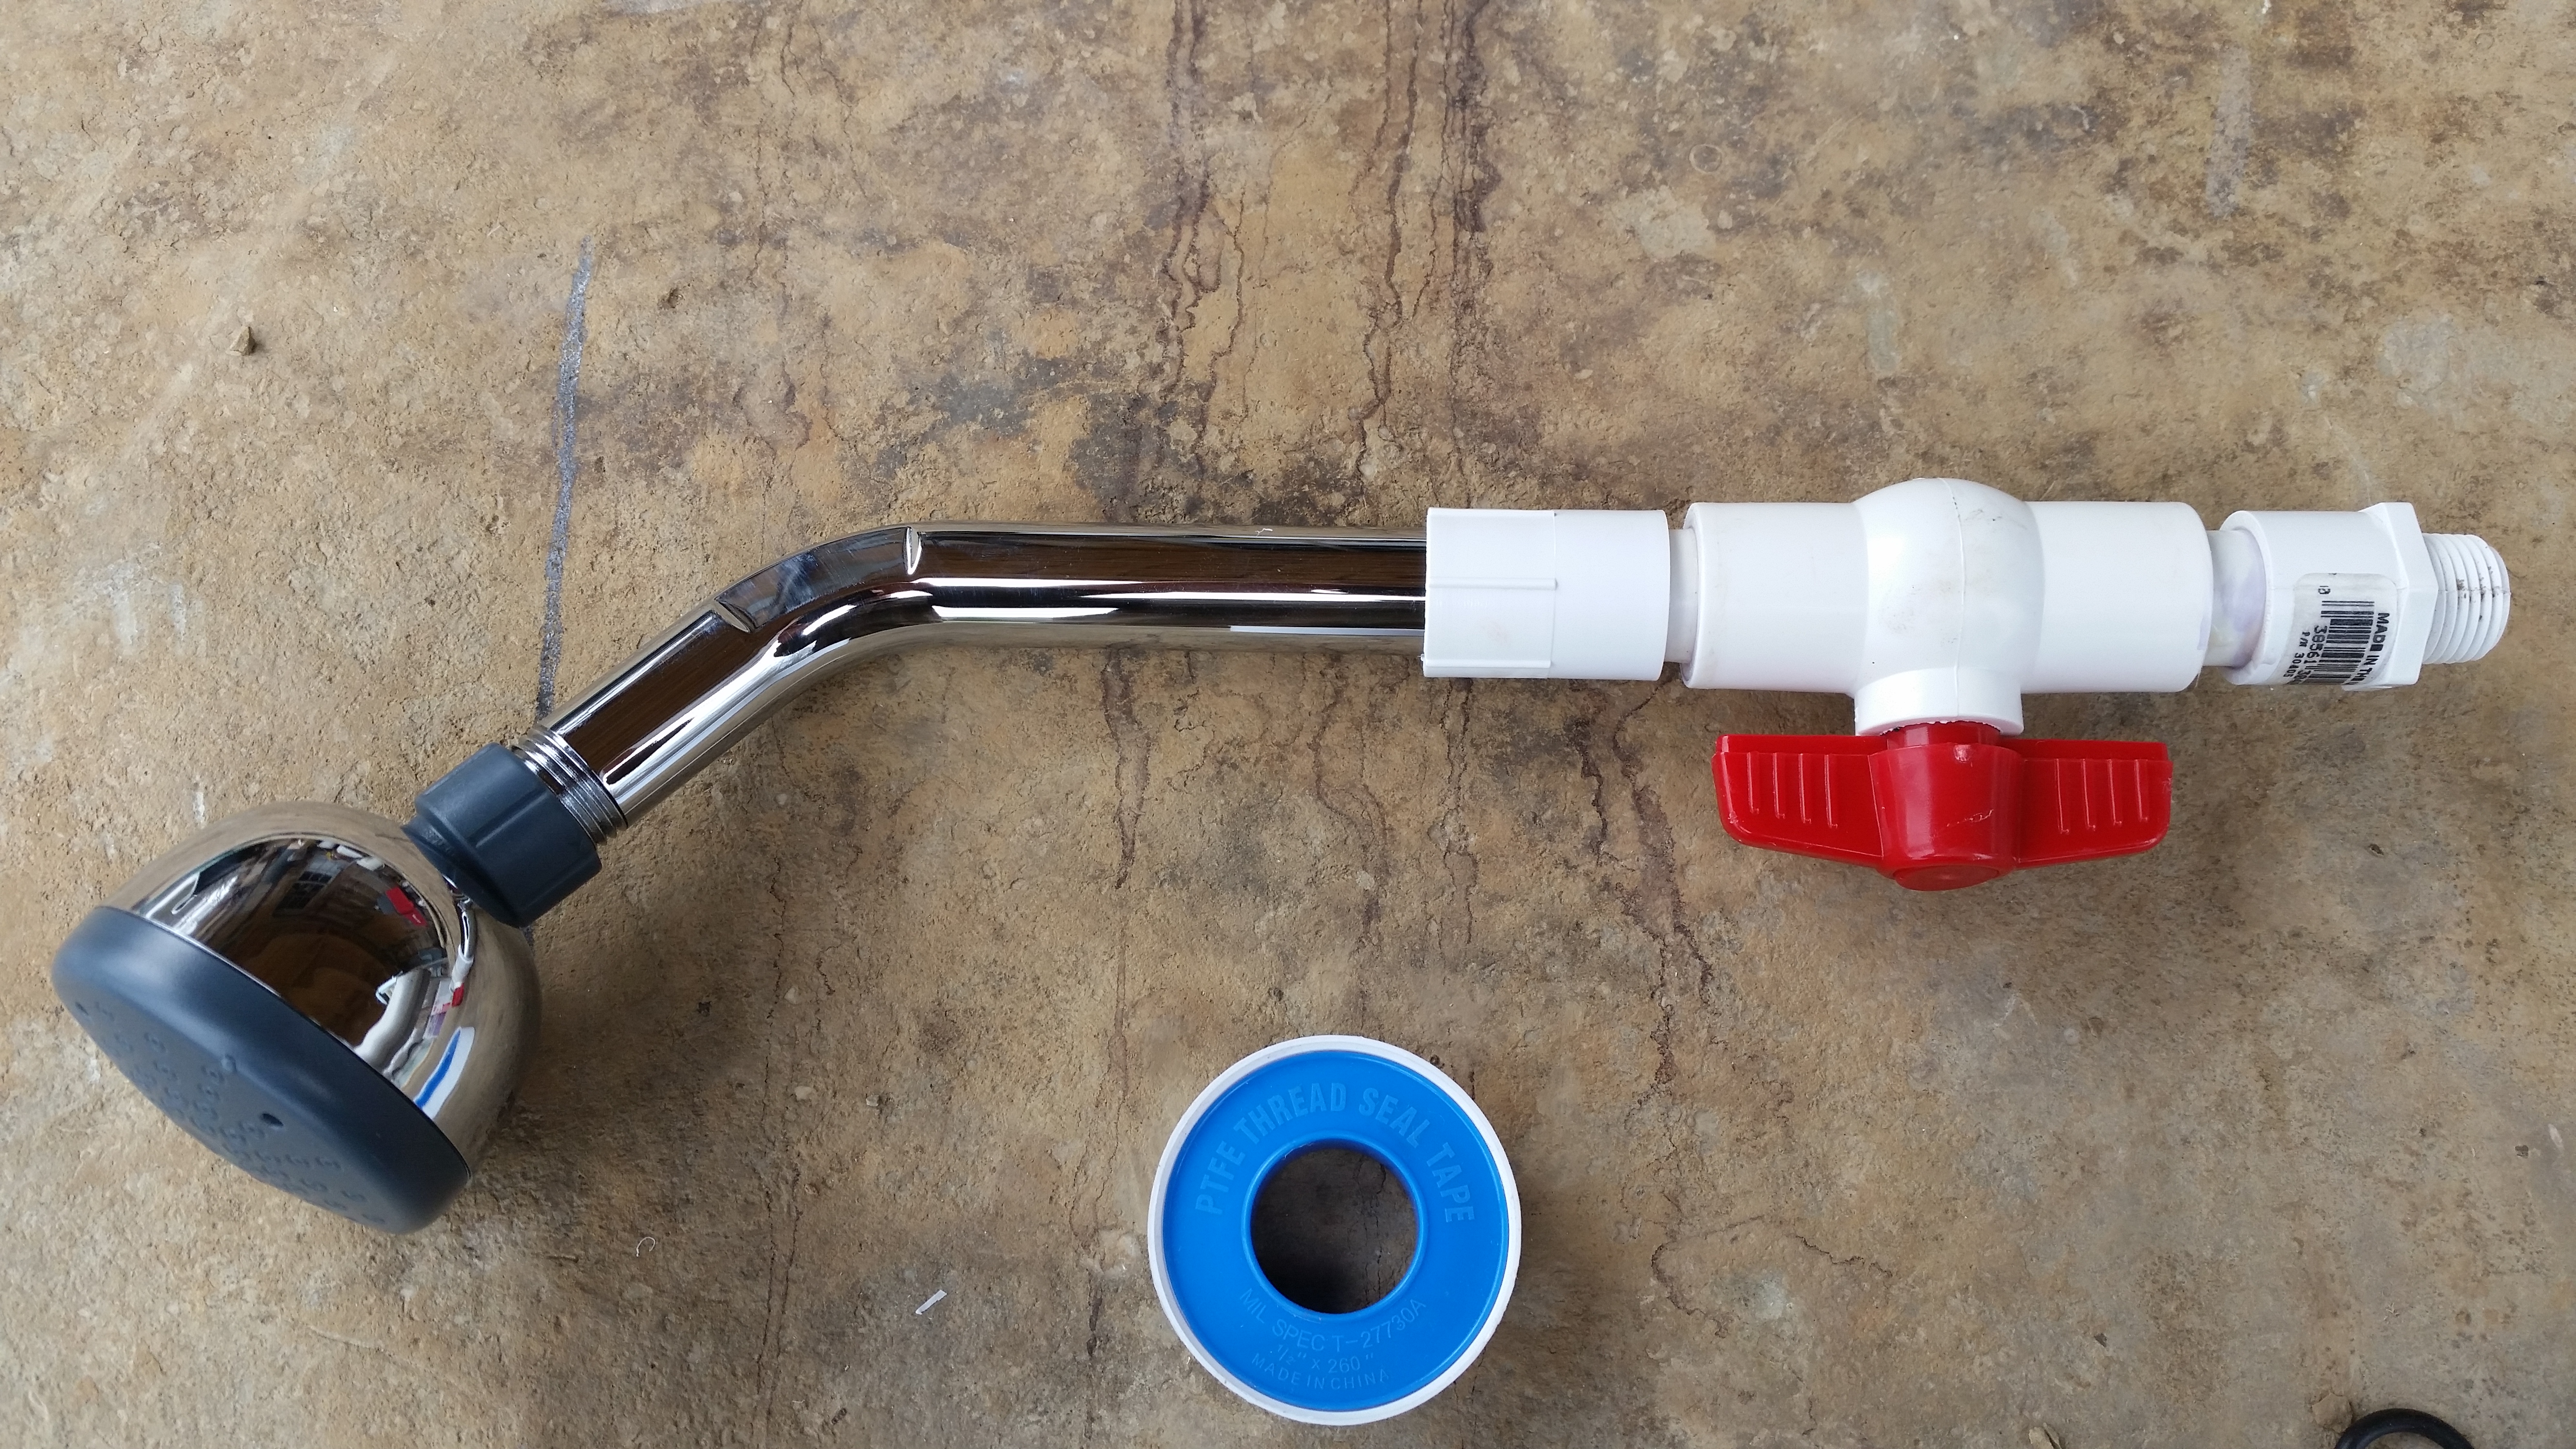
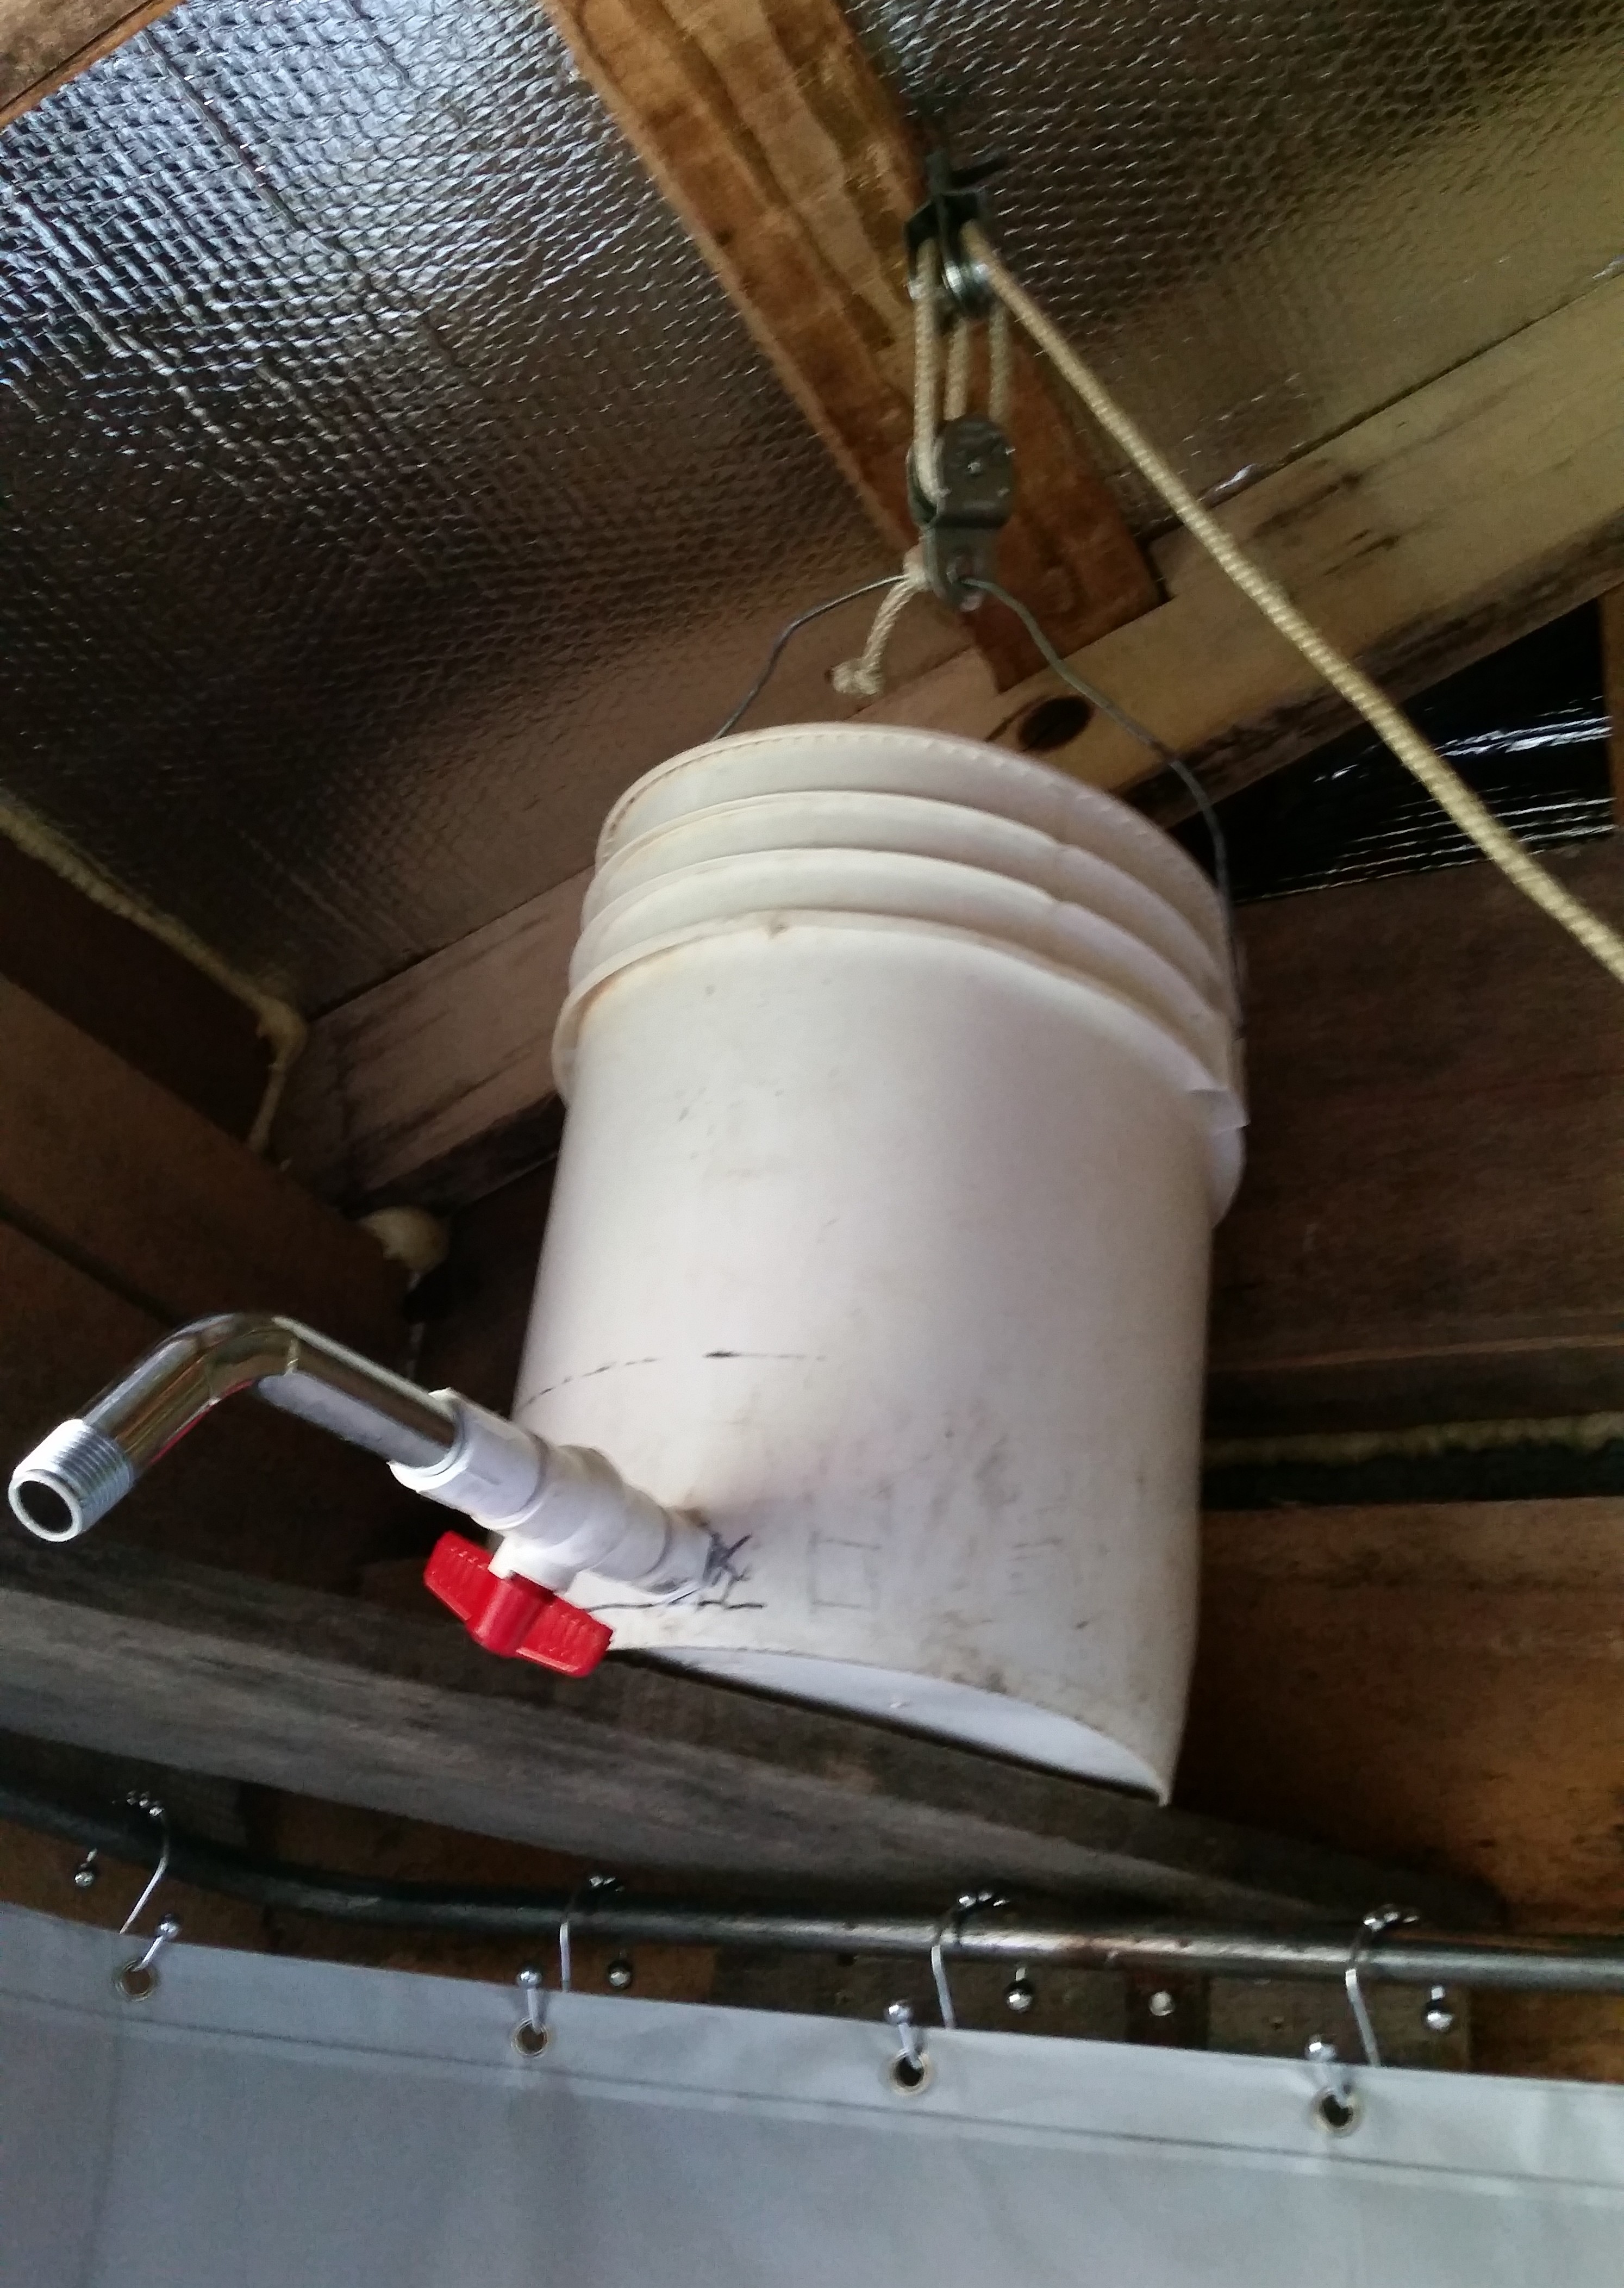
Here’s the hardware I used. At the top of the first picture are the pulleys I attached to the bucket and ceiling, for the lifting rope to be run through. I wound up not using the showerhead, as the weight of the water in the bucket did not create enough water pressure for the head to work. The water just sorta trickled out. I intended to try to make or locate a showerhead that would work with the low pressure, but never got it done, and we have pretty much gotten used to just a solid stream of water. Had I known this was going to happen, I would not have used the shiny tube either, but used cheaper PVC pipe instead. I used a 5-gallon plastic bucket for the water reservoir.
Note the “o” ring at right, used with simple threaded PVC fittings to attach the assembly to the bucket, and seal the joint. Works great, and the rig doesn’t leak a drop.
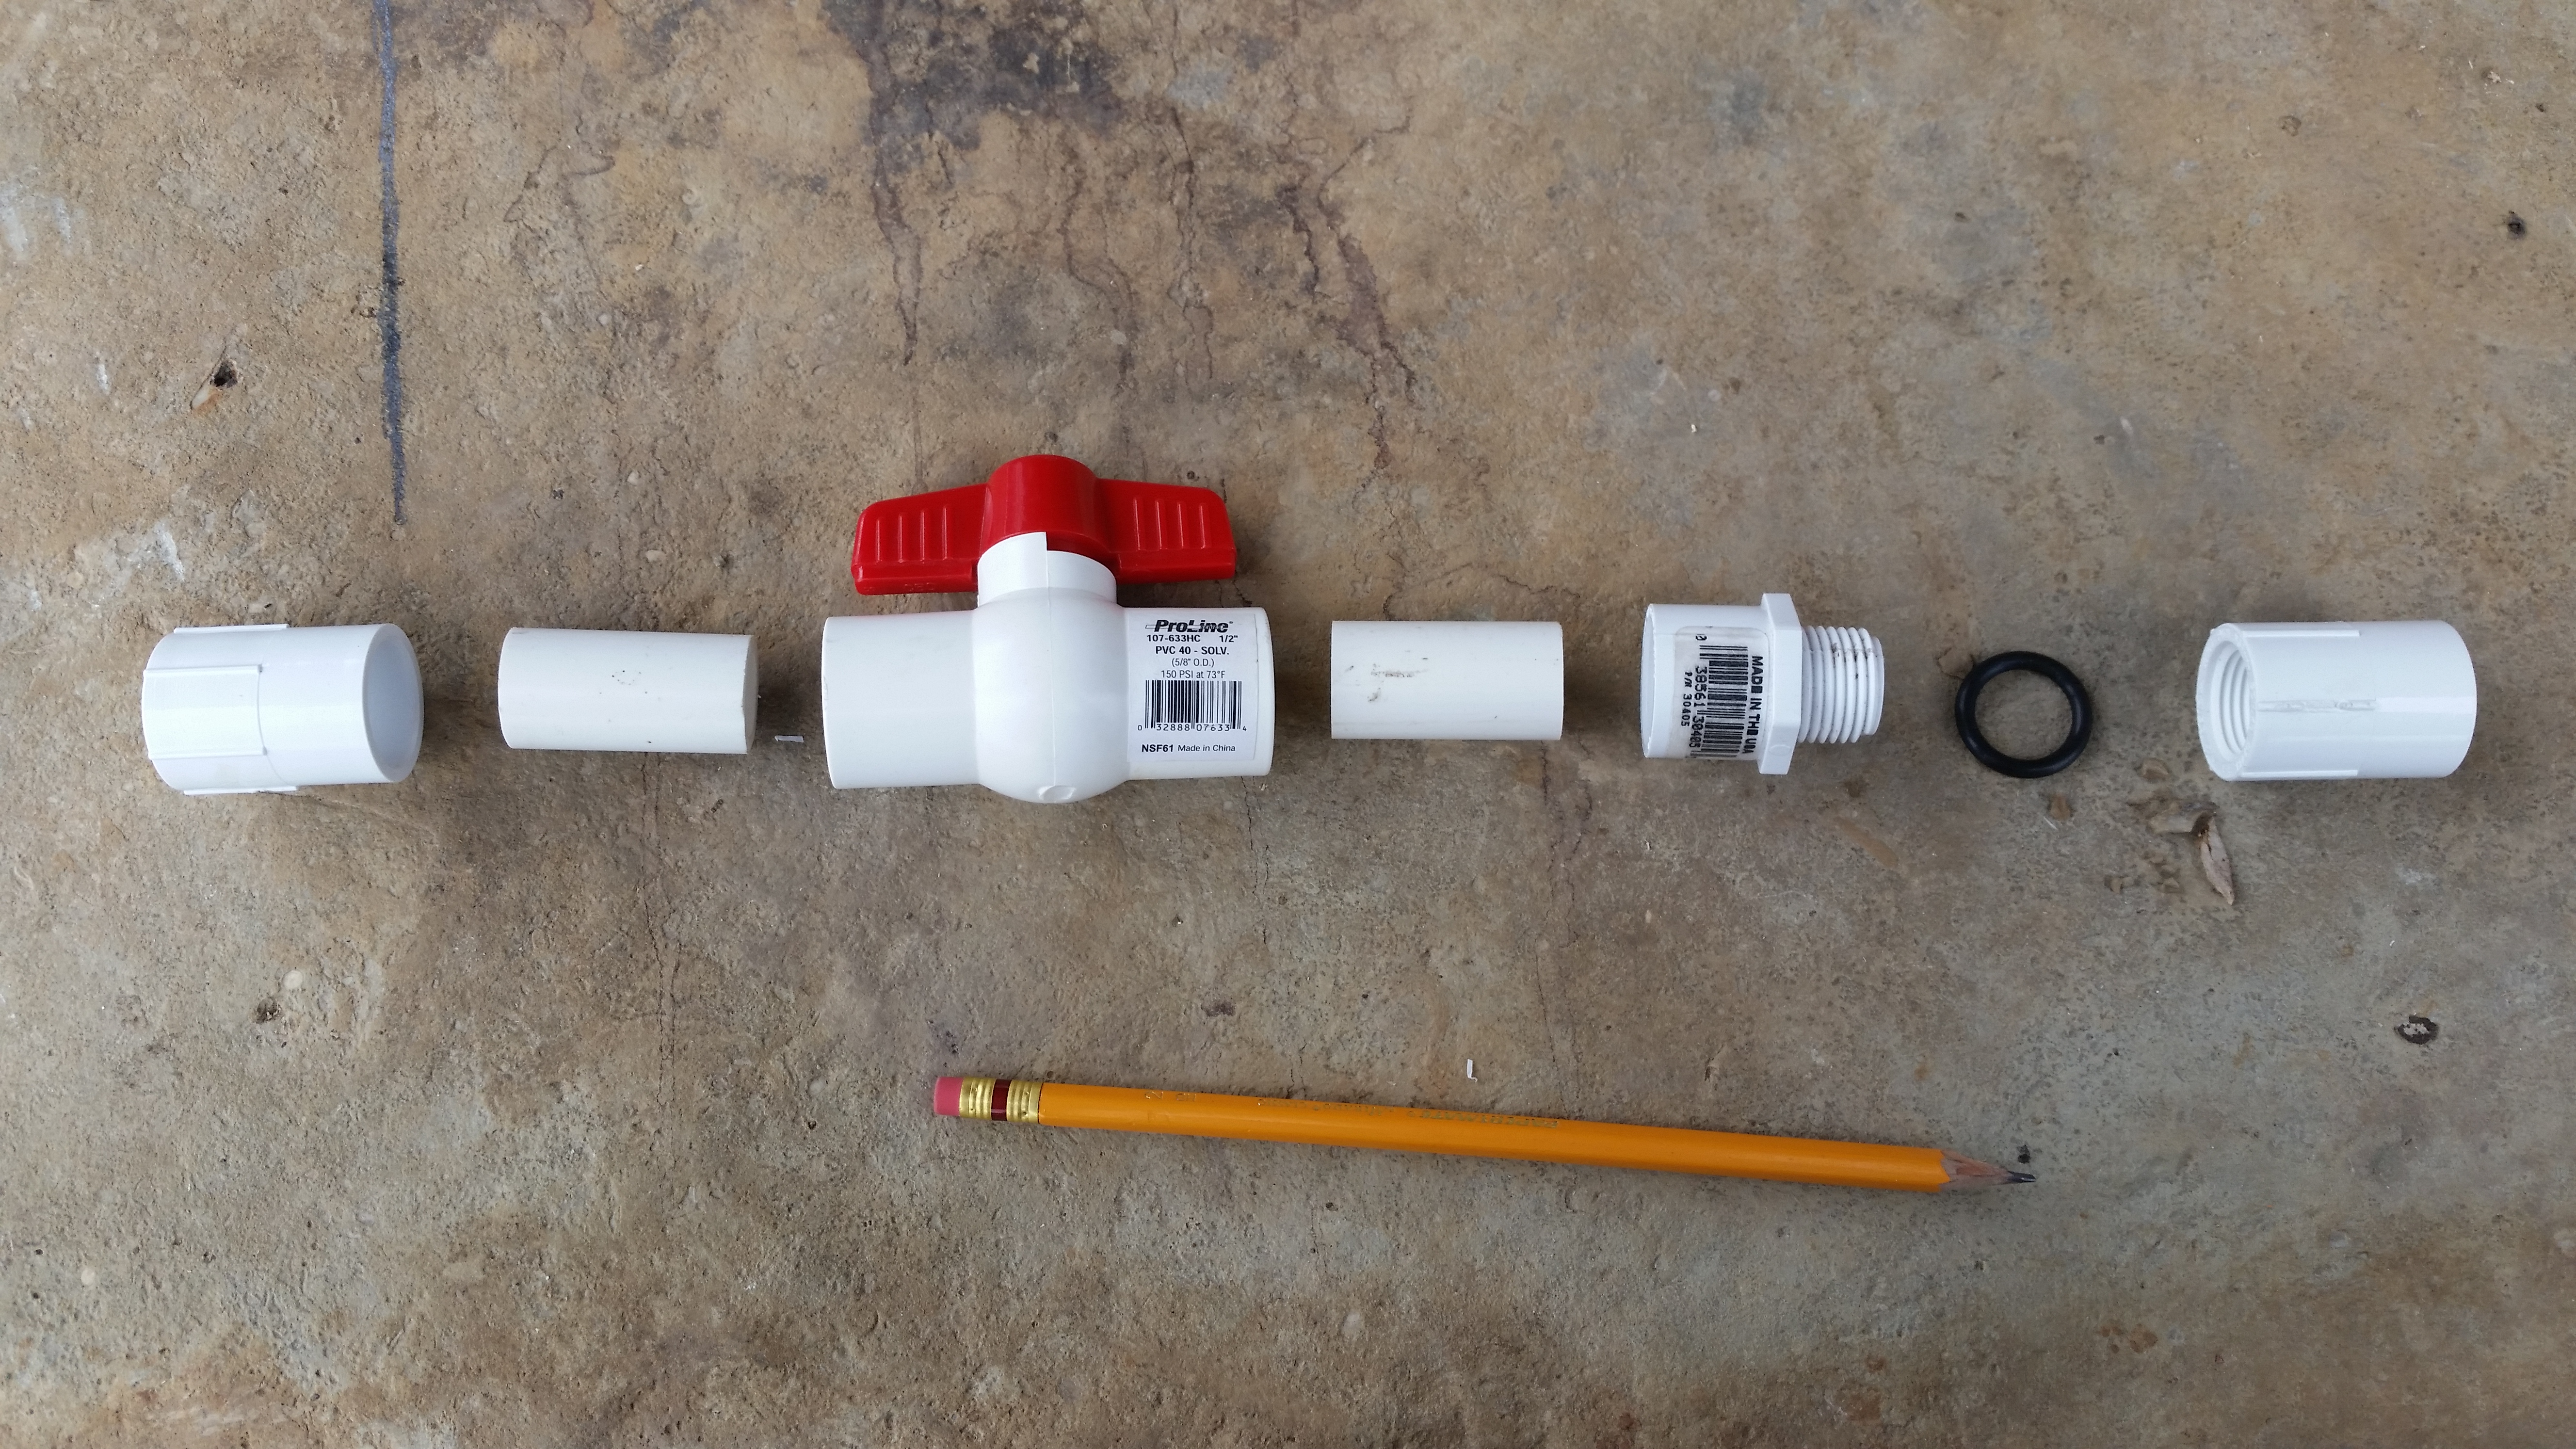
Fittings, 1/2″ PVC. Left to right: female thread/female glue, pipe, double female glue ball valve, pipe, female glue/male thread, rubber “O”-ring, female thread/female glue. All is assembled except for the last fitting (next photo), and the male threaded end w/o-ring is inserted into a properly-sized hole drilled in the bucket, near the bottom. The last fitting, the coupler with female threads in one end, is then screwed by hand onto the male threads from the inside of the bucket, clamping the assembly firmly to the bucket.
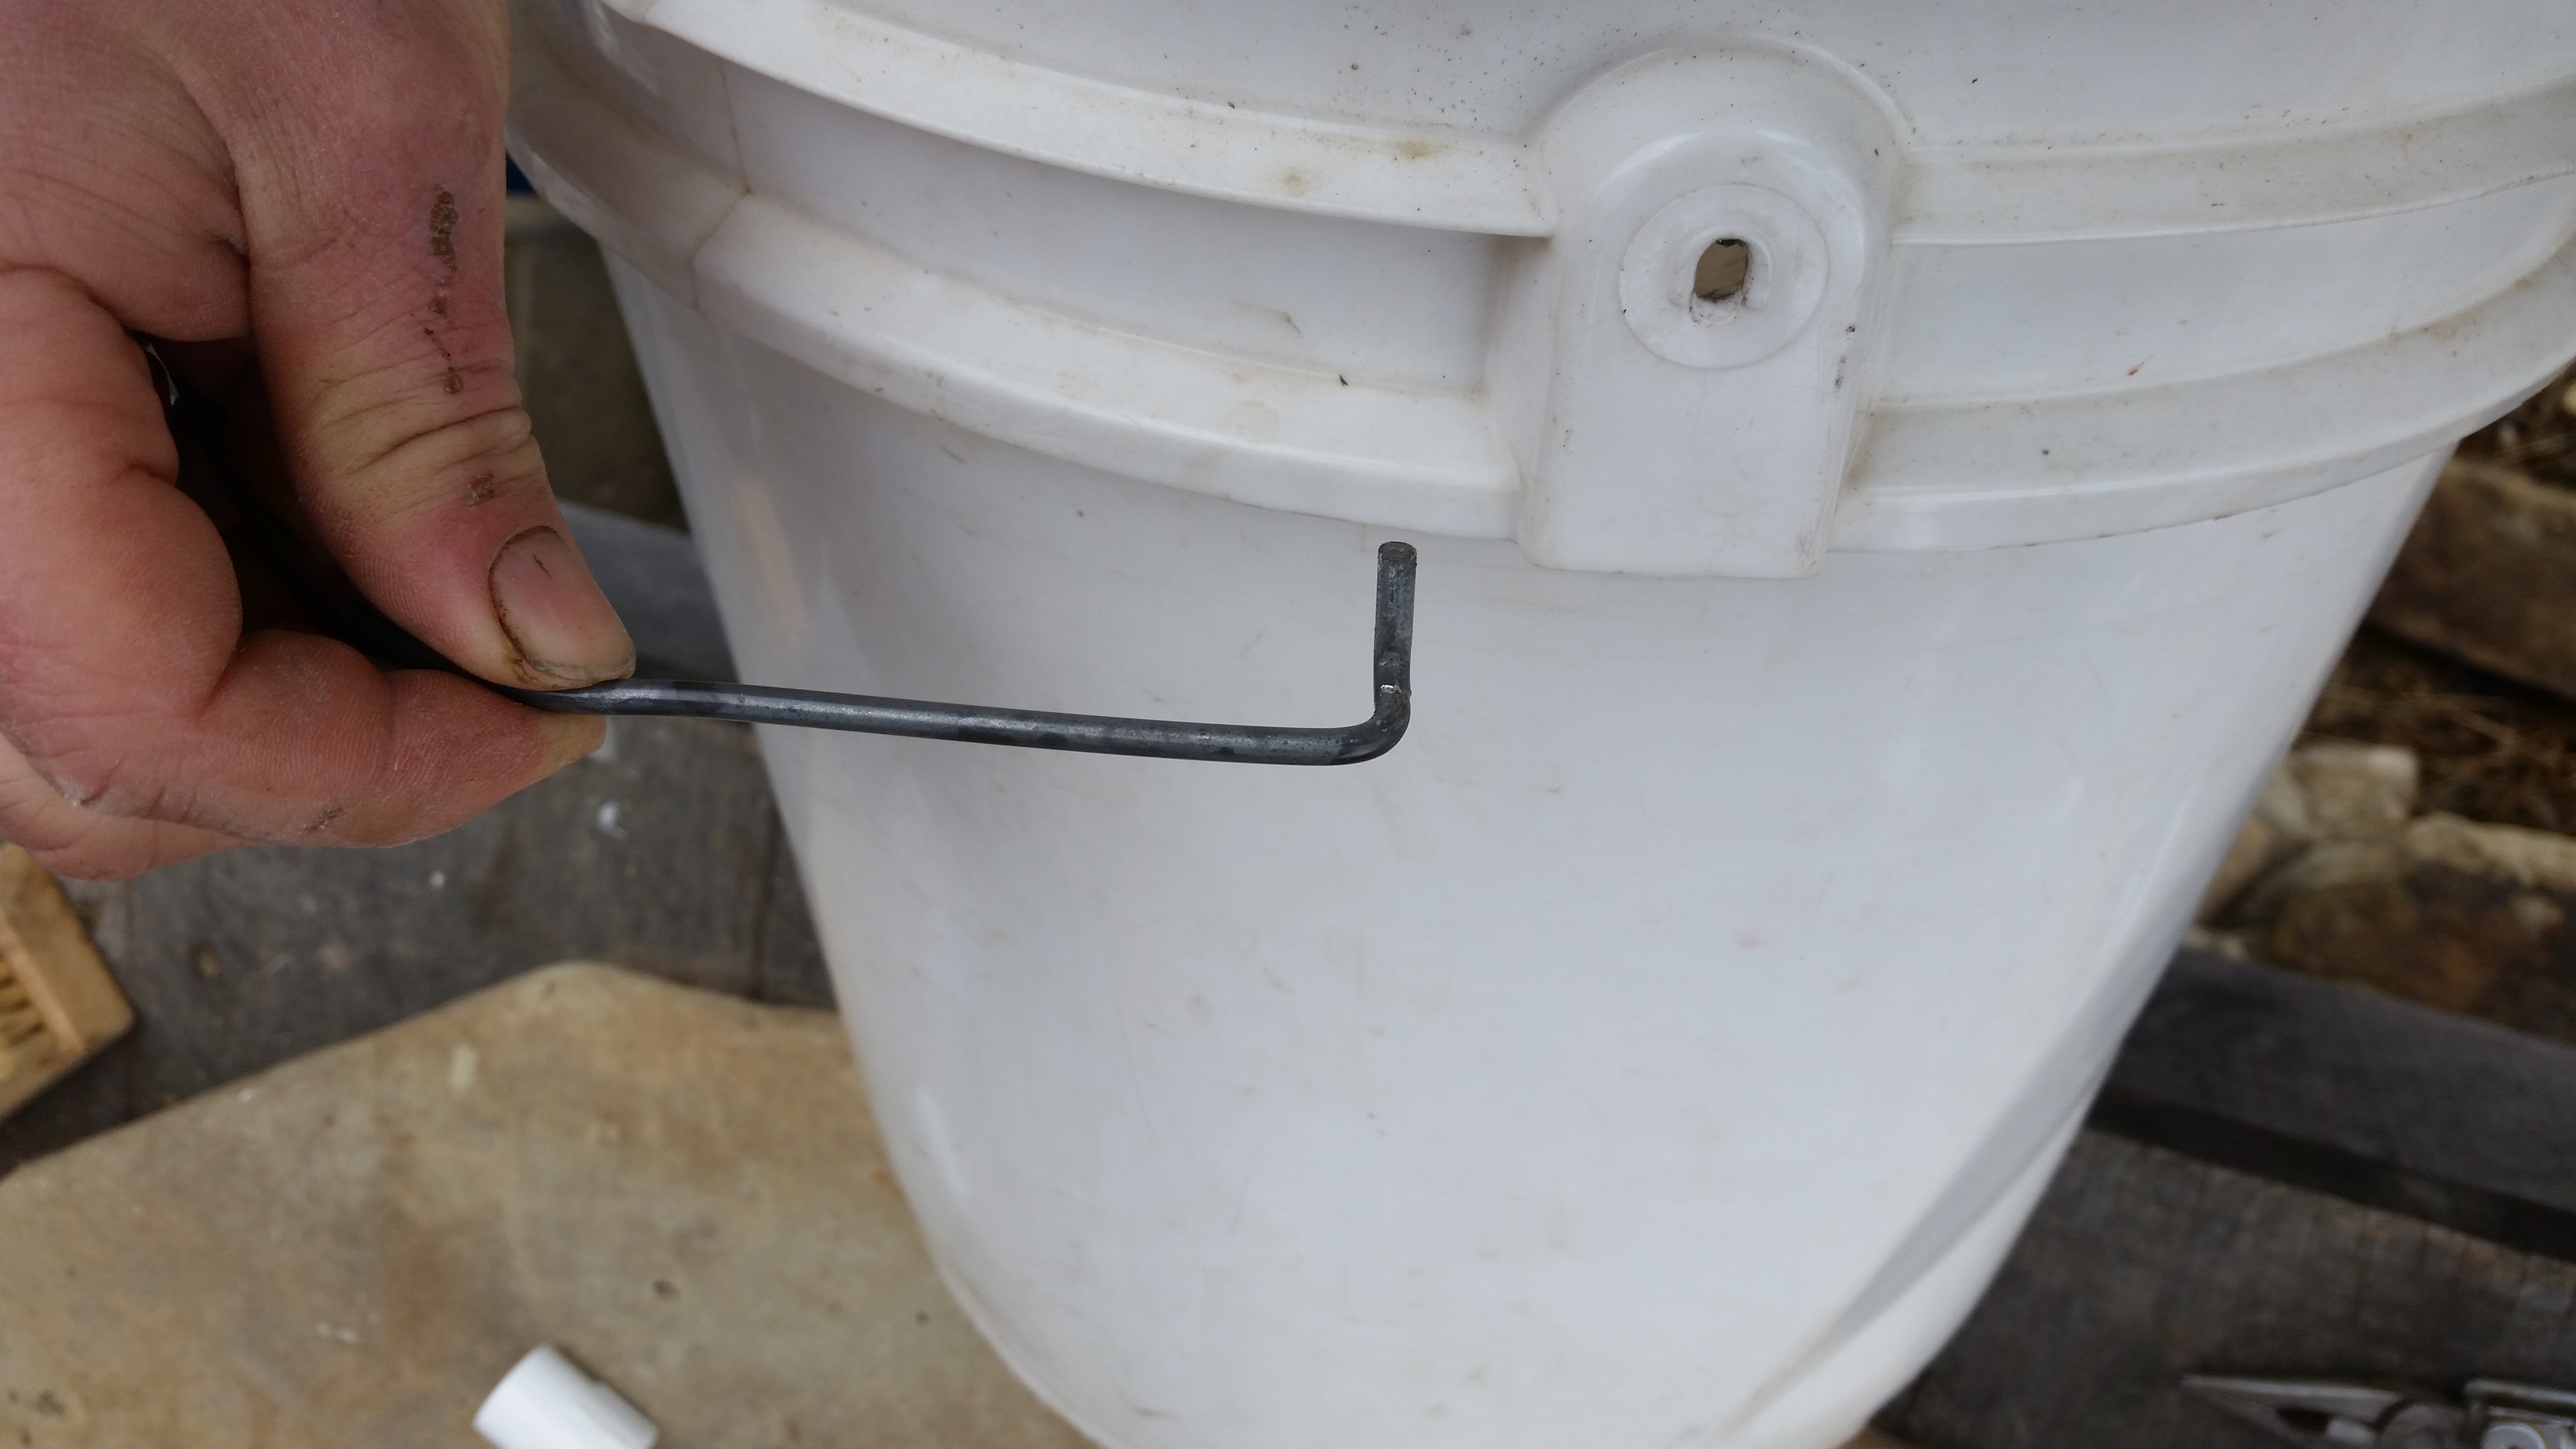
Here, I removed one end of the wire bail on the bucket in order to slip the eye of the pulley directly onto the bucket.
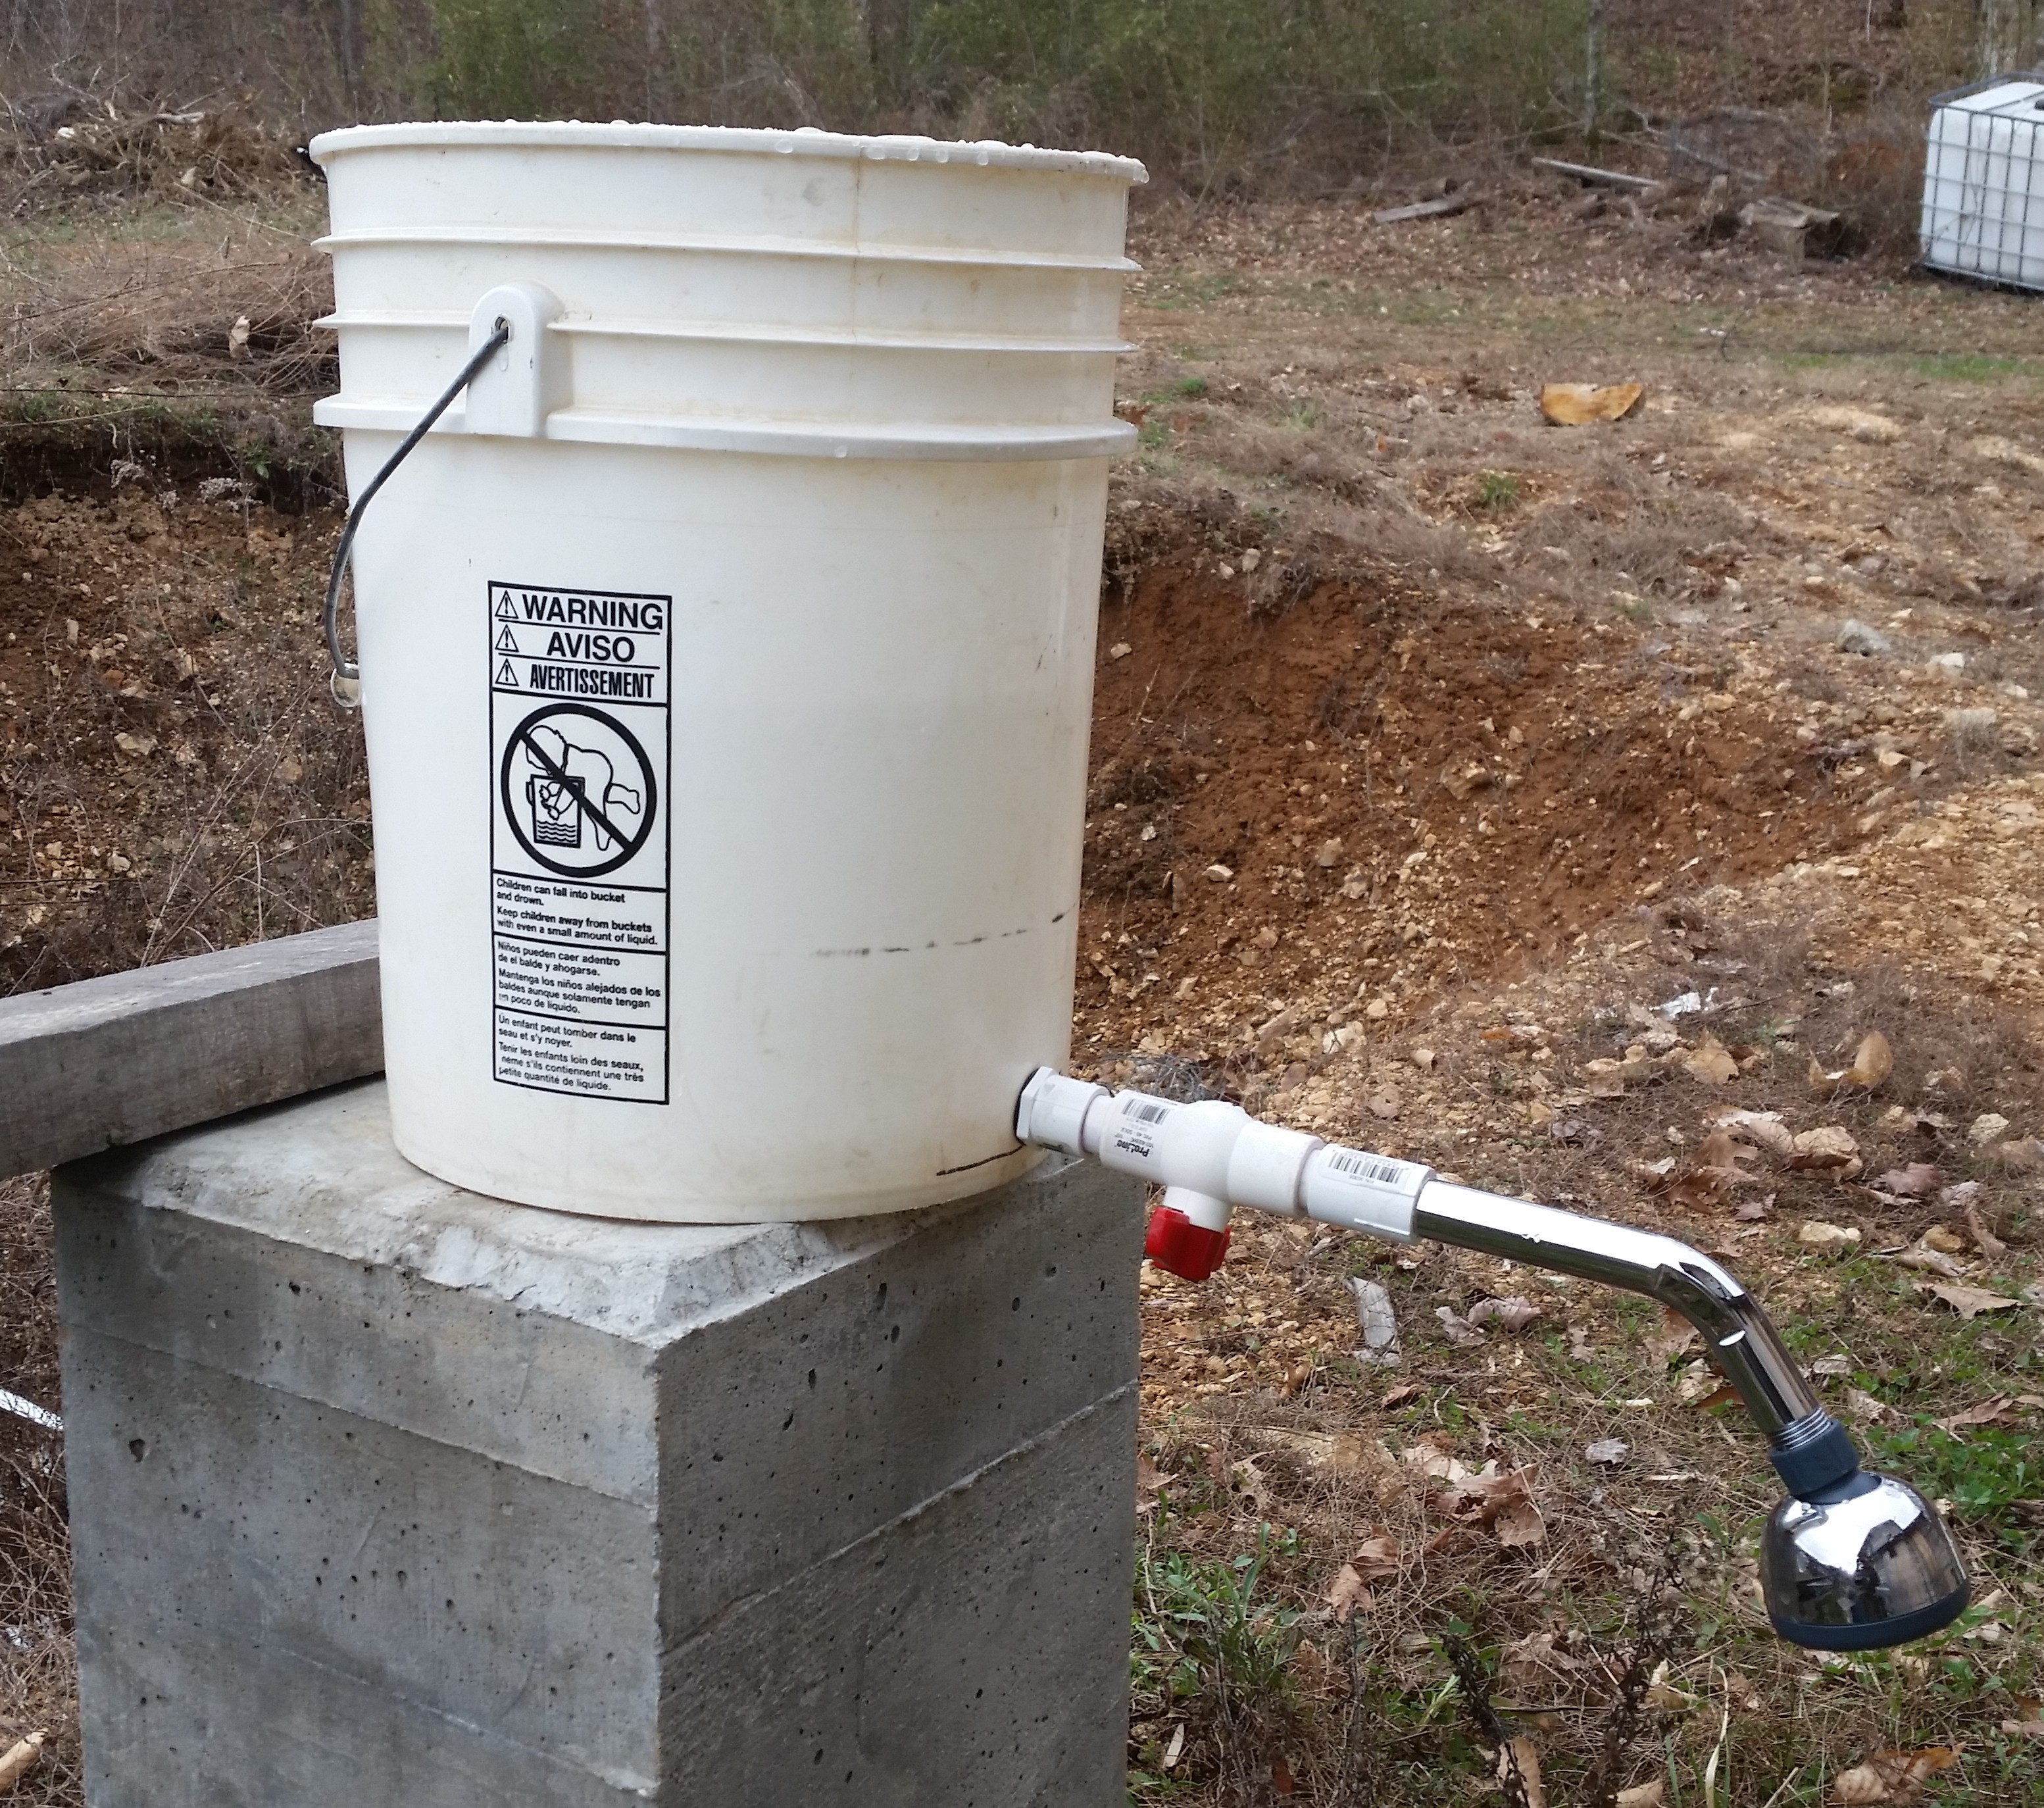
Here’s the bucket fitted with the shower.
There are two pulleys. One is a single pulley, while the other is a double. The rope is tied to the bucket handle, goes up to the ceiling and through one side of the double pulley, back to the bucket and through the single pulley, and back through the other side of the ceiling pulley, with the free end of the rope hanging where it can be easily reached. The multiple pulley system is absolutely necessary in my opinion, as a full bucket of water would be very hard to lift with a single pulley. The more pulleys you have, the easier it is to lift the weight.
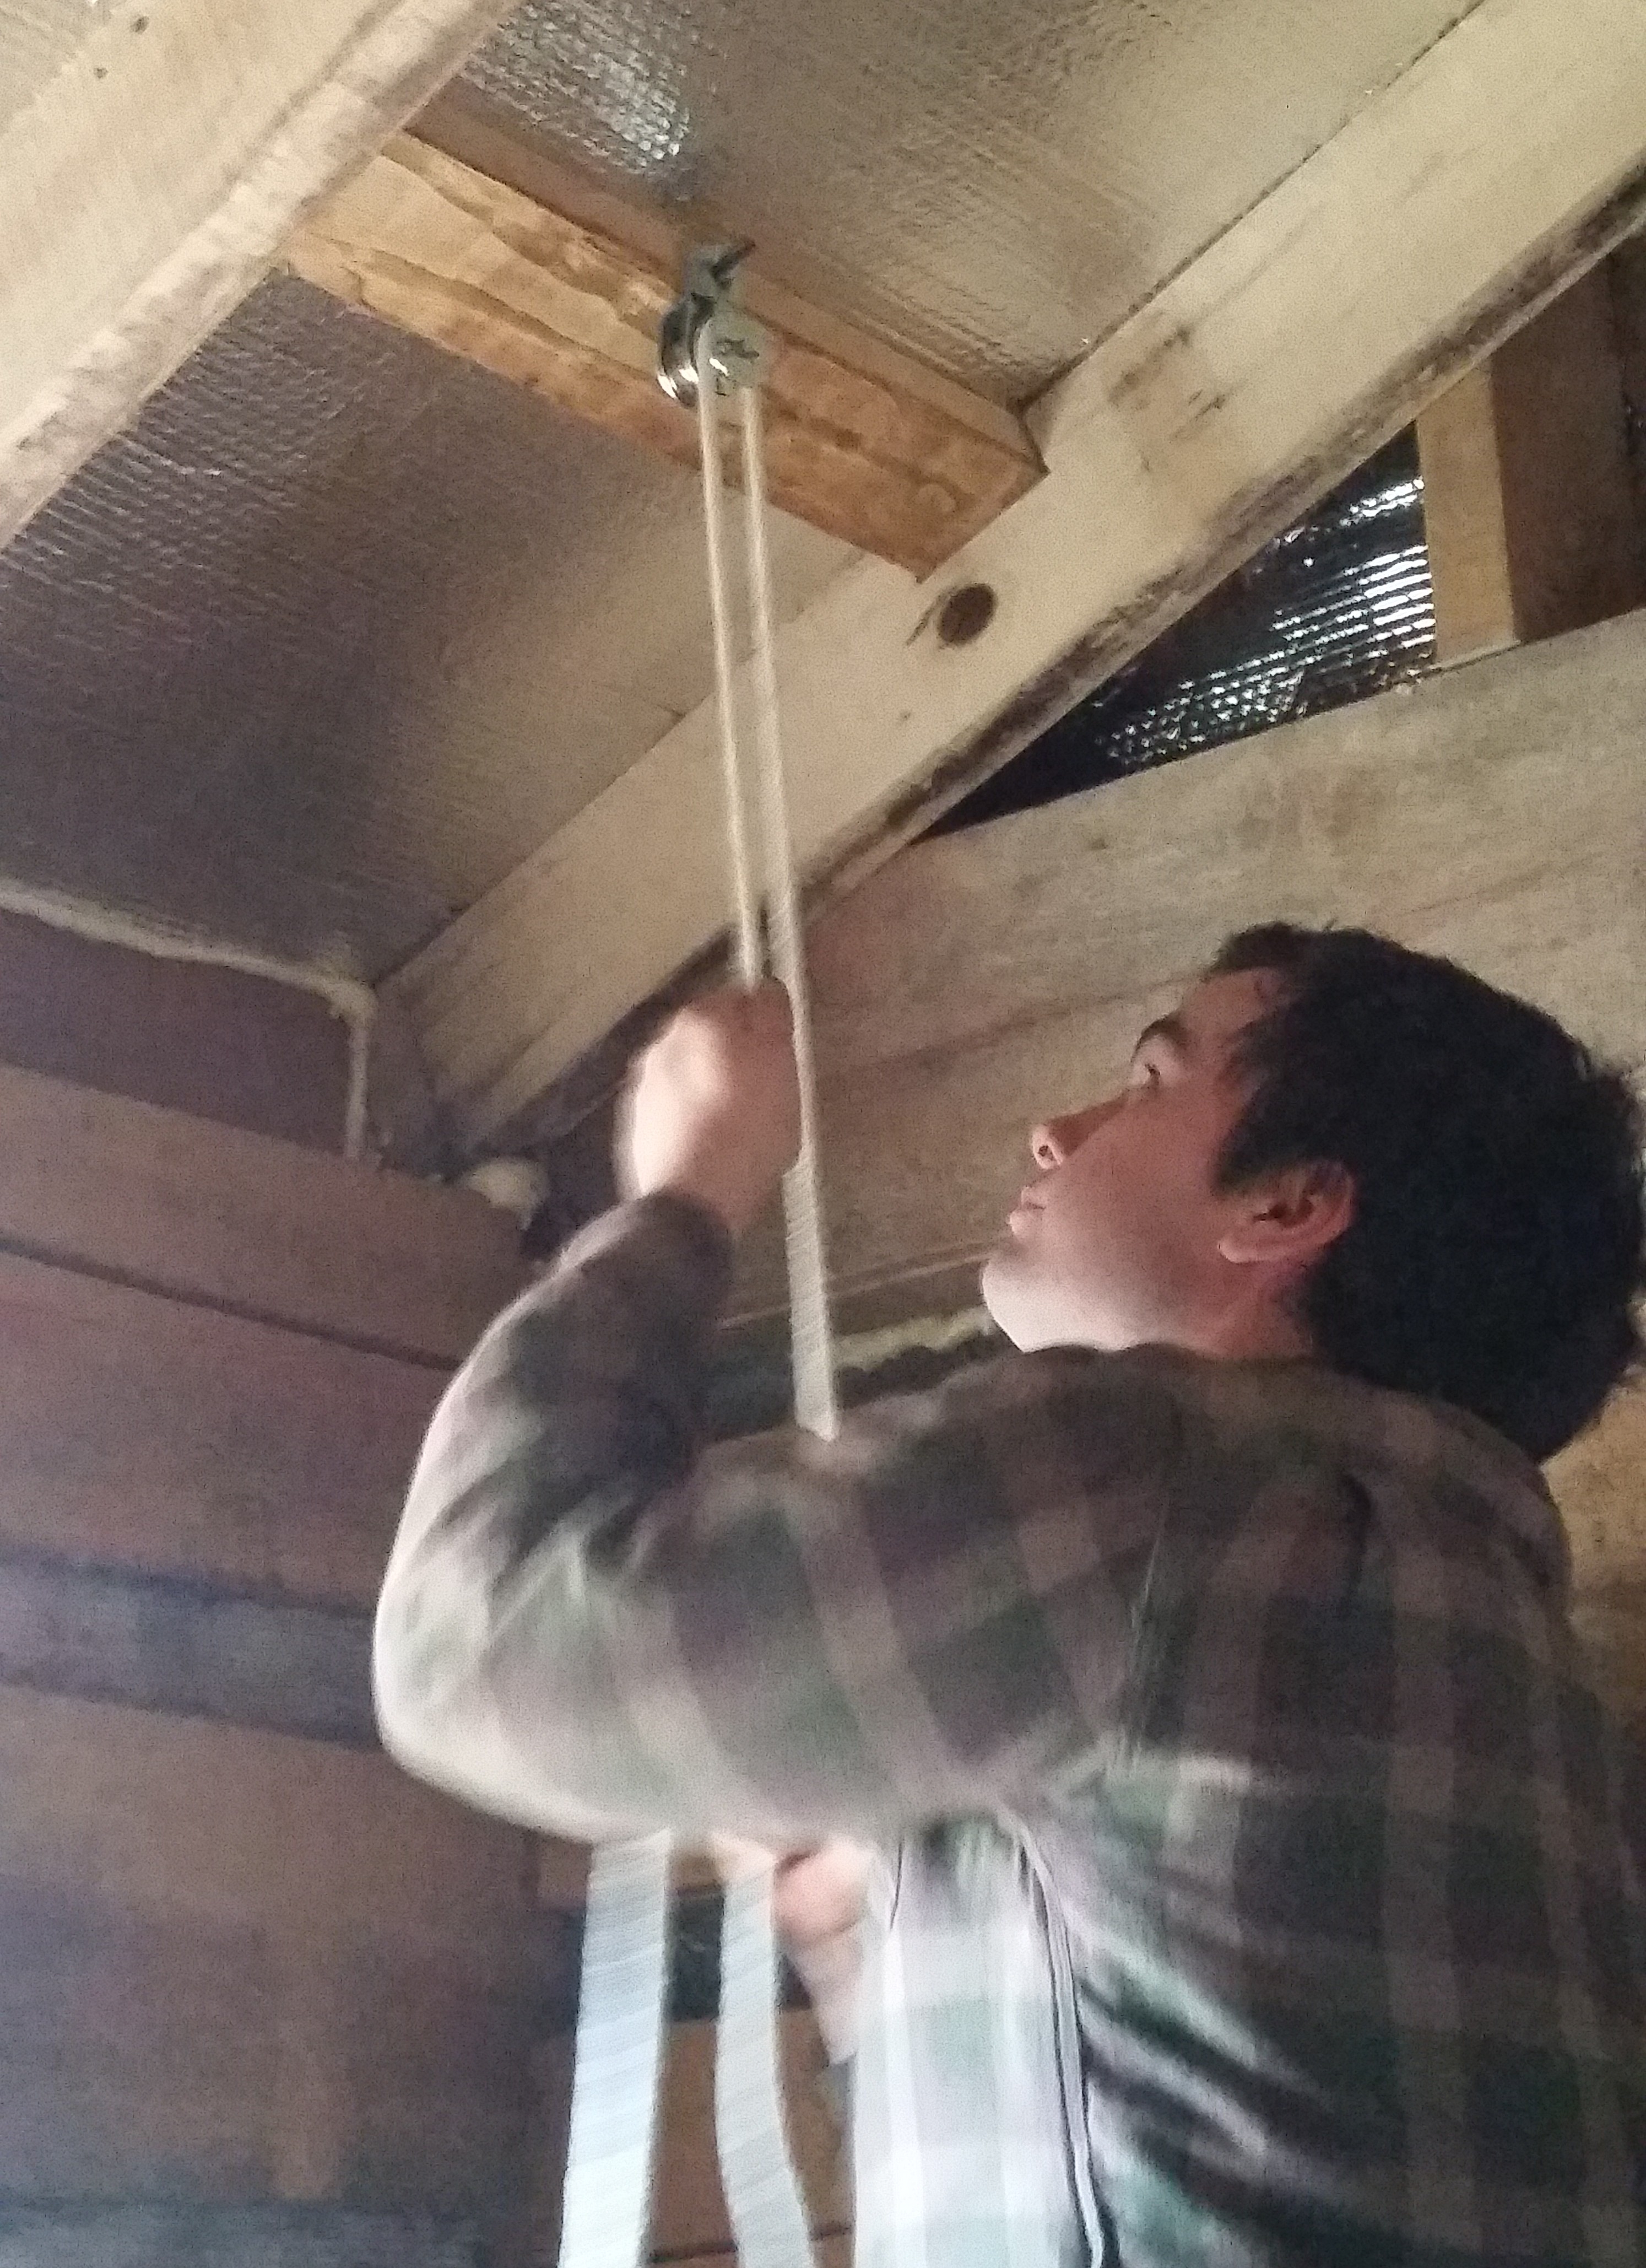
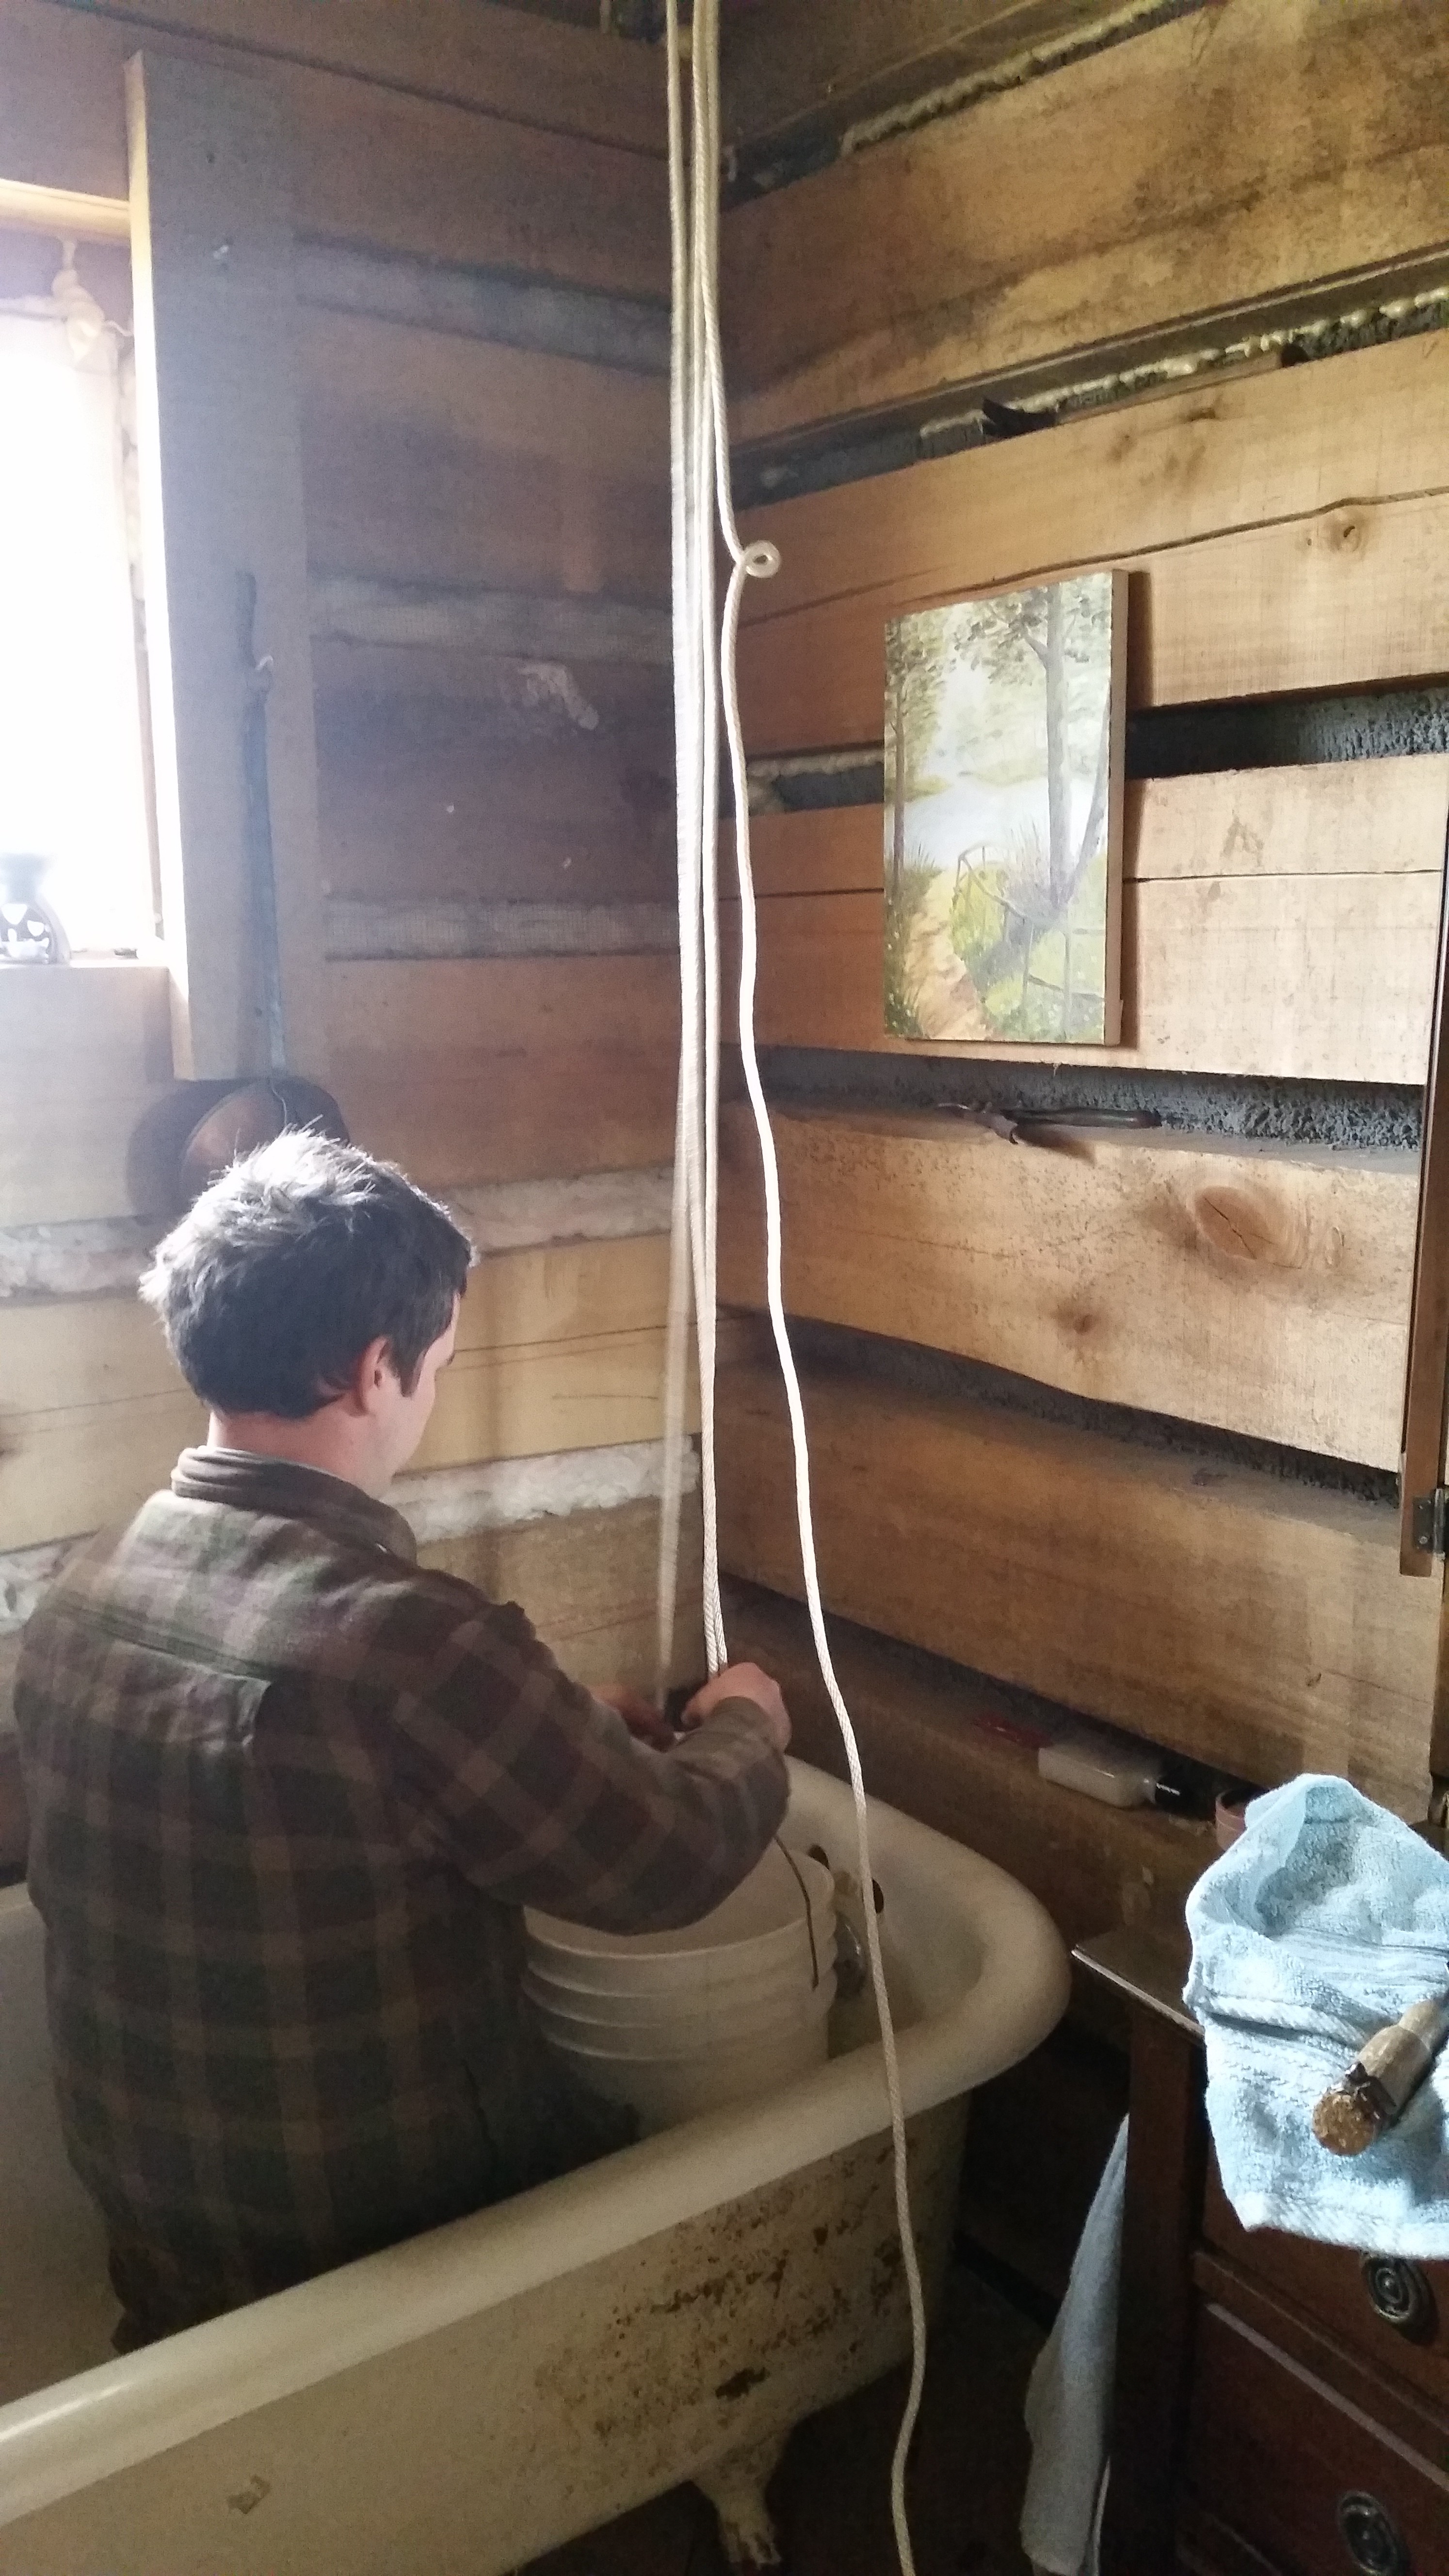
Kinda fuzzy, but you can kinda see the rope and pulley setup here, along with the shelf that the bucket sits on after it is hauled up.
 The shower works pretty well, and certainly much better than the old “bucket bath”. A full bucket can give a really good shower for one person, and we can actually both get a pretty good shower only using 1/2 a bucket each. It doesn’t take a lot of hot water to make a warm enough bucket of water, either- 4 to 6 quarts of near-boiling water seems to be plenty, usually. So there you have it- one man’s 5-gallon-bucket shower. :)
great pictures. very easy to understand. I’ve used this shower and can testify to it’s usability. makes for a nice shower, but showers in general are still not as good as a nice, deep, hot bath. imho
Awesome! Good thinking dear! Now…. Umm this spoiled girl wants to know…. Where do you go to the bathroom?
We have a composting toilet system. Ours is very simple right now (Jordan plans to construct a ‘fancier’ one sometime) basically just a 5 gallon bucket with a seat, then we keep a bucket of fresh sawdust next to it, and instead of flushing like a normal toilet, you just put a scoop or two of sawdust in. When the bucket is full, Jordan dumps it out to a spot in the woods behind our house, where it composts away very quickly. :) The main advantage is you don’t have to deal with a sewer system, especially a septic tank which takes up valuable land space, which we don’t have much of. :)
The DIY weed sprayer shower is a great shower solution for camping, prepping, at the beach or like us living in an RV. It doesn t require a water pump, battery or propane and can be completely off-grid. It s super simple to assemble, parts are readily available and it s very affordable.