Kitchen Update – Making Progress!

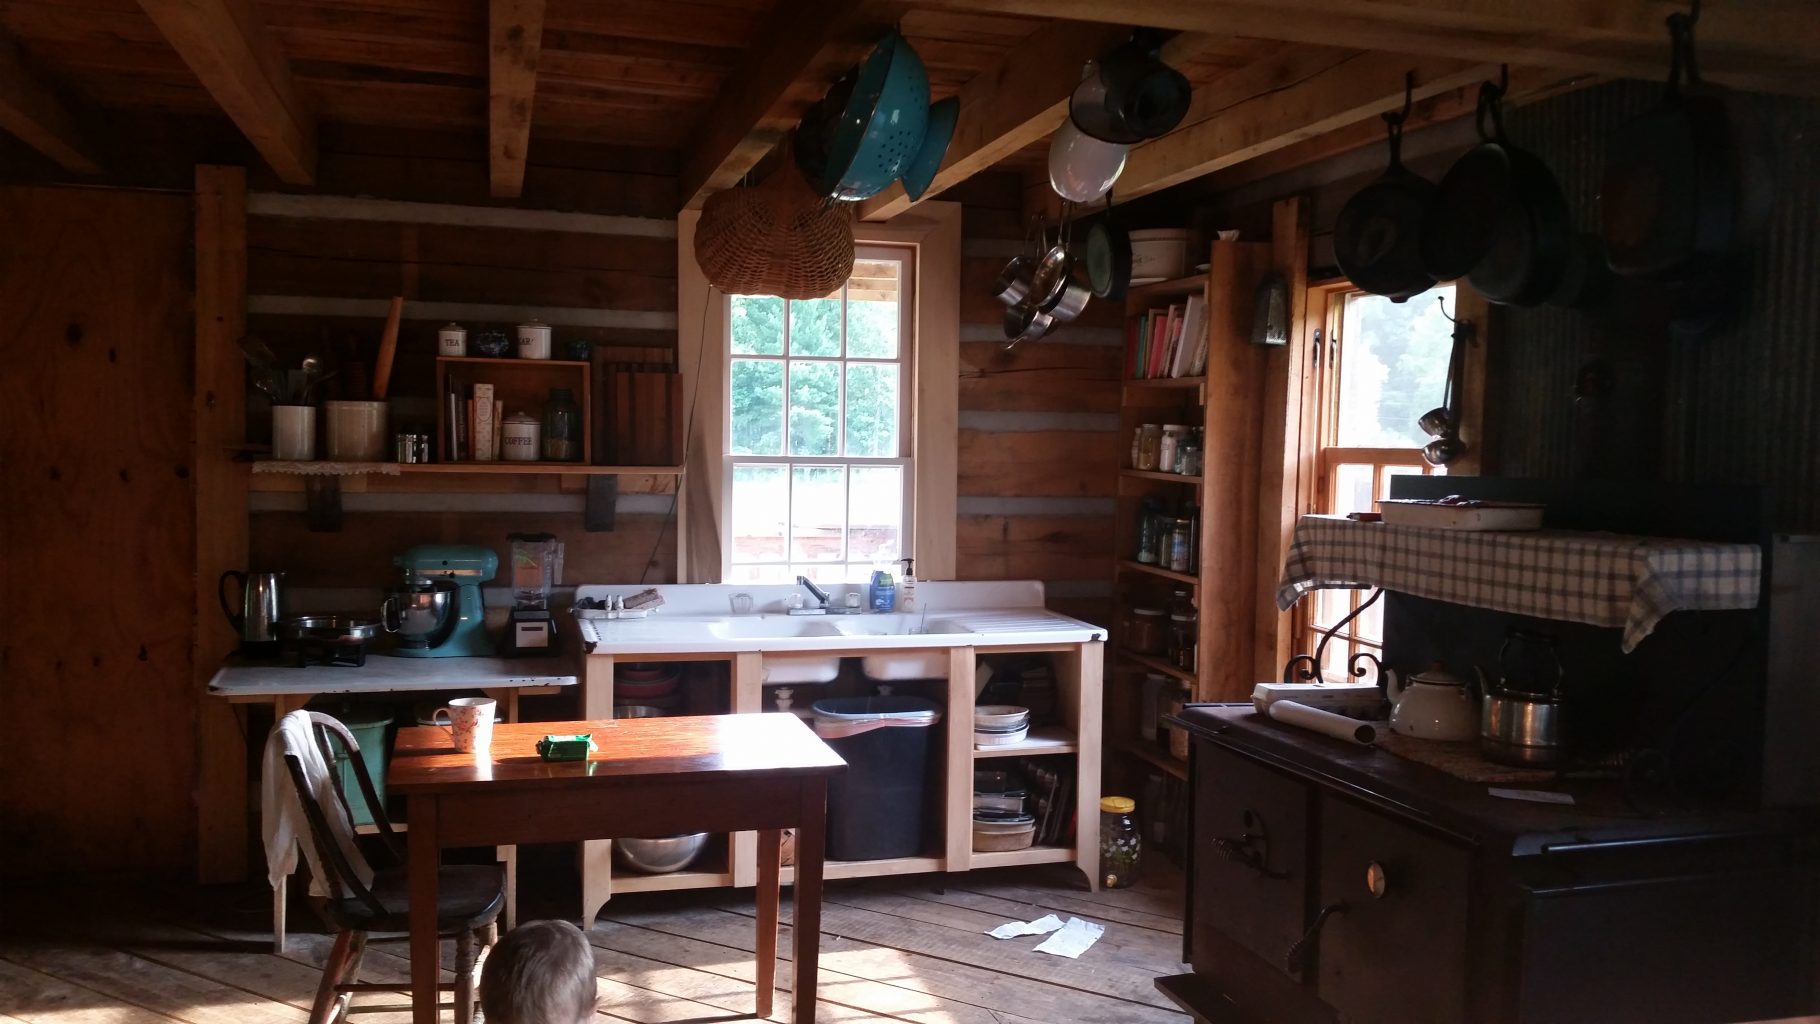
Over the winter and spring Jordan has made a lot of progress on our kitchen! I am so excited about it. The kitchen has long been one of the most unfinished spaces in our house, and its exciting to see it getting a face lift!
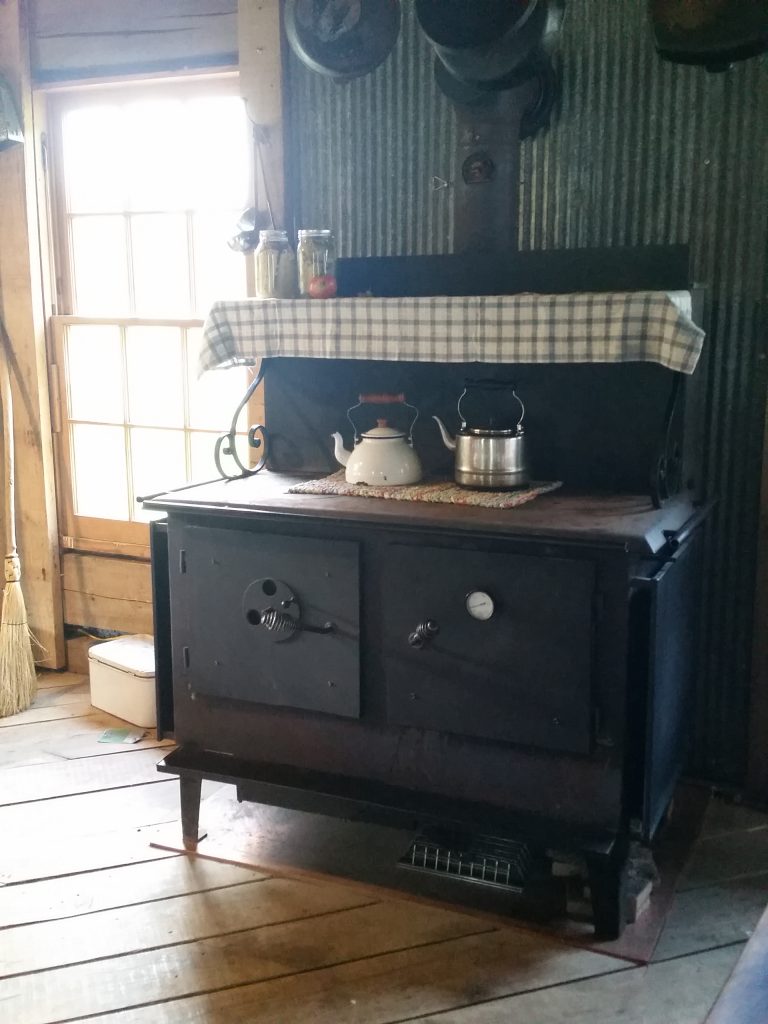
The first big change was when Jordan found and purchased a used Kitchen Queen woodstove. We’d been on the lookout for a cookstove big enough to also heat the house, and this one is perfect! My small antique woodstove will have an eventual home in the summer kichen and be used during hot weather. Installing that was a big project! He insulated he wall behind and put the tin barn metal heat shield and stovepipe vent, installed all new stovepipe and made braces for the outside, then made a copper covered heat shield and platform for underneath the stove. Lots of work!

The window over the sink was taken out and completed re-glazed and the inside painted white. While it was out, Jordan chinked the two walls in the kitchen, and when the window went back in, it was the first in he house to have it’s proper trim installed as well! The trim will be painted white too.

The sink cabinet he built (still needs doors) and installed our sink and our real plumbing! (no hot water yet) The vintage enamel sink we bough at the local ‘Octoberfest’ sale last year for $25. I am really loving the progress! Read on to see what’s next….
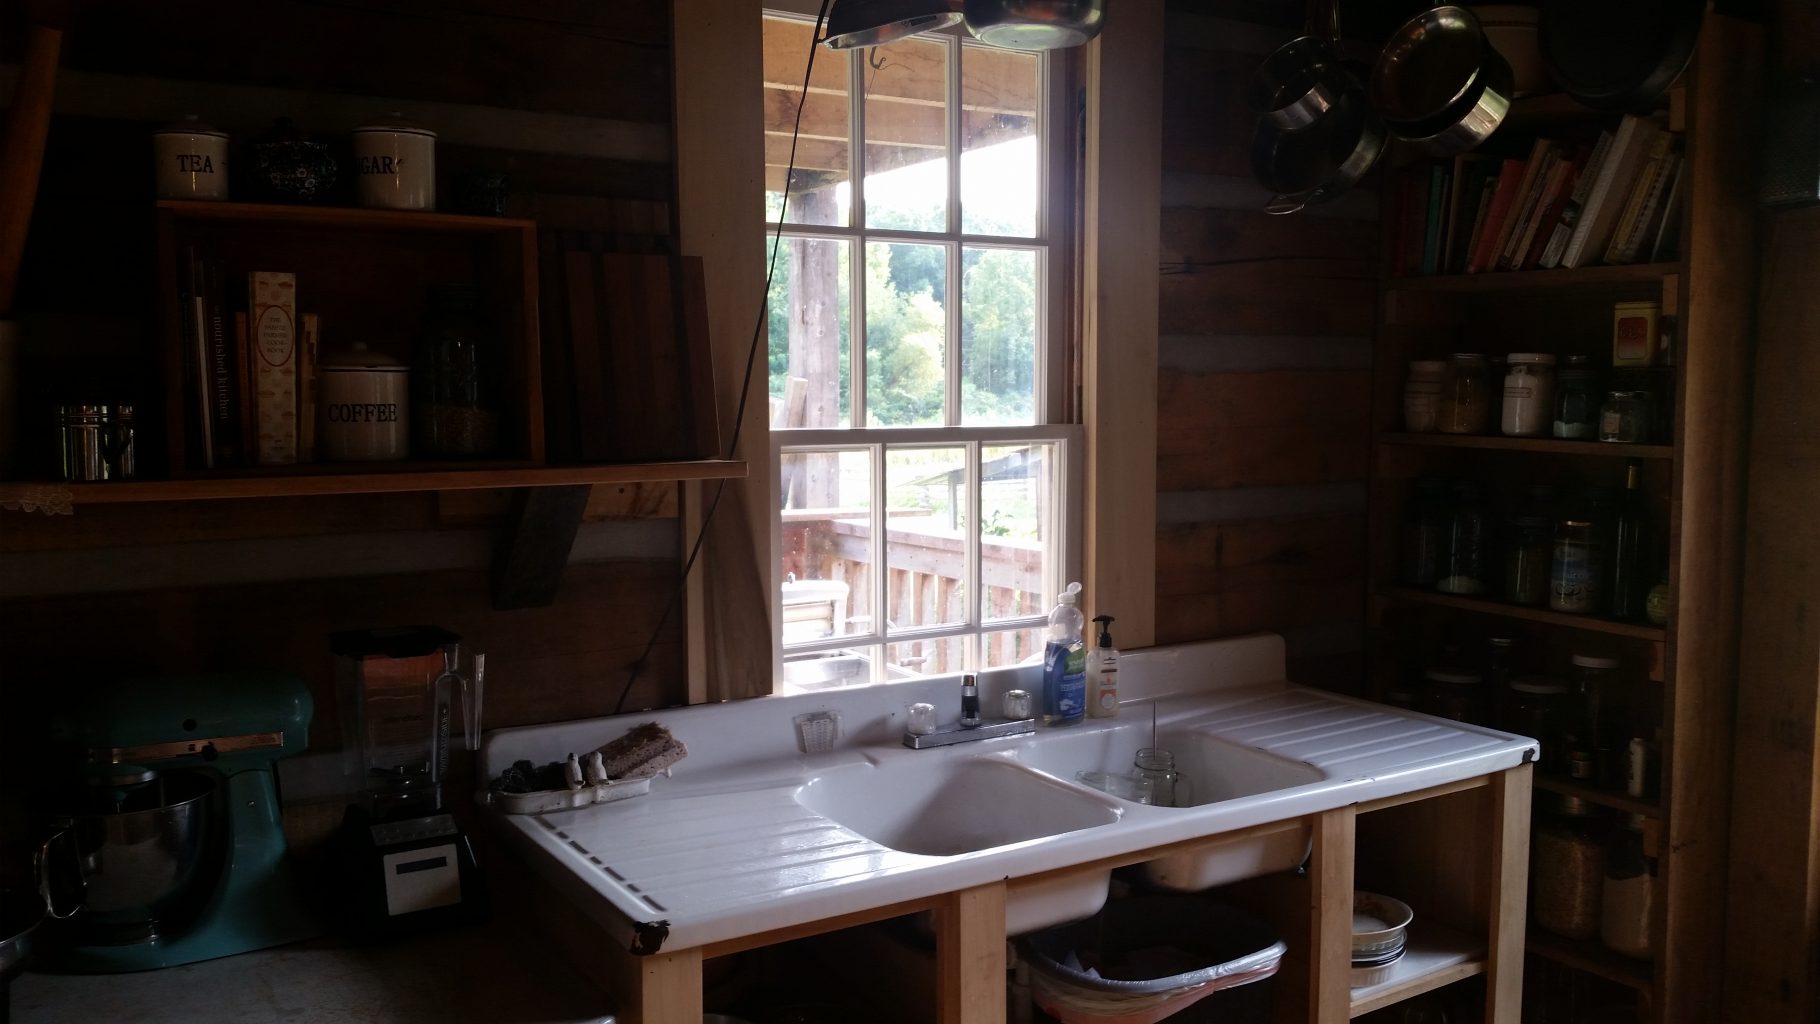
Eventually the wall behind the sink will be our cabinets – there will be a larger cabinet and counter to the left of the sink which will be my ‘baking station’, and to the right of the sink will be a narrow cabinet with a space for a ‘coffee station’. The wall will be covered with a combination of open shelves and small cabinets, and there will be a hanging light fixture over the sink. The picture below is very inspiring to us, and the feel of our cabinets will be similar:
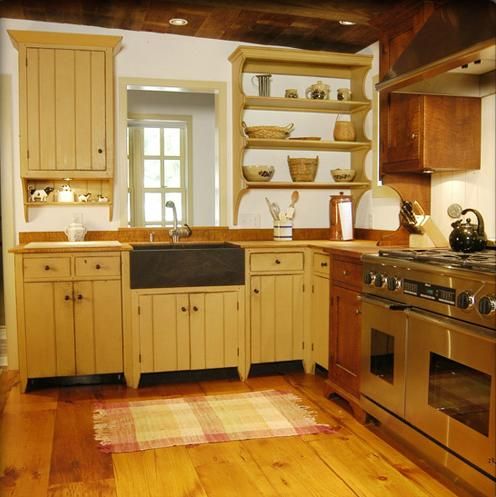
Picture credit David T. Smith

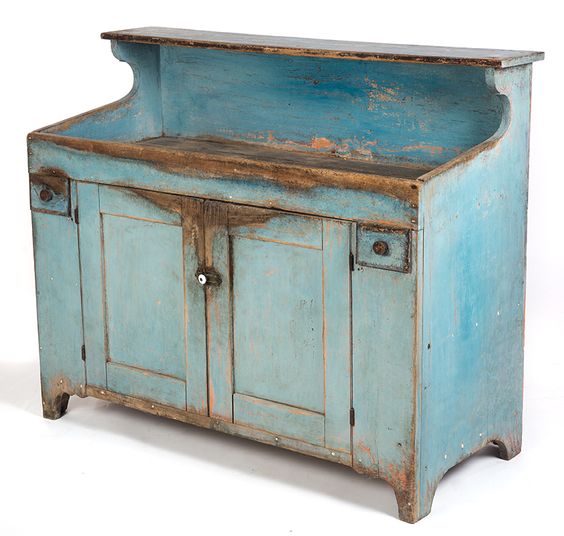
The color of the cabinets and shelves will be milk painted a distressed and muted aqua/sky blue, much like the antique cabinet below. Picture credit Garth’s Auctions
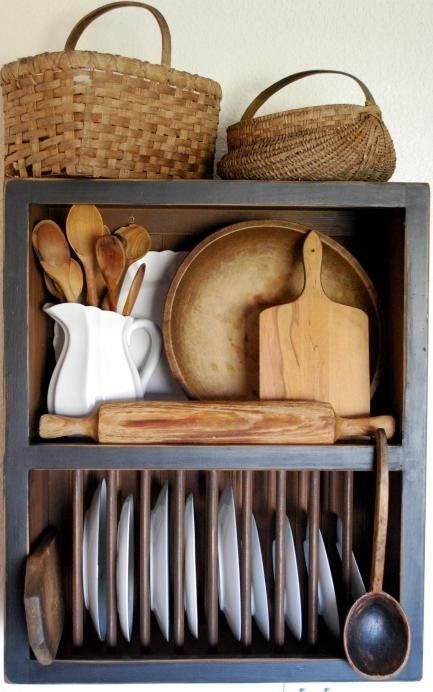
To the right of the sink, there will be a plate rack and cup hooks incorporated somewhere above the ‘coffee station’.
There will also be a work station in the middle, sort of a large island with a space underneath for firewood storage.
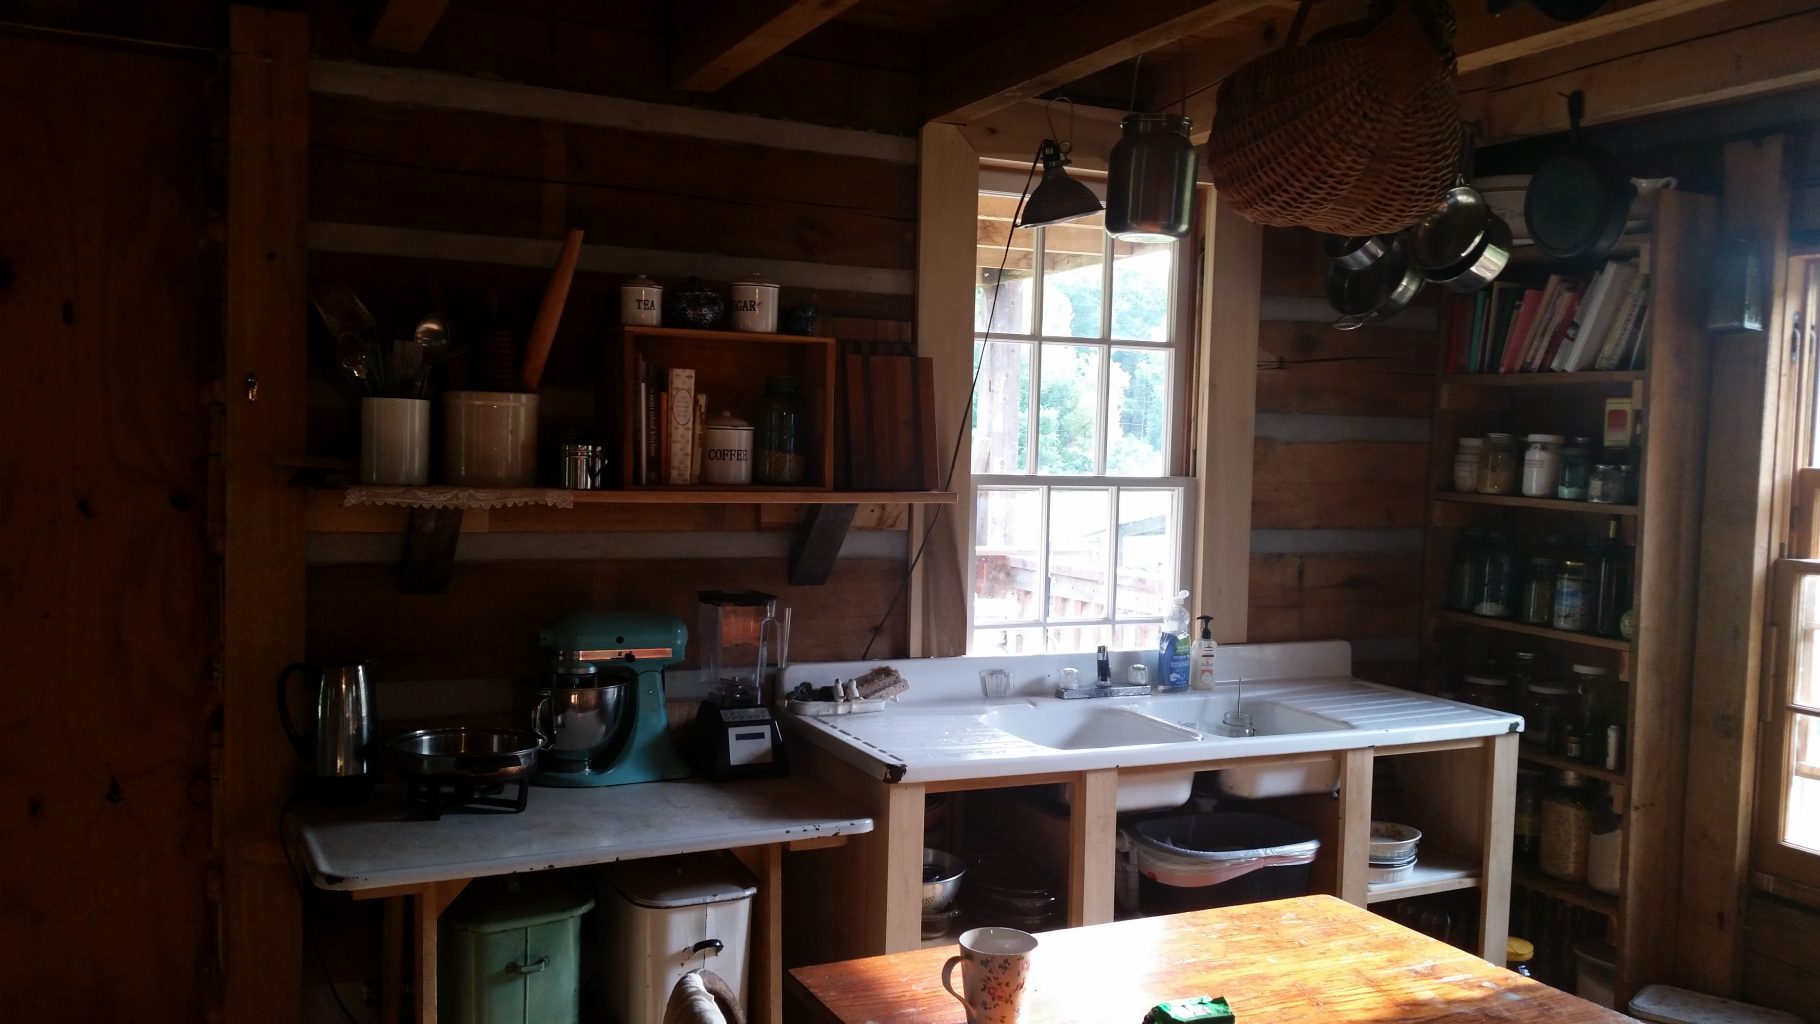
It’s been so fun to see our ‘real’ kitchen finally coming together!

If you are interested to see lots more of my farmhouse kitchen inspiration – be sure to visit my Pinterest board on the subject!
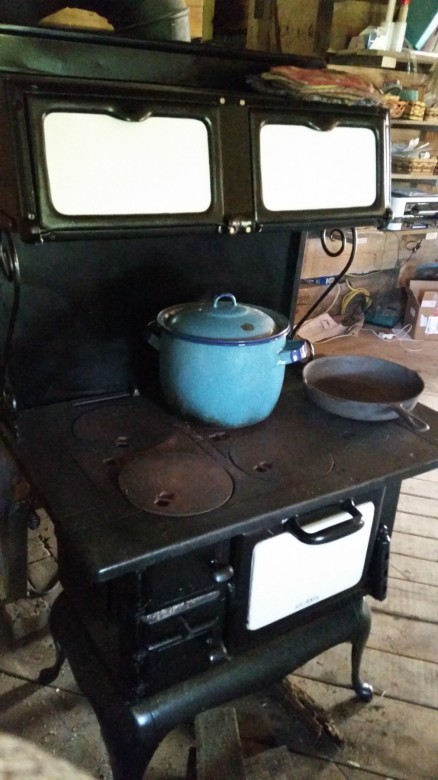
Atlanta’s Antique Woodstove

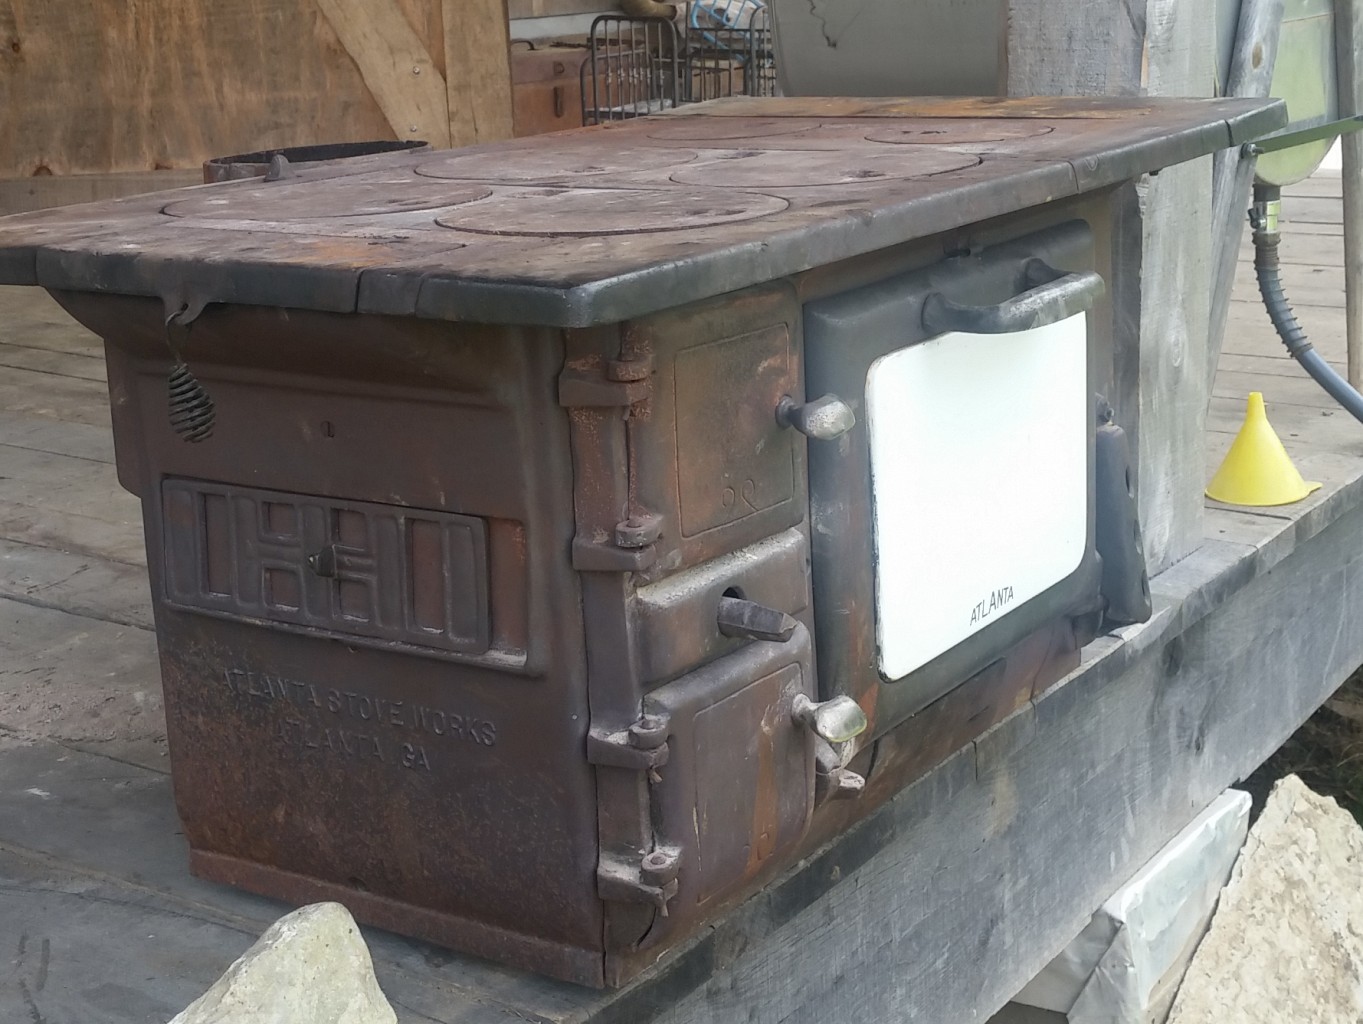
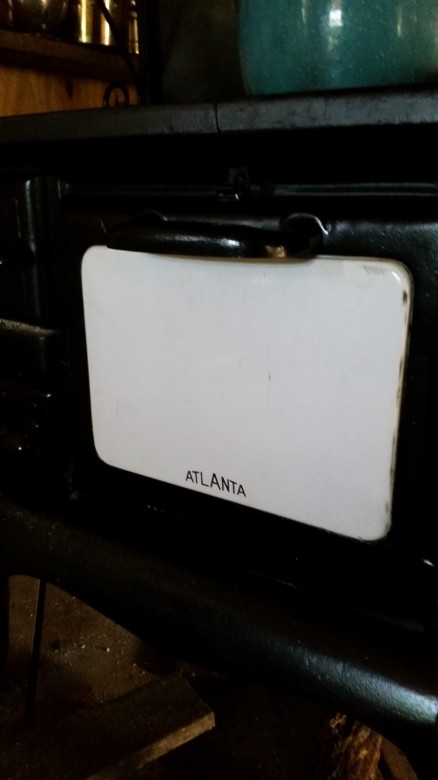
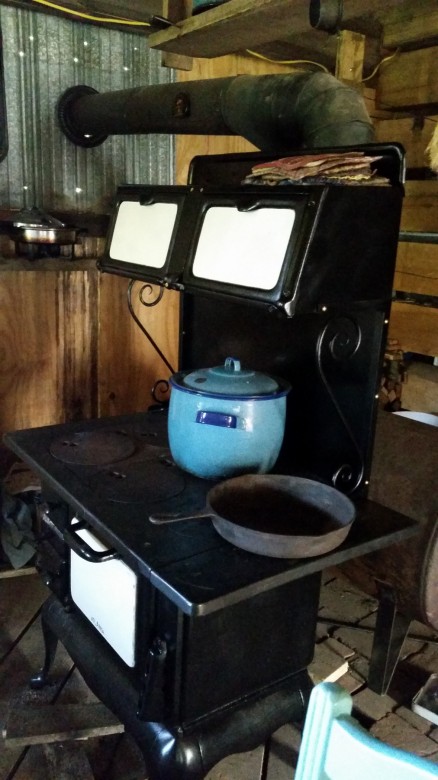
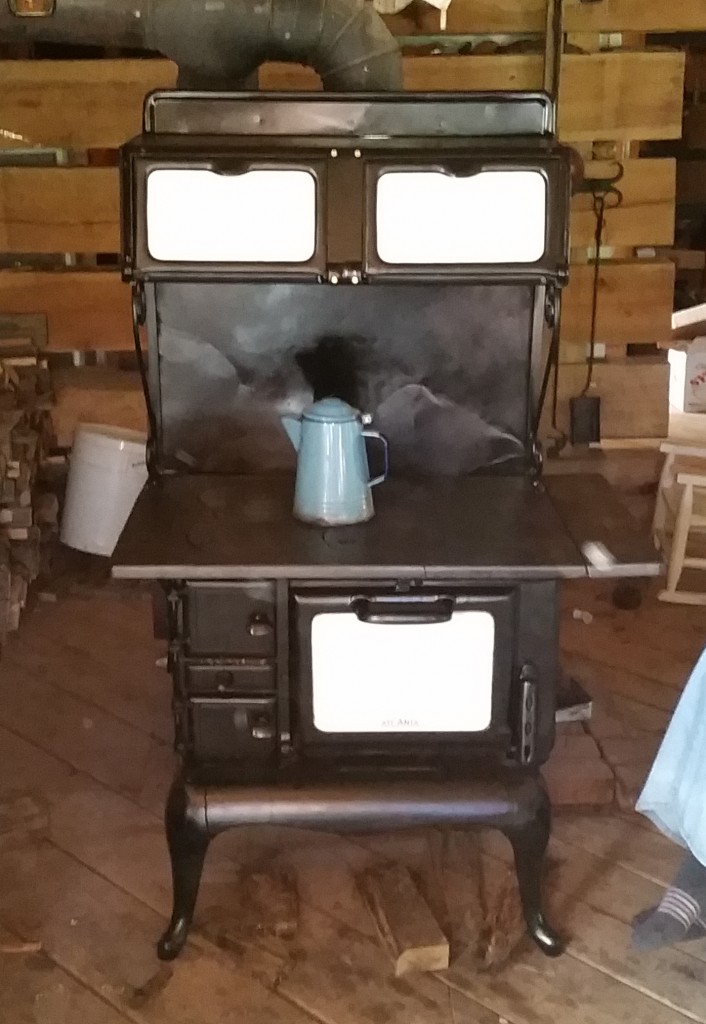
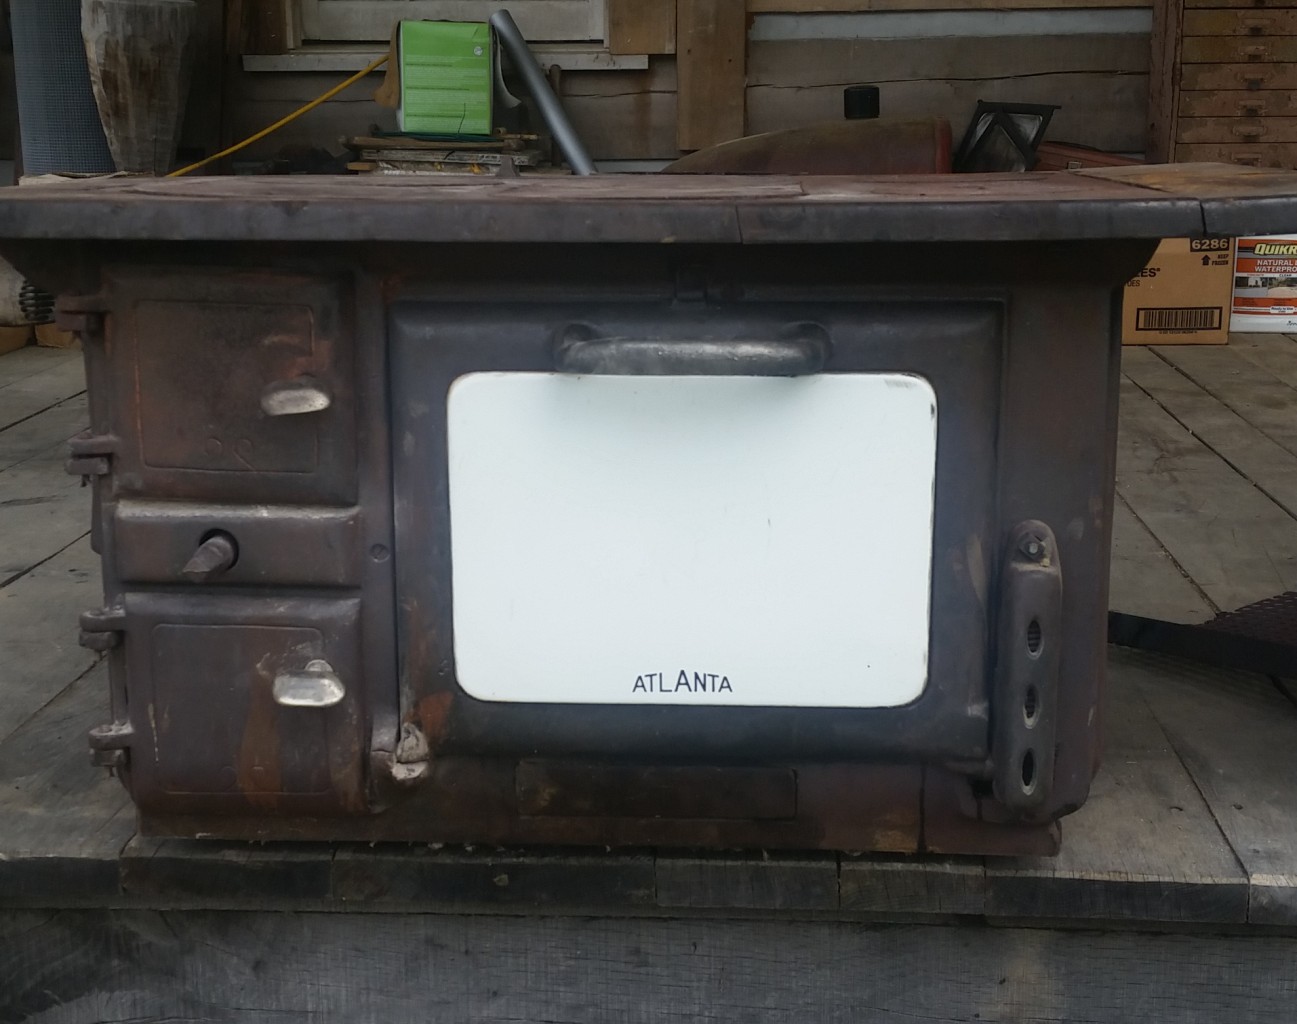
This is my cook stove. It is an antique from about 1899, designed to burn wood or coal. It was make by ‘Atlanta Stoveworks’ in Atlanta, GA. I bought the stove for $350 when I was 15 years old, at an estate sale.

My Granny actually found it first – she was at the sale and called to say she had found ‘my’ stove – since my name was written right across the door! Once I saw it I just fell in love with it. It sat on our back porch for about seven years, we cooked on it occasionally, even did some canning one summer. I did dream of using it for everyday in my own home in the future. (of course I thought I would never be able to find a guy who would want to live old fashioned enough to have a wood cookstove in the house!) Well – I did find that guy – or he found me, or something. At any rate – I was actually going to be able to use my beloved little stove!

wpid-img_20150418_155647.jpg

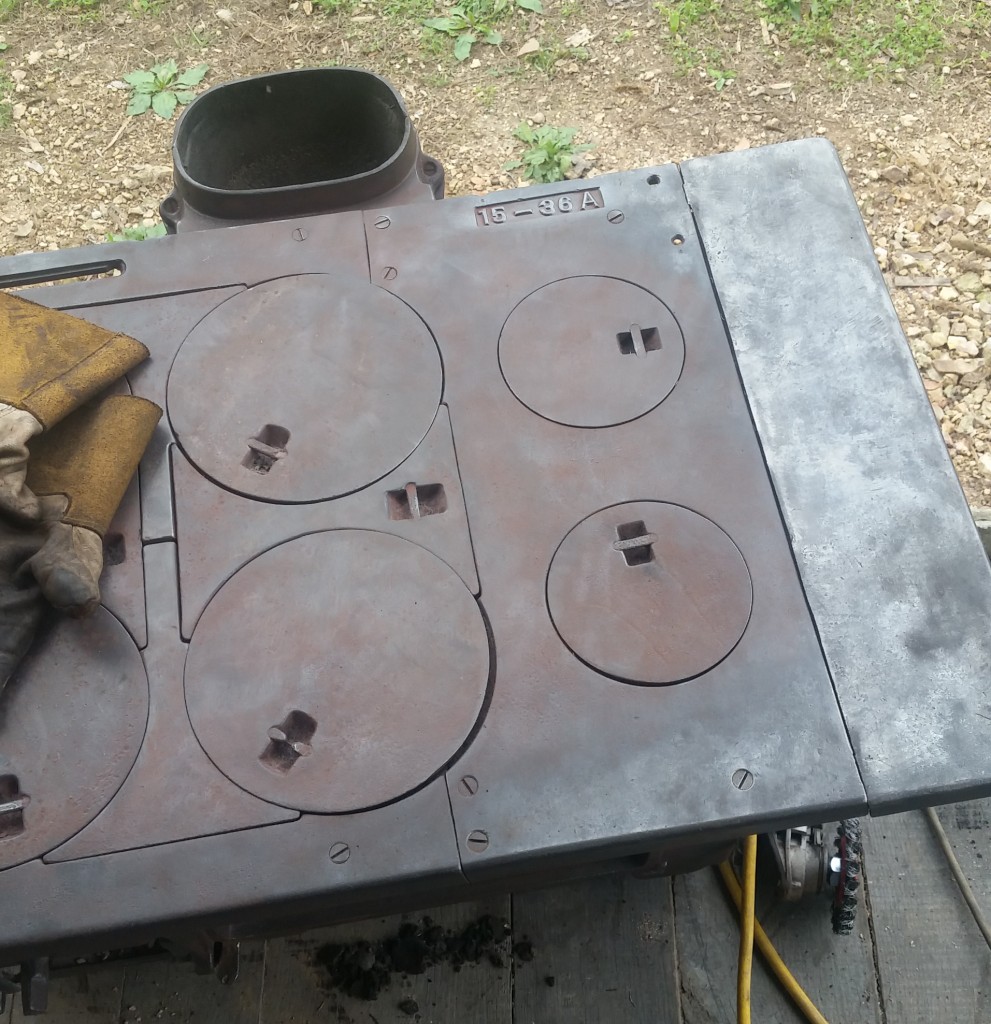
Before the wedding, when we were moving all of my belongings up from Texas, Jordan did some cleaning up on the body of the stove – it was covered in old rust, dirt, and thick paint (the wrong kind). He ground all of it off to make it useable. We used it in that condition, clean but bare, and sans warming oven for the first two years in our house.

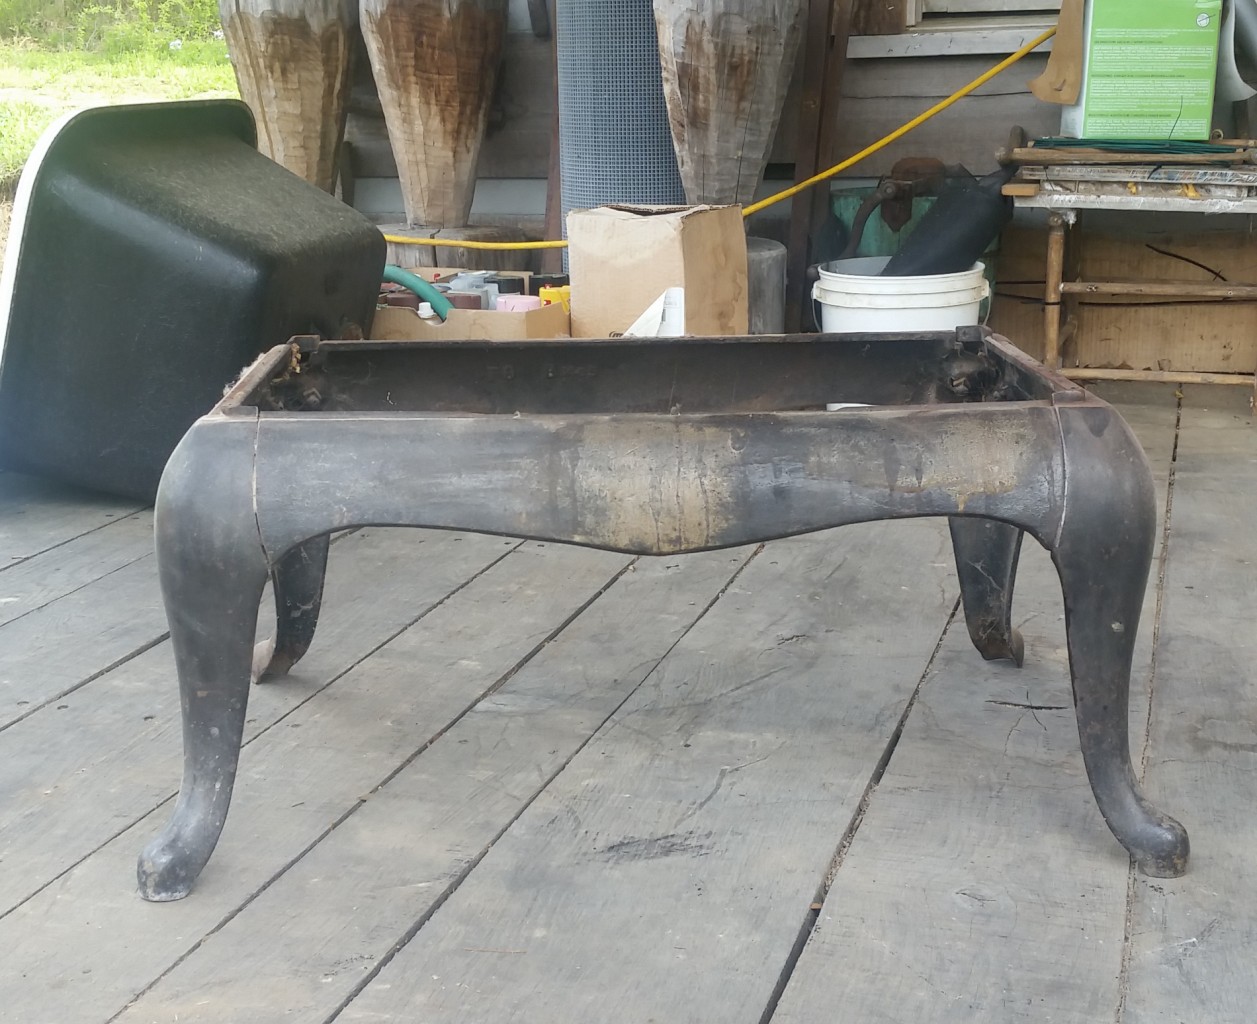
I had been anxious to get it restored and looking ‘pretty’. It cooked just fine – but I think all you ladies will agree with me that its much better for morale too cook on something cute as well as utilitarian? Anyhow – this spring Jordan finished the restoration project, and I couldn’t be happier with it! He cleaned and brushed every part – and then took apart and painted everything with high-heat black satin paint.

The before pictures:

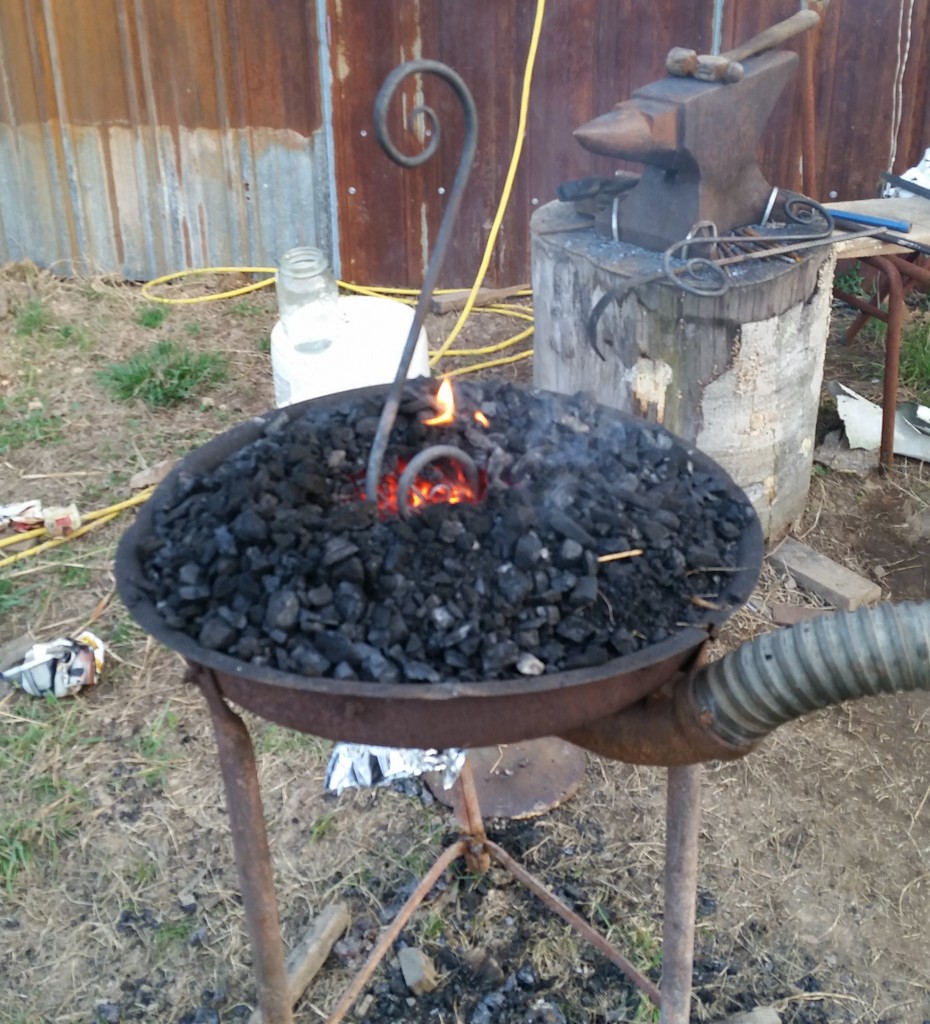
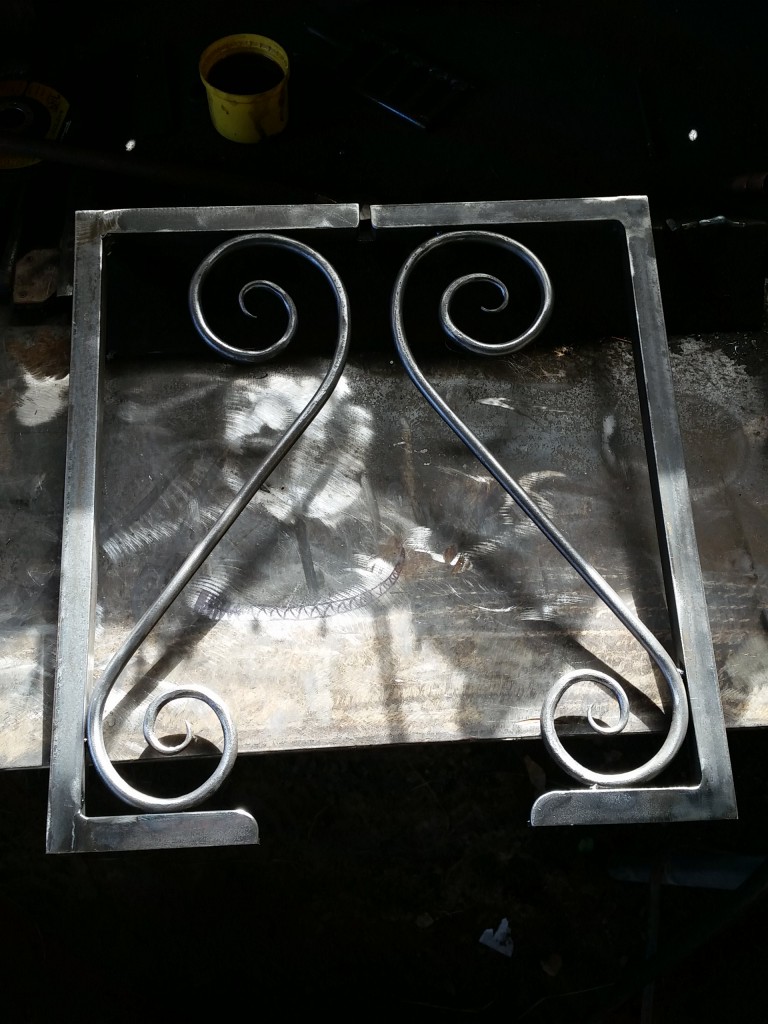
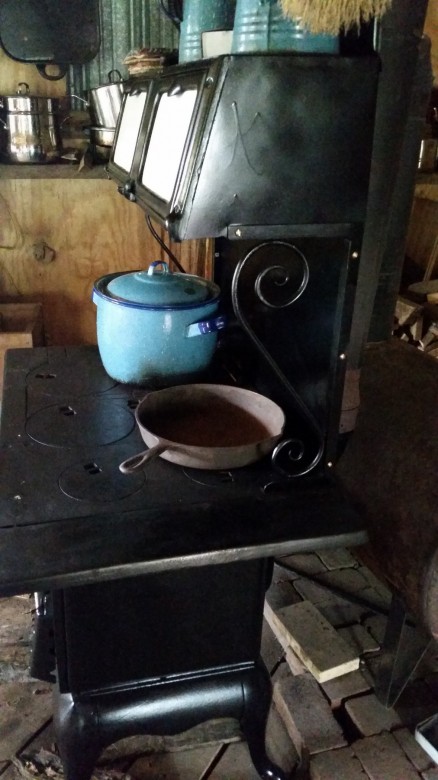
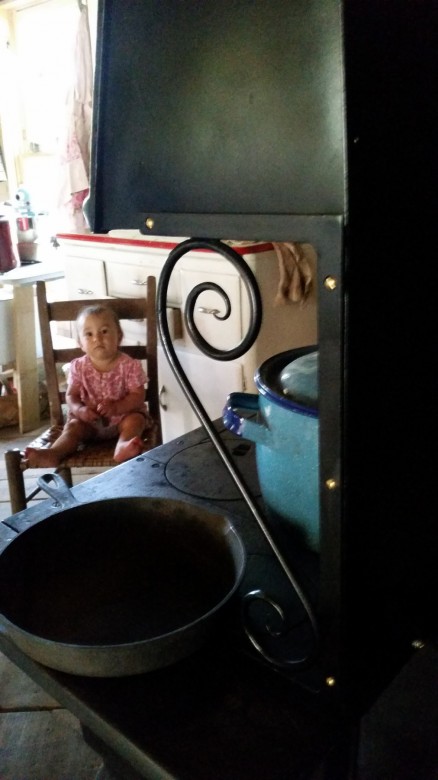
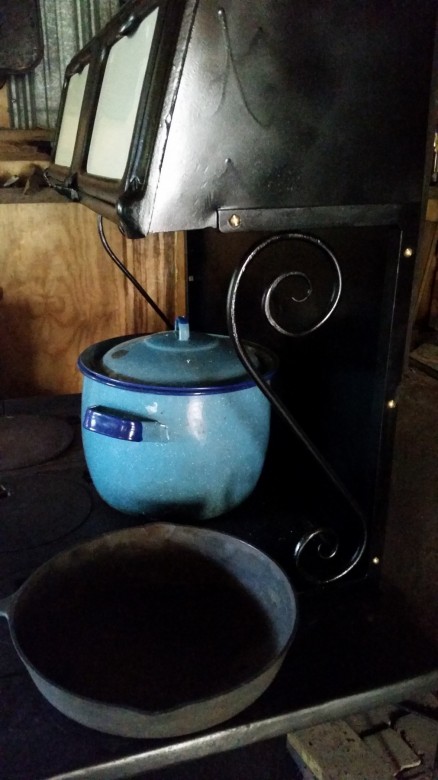
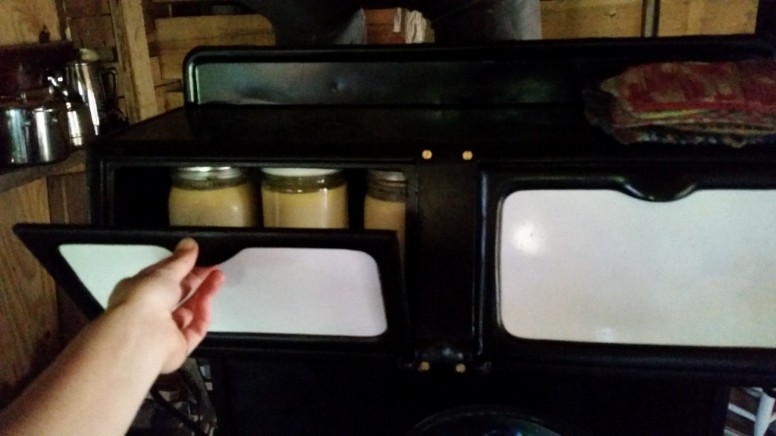
wpid-img_20150418_155709.jpgwpid-img_20150418_171538.jpgwpid-img_20150418_155657.jpgwpid-img_20150331_184733.jpgThe original warming oven brackets had been broken and then patched at some point, so Jordan hand-forged some pretty new scrolls to take their place!  The white enamel doors on the warming shelf had gotten damaged as well. We may some day replace it with new enamel – but for now we decided to just paint them with white gloss, which turned out looking great.

wpid-img_20150401_092707.jpg

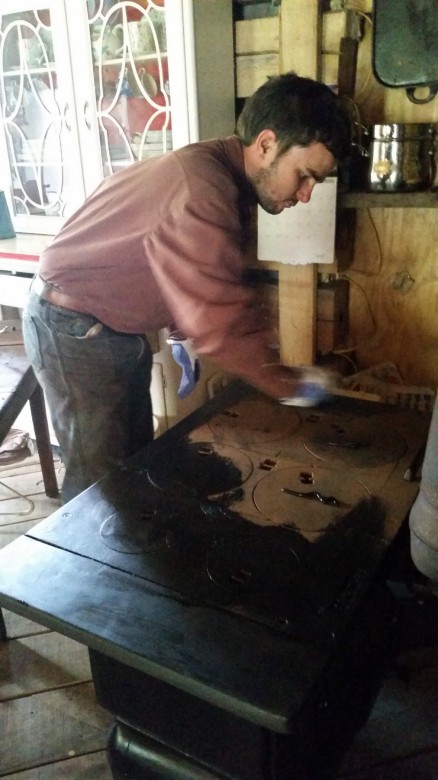
Jordan painted everything but the stove top. This he polished with stove black. We will have to re-black it from time to time.

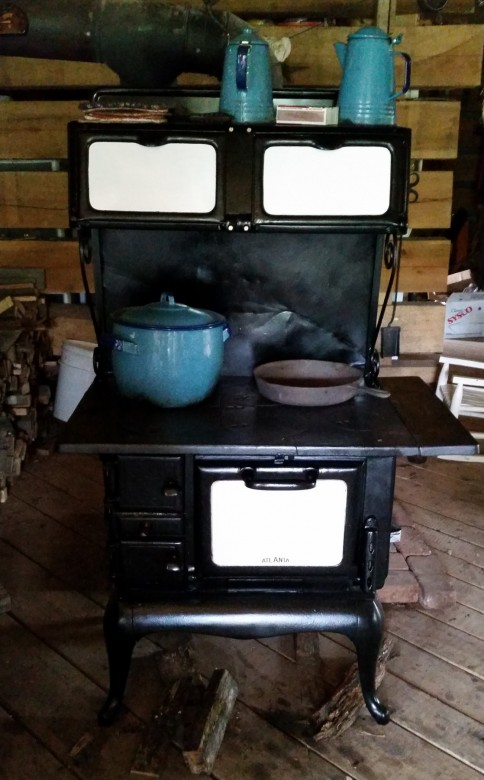
And – the finished piece! I’m so, so happy to finally have my little stove in my kitchen as I’ve been envisioning it for so long!

Don’t those scrolls look nice?

I’ve been using my handy warming oven to make yogurt. It makes a great place for bread to rise, too!

wpid-img_20150424_074121.jpg

I feel quite fancy cooking on such a pretty piece!

I’m so proud of Jordan for doing such a beautiful job.