Recent Sewing – 1860s White Voile Bodice

If you ever were a reader of my old blog, Story of a Seamstress, you know that I used to do custom sewing commissions full time before I married. In my current season with a busy homestead and 3 young kiddos, its rare now that I will take a commission, but I still do on occasion. Earlier this year a lovely lady asked for a historical reproduction of a white sheer bodice from the 1860s. It was a delightful project.

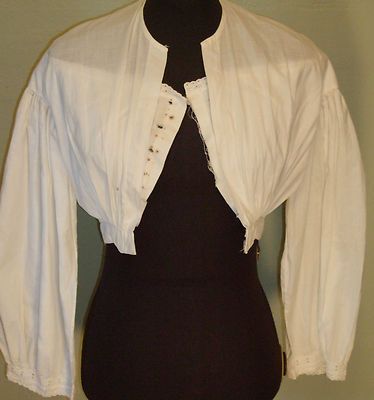
The picture above is the original bodice my client wanted to reproduce. (this picture came from a defunct ebay listing) Notice the separate underbodice/lining with buttonholes and lace trim. We couldn’t see this bodice in great detail from the pictures, so I had to make a few guesses about construction, but over all I am very happy with the result.

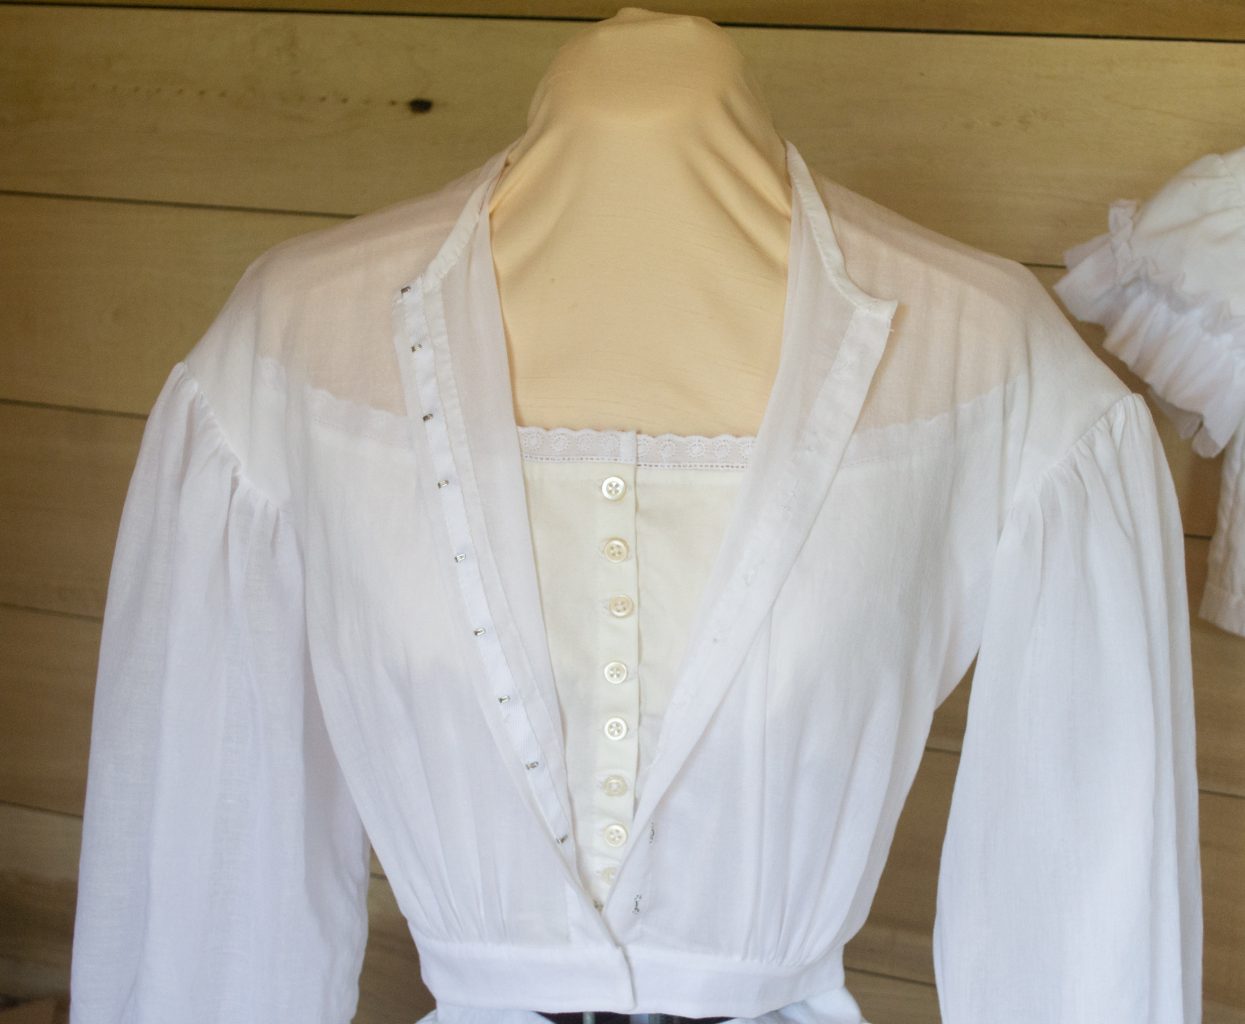
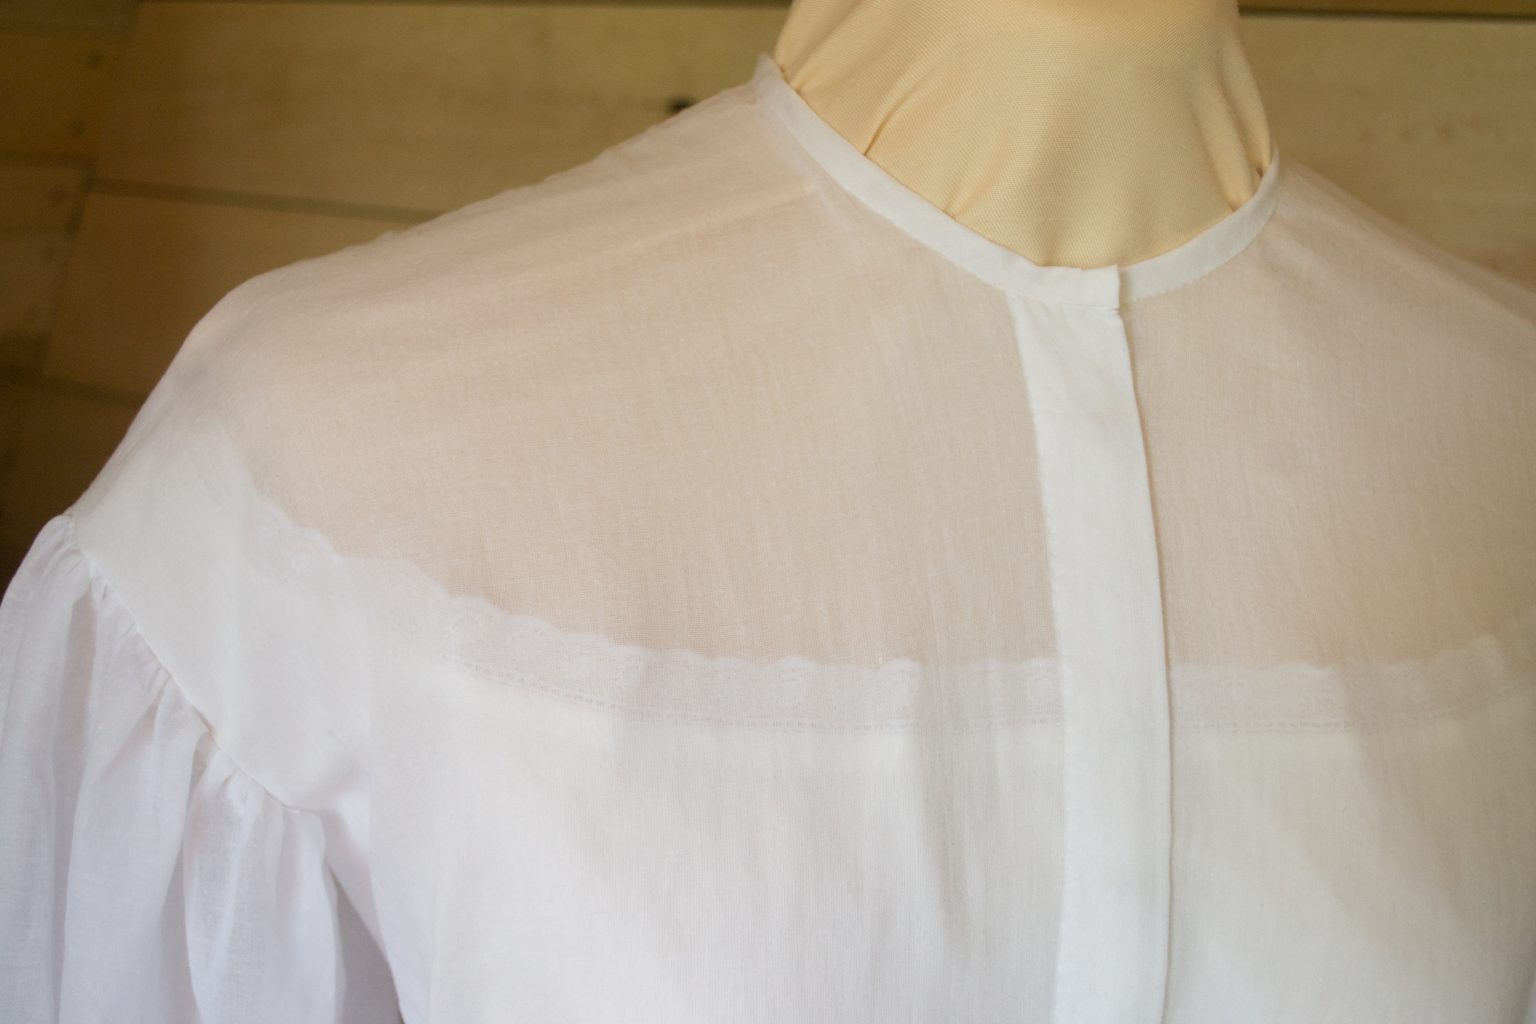
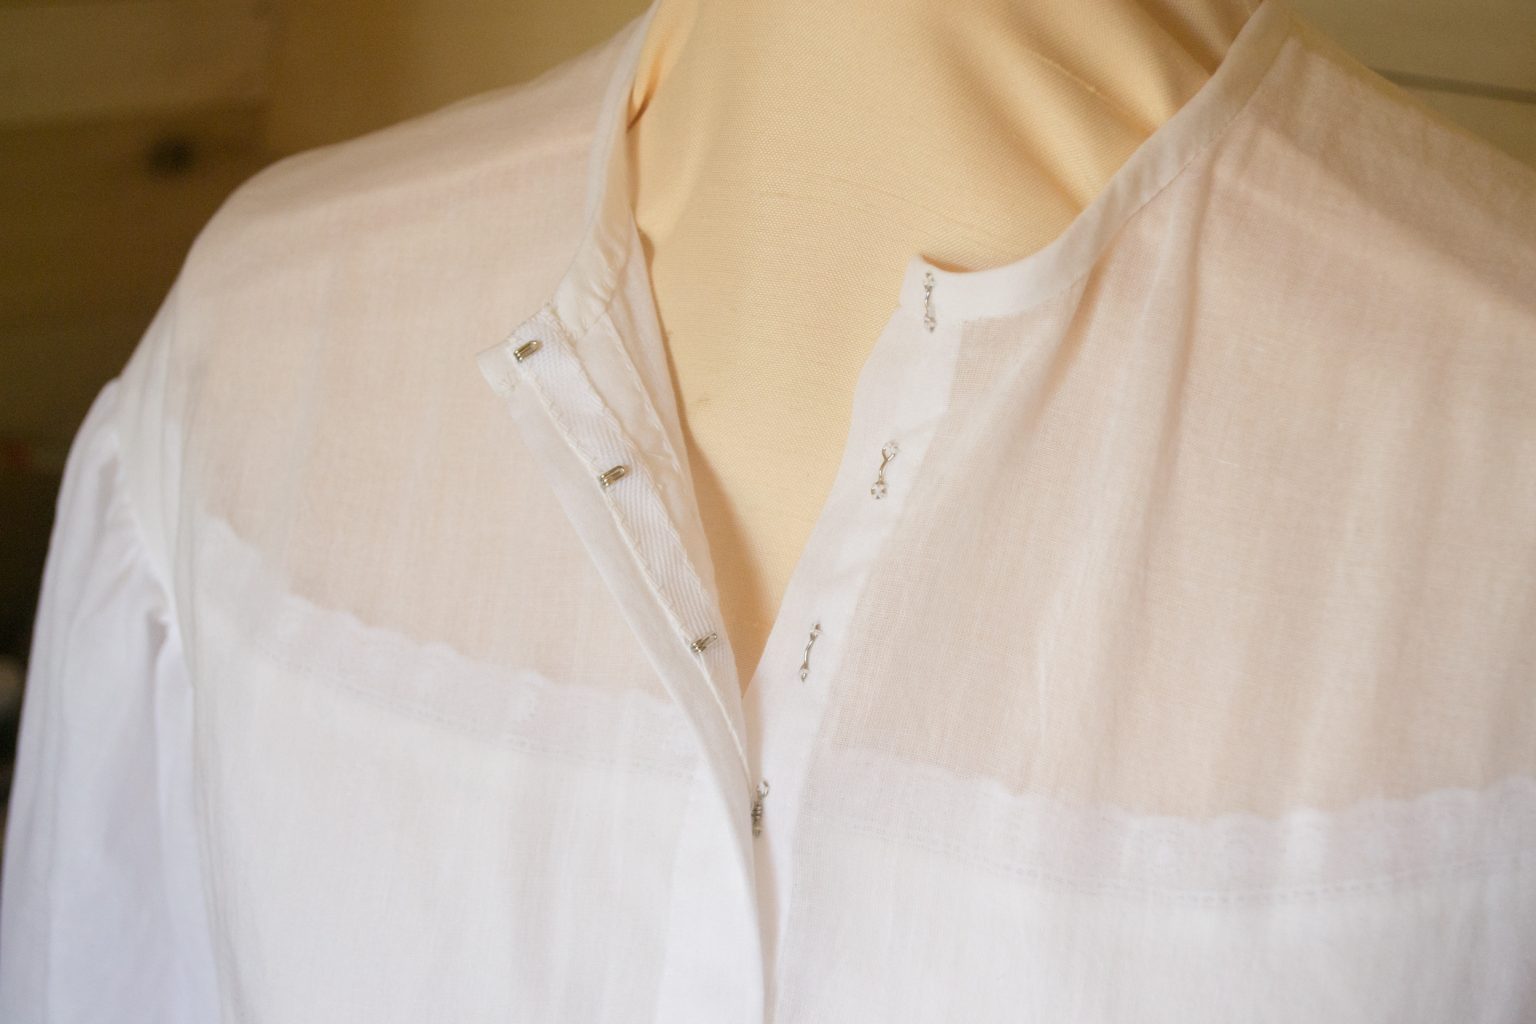
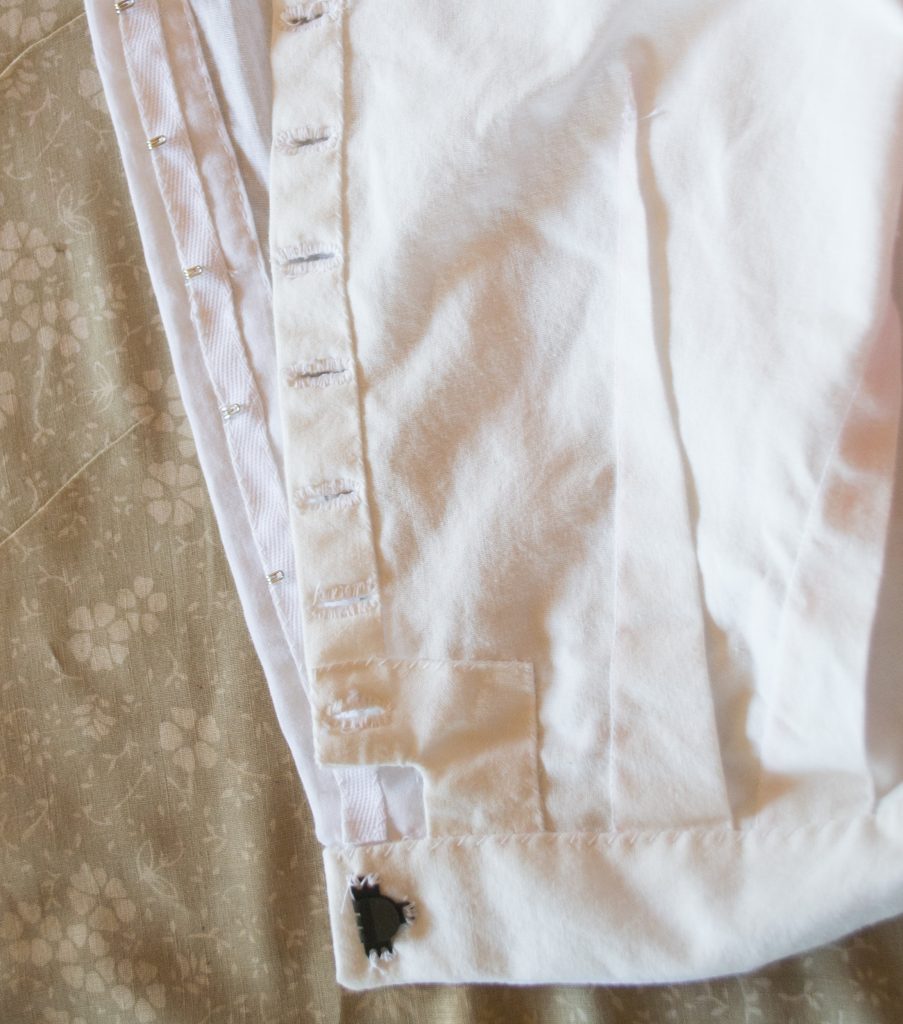
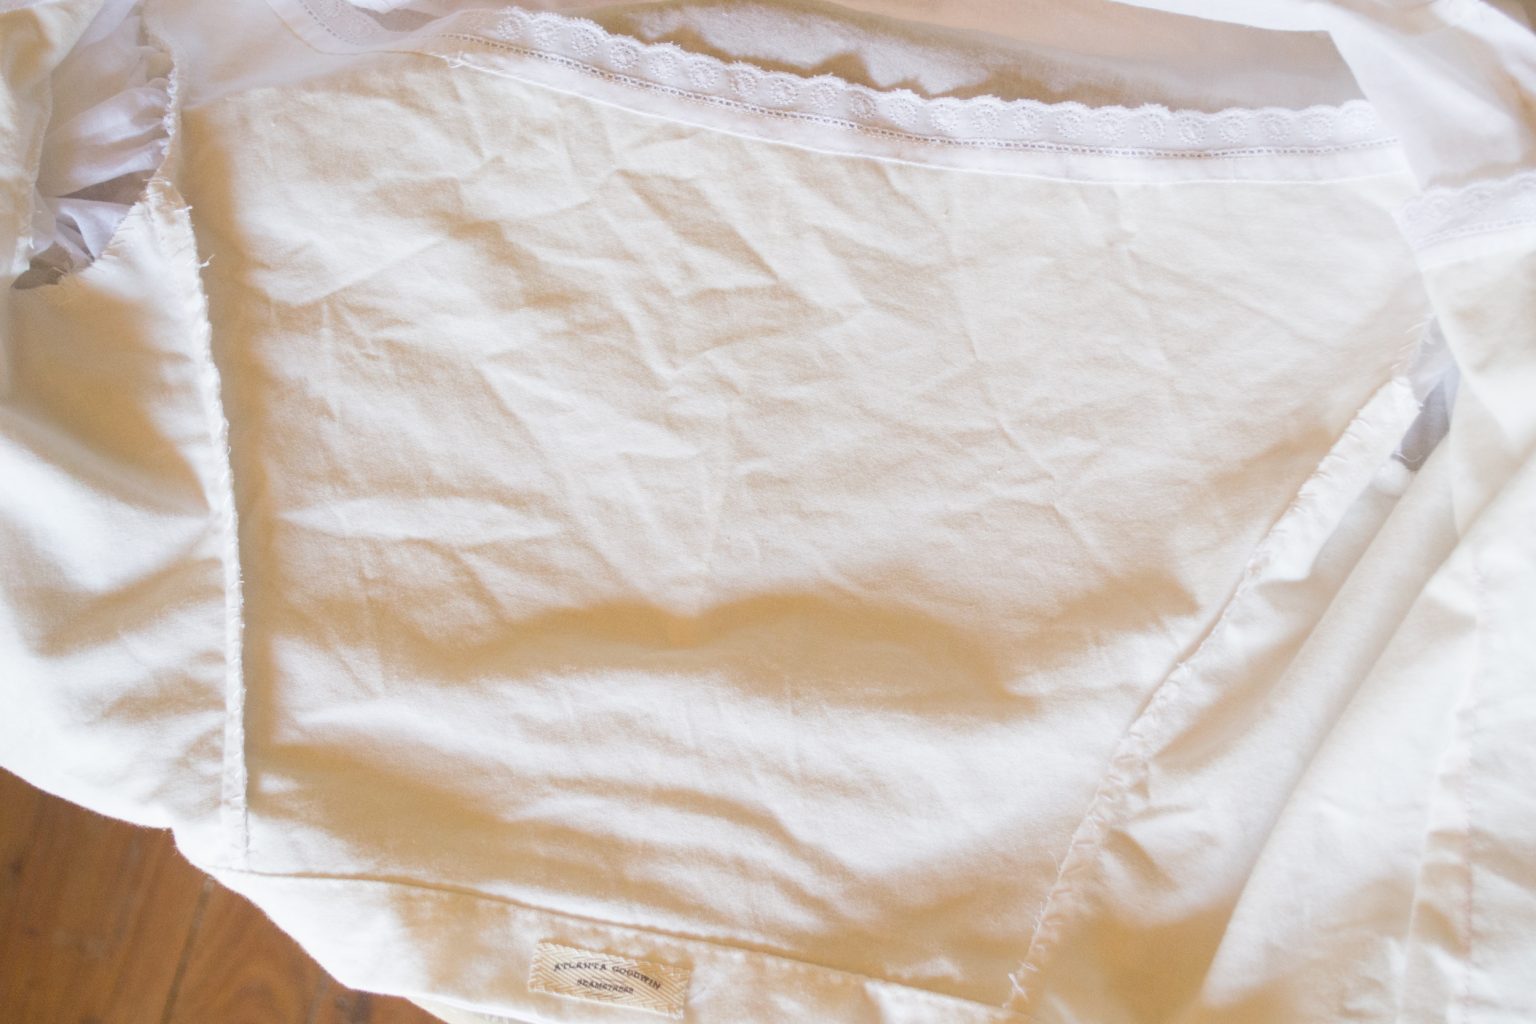
My reproduction was made from white sheer cotton voile, and has a half-lining of cotton muslin. The lining buttons closed, and then the bodice closes invisibly over the top with hook-and-eyes.

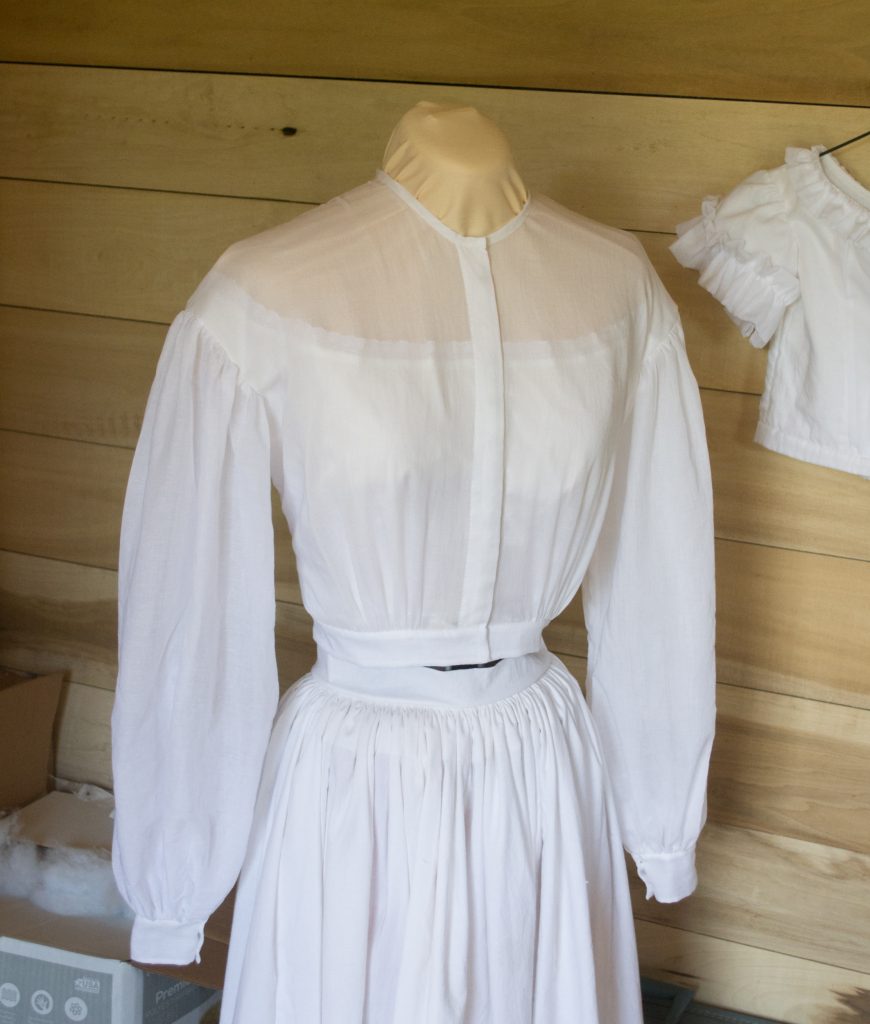
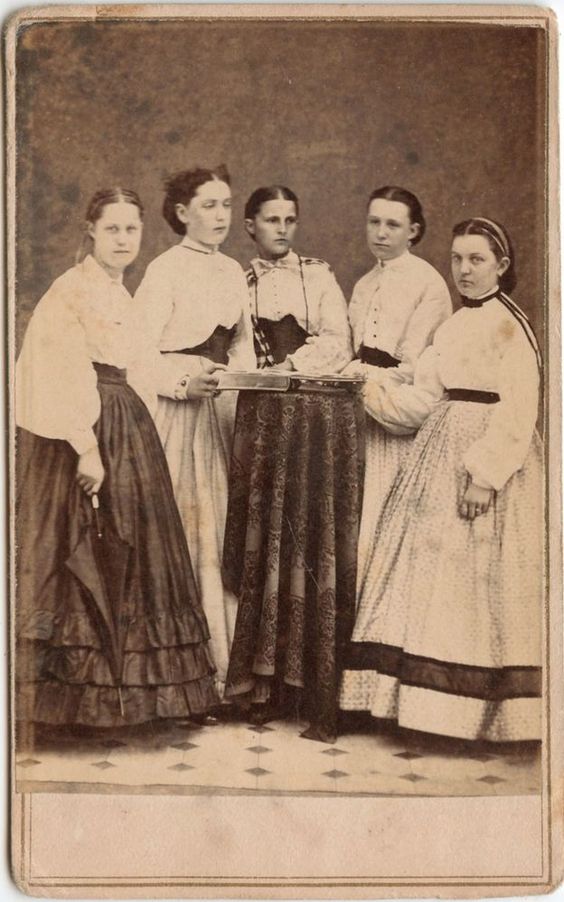
When incorporated into a period outfit the white bodice will appear similar to the original images shown below:

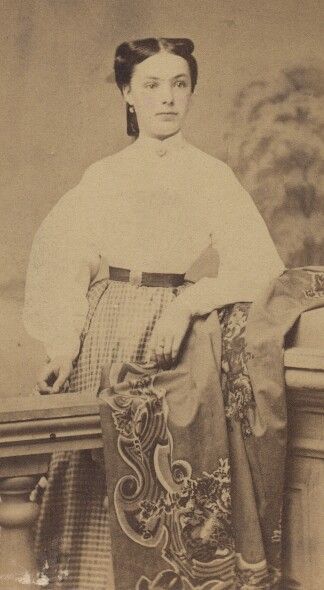
A fashionable outfit with a fine silk, wool, or sheer fabric skirt and accessorized with a belt, or silk ‘waist’, and a collar, brooch or ribbon at the neck.

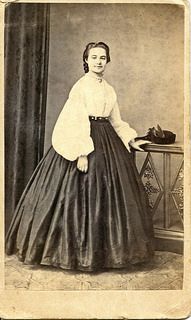
If you do any research on this look online, you might variously hear this type of bodice called a ‘Garabaldi blouse’, ‘white blouse’ or ‘white waist’. Looking at originial sources, it seems to be the white bodice and contrasting skirt look was an 1860s fashion fad mainly followed by wealthy younger women.

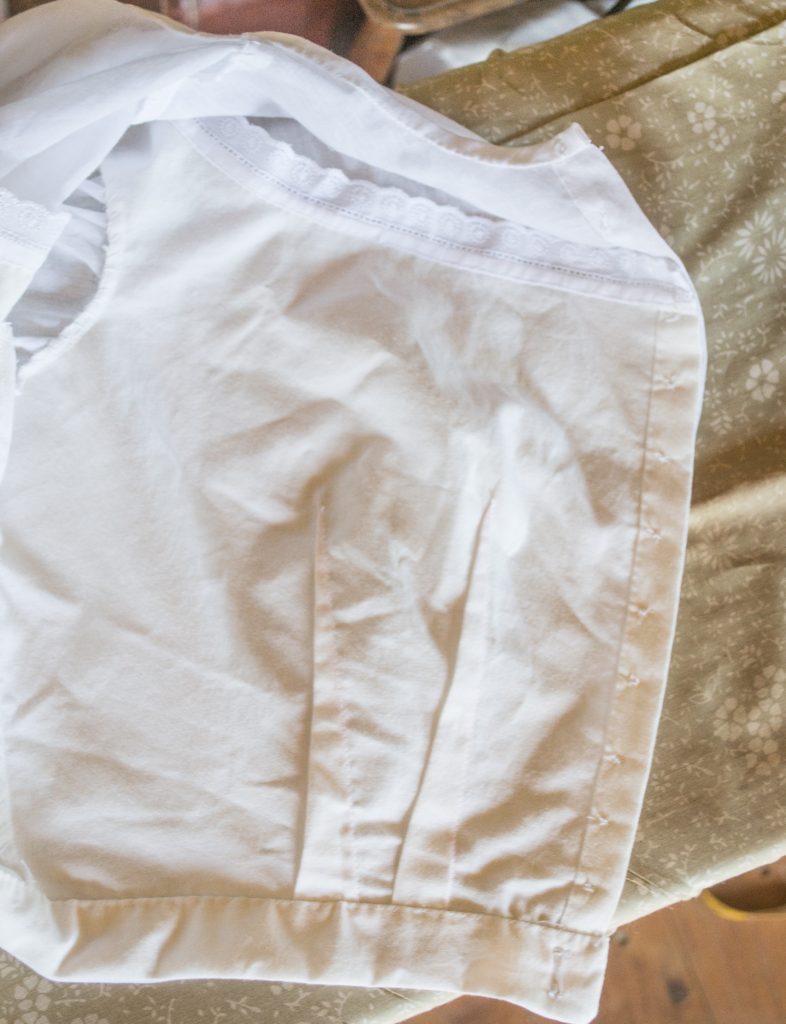
You can see the fabric is quite sheer above the lining allowing the upper shoulders to be very cool and breezy for those hot summer months!

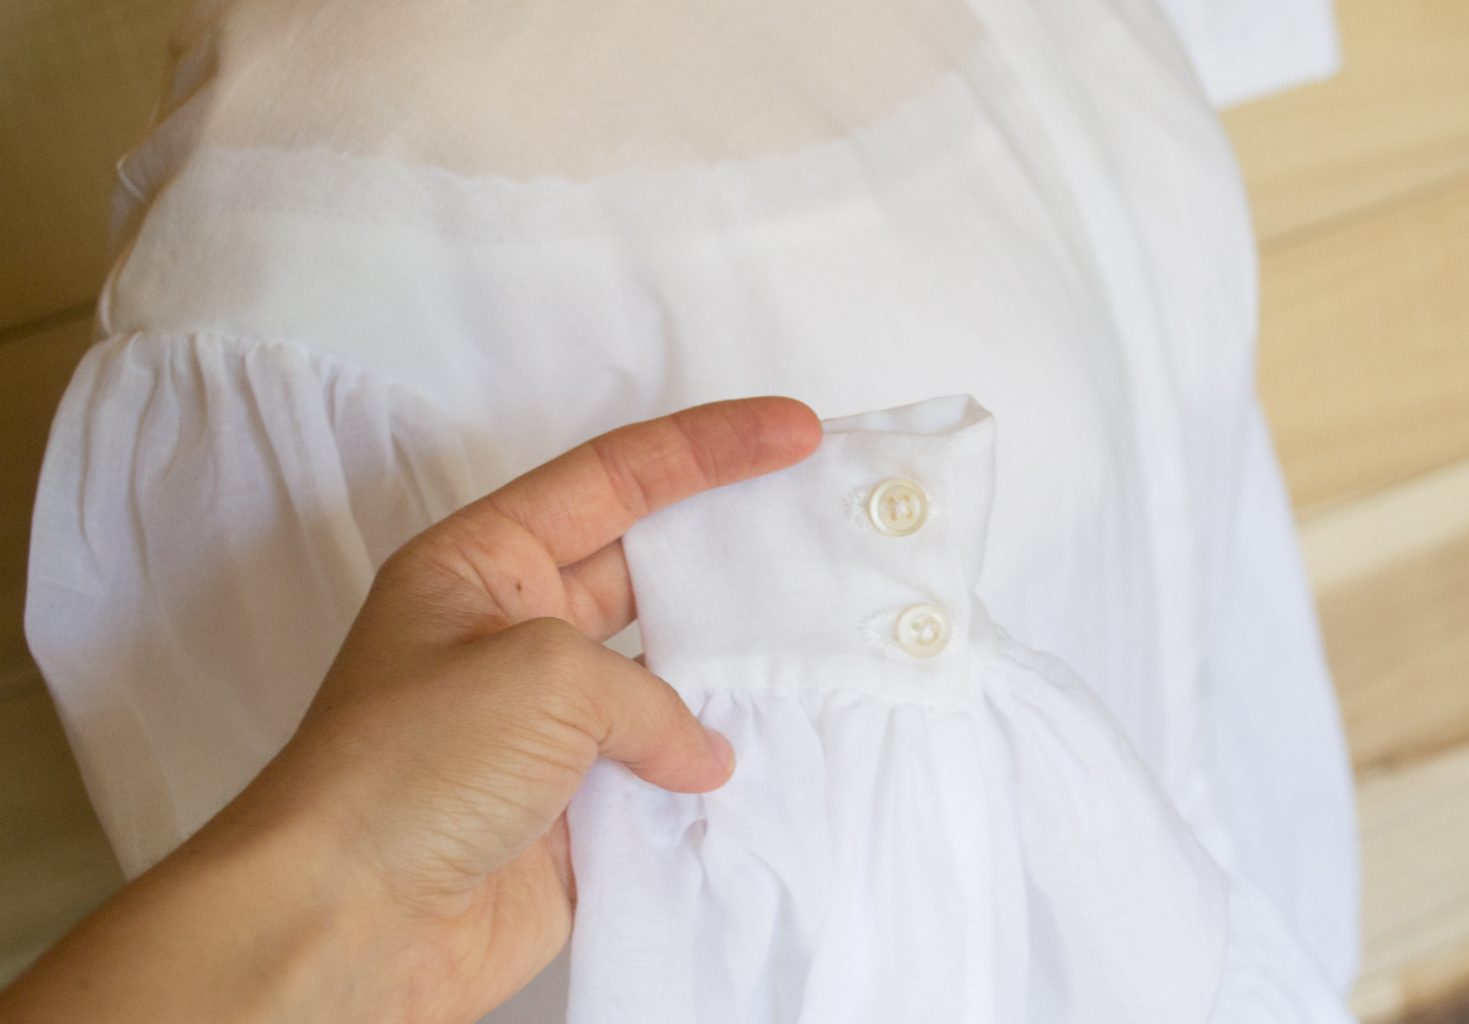
All buttonholes hand done.

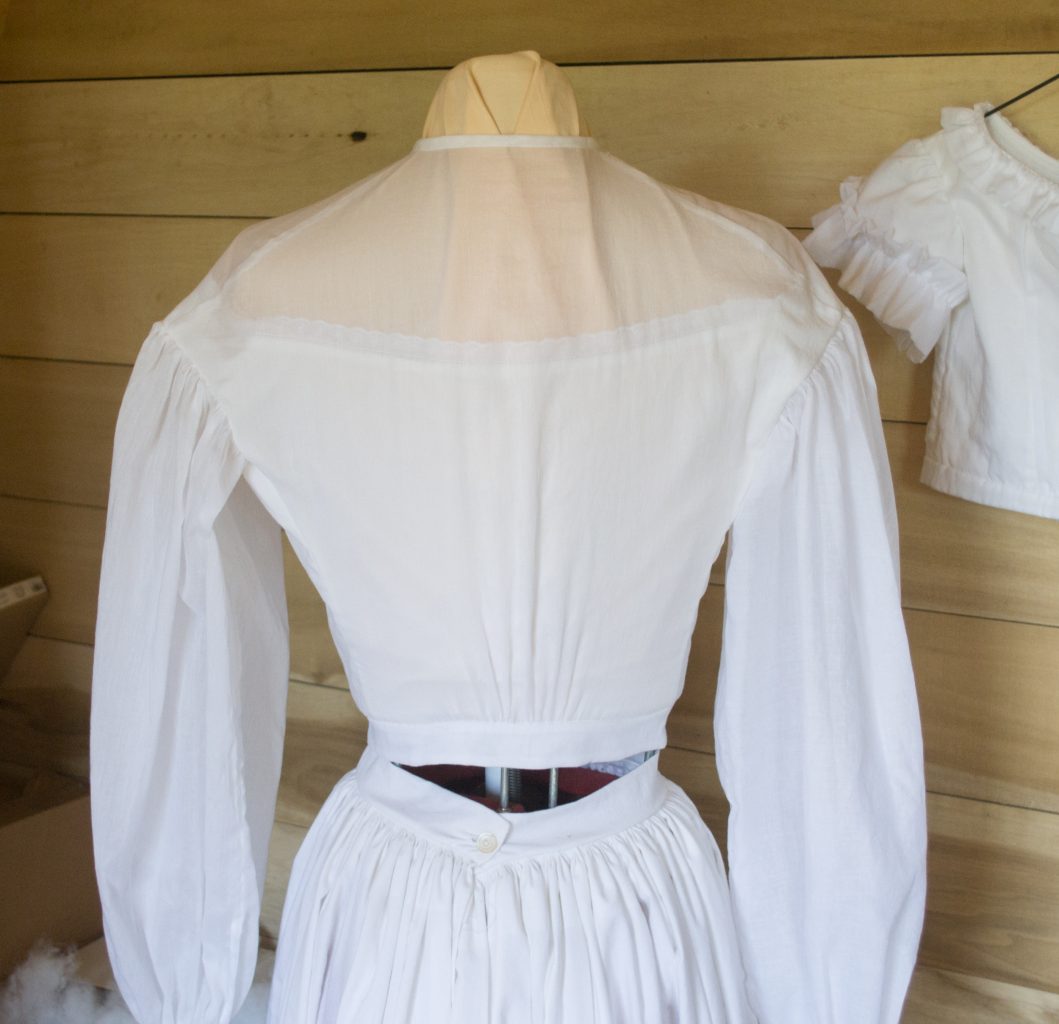
Sleeves very full and a nice fitted back.

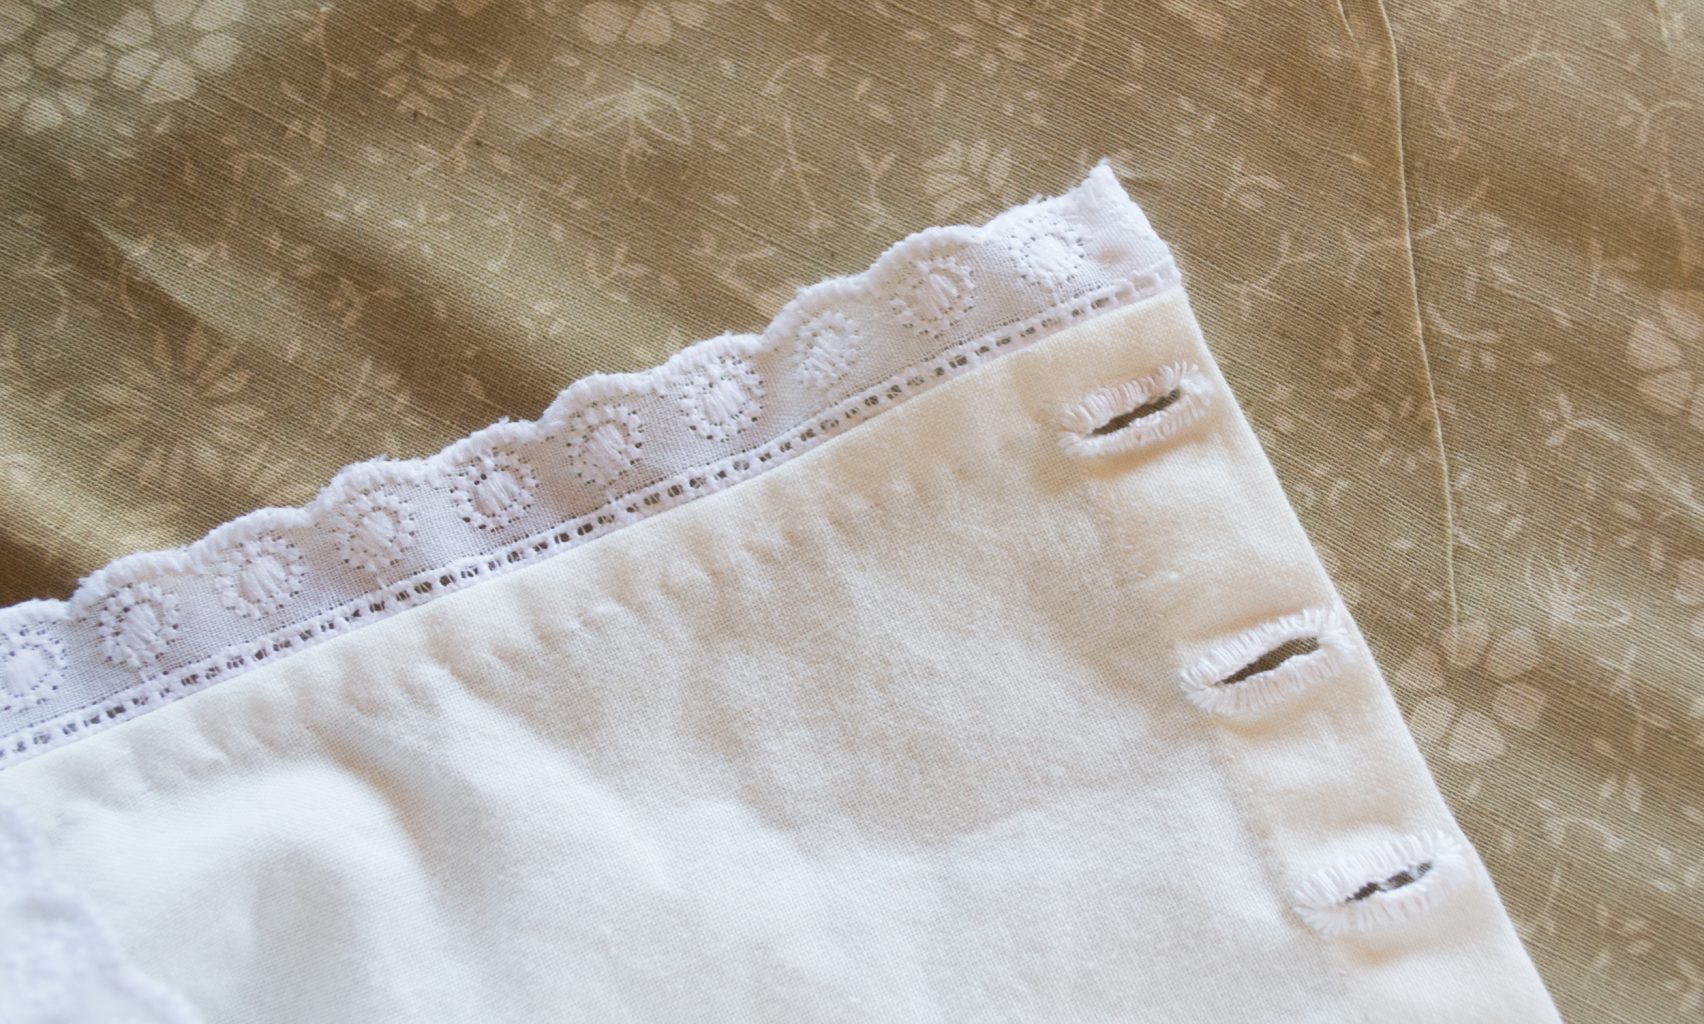
Lace and buttonhole detail on lining.

Below: more inner construction details for any interested seamstresses! :)

Kitchen Update – Making Progress!

Over the winter and spring Jordan has made a lot of progress on our kitchen! I am so excited about it. The kitchen has long been one of the most unfinished spaces in our house, and its exciting to see it getting a face lift!

The first big change was when Jordan found and purchased a used Kitchen Queen woodstove. We’d been on the lookout for a cookstove big enough to also heat the house, and this one is perfect! My small antique woodstove will have an eventual home in the summer kichen and be used during hot weather. Installing that was a big project! He insulated he wall behind and put the tin barn metal heat shield and stovepipe vent, installed all new stovepipe and made braces for the outside, then made a copper covered heat shield and platform for underneath the stove. Lots of work!

The window over the sink was taken out and completed re-glazed and the inside painted white. While it was out, Jordan chinked the two walls in the kitchen, and when the window went back in, it was the first in he house to have it’s proper trim installed as well! The trim will be painted white too.

The sink cabinet he built (still needs doors) and installed our sink and our real plumbing! (no hot water yet) The vintage enamel sink we bough at the local ‘Octoberfest’ sale last year for $25. I am really loving the progress! Read on to see what’s next….

Eventually the wall behind the sink will be our cabinets – there will be a larger cabinet and counter to the left of the sink which will be my ‘baking station’, and to the right of the sink will be a narrow cabinet with a space for a ‘coffee station’. The wall will be covered with a combination of open shelves and small cabinets, and there will be a hanging light fixture over the sink. The picture below is very inspiring to us, and the feel of our cabinets will be similar:

Picture credit David T. Smith

The color of the cabinets and shelves will be milk painted a distressed and muted aqua/sky blue, much like the antique cabinet below. Picture credit Garth’s Auctions

To the right of the sink, there will be a plate rack and cup hooks incorporated somewhere above the ‘coffee station’.

There will also be a work station in the middle, sort of a large island with a space underneath for firewood storage.

It’s been so fun to see our ‘real’ kitchen finally coming together!

If you are interested to see lots more of my farmhouse kitchen inspiration – be sure to visit my Pinterest board on the subject!