Spring Reenactment

Last month we decided to attend a local small reenactment. There’s not really that much to the event, but we thought it would be fun to get the kids dressed up and see what they thought about it all. (and still be close enough to retreat home for naptime!)

As always….the event started out the night before with last-minute sewing… Marian was still able to squeeze into her last outfit, but Alan didn’t have anything. I had a little dress nearly done for him that I had been working on slowly for the last few months. (yes, boys wore dresses in the 19th century at least until after potty training was complete) It was quickly finished, but I also decided that if I didn’t have time to do anything else, I should at least make a couple of little sunbonnets to protect against sunburn, so those I stayed up working on late after the babies were sleeping.

wpid-20160513_221353.jpg

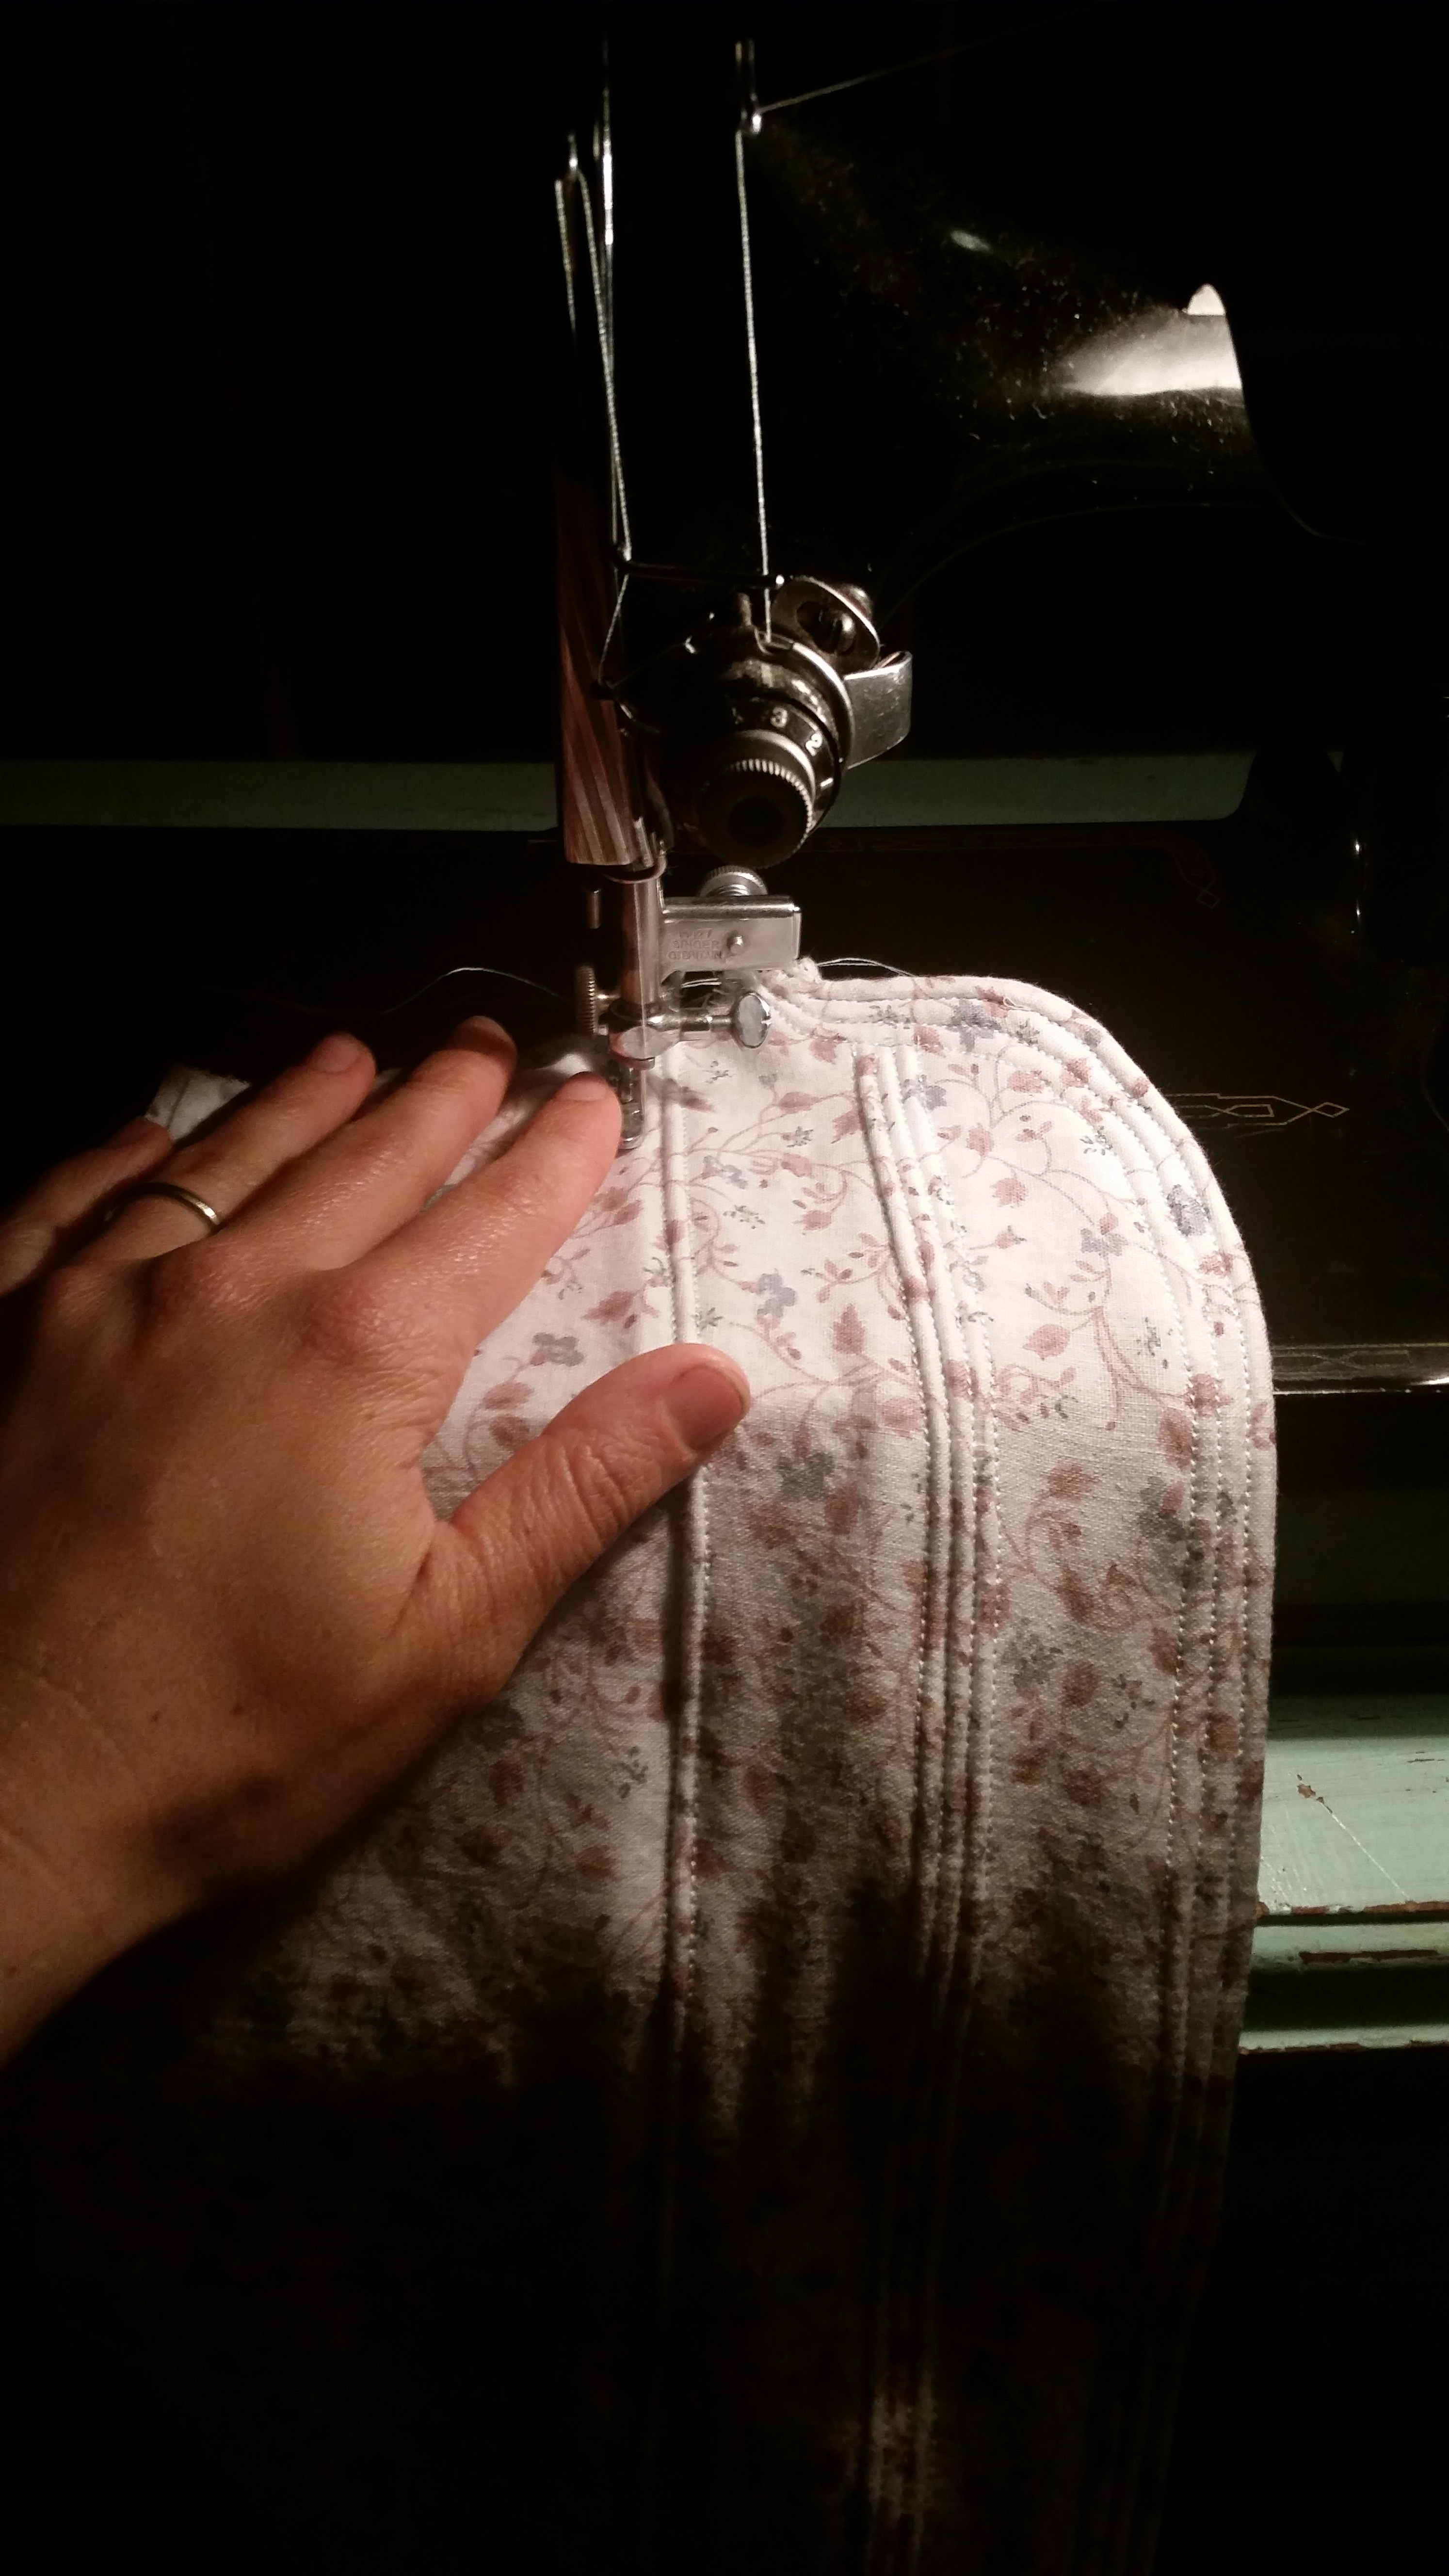
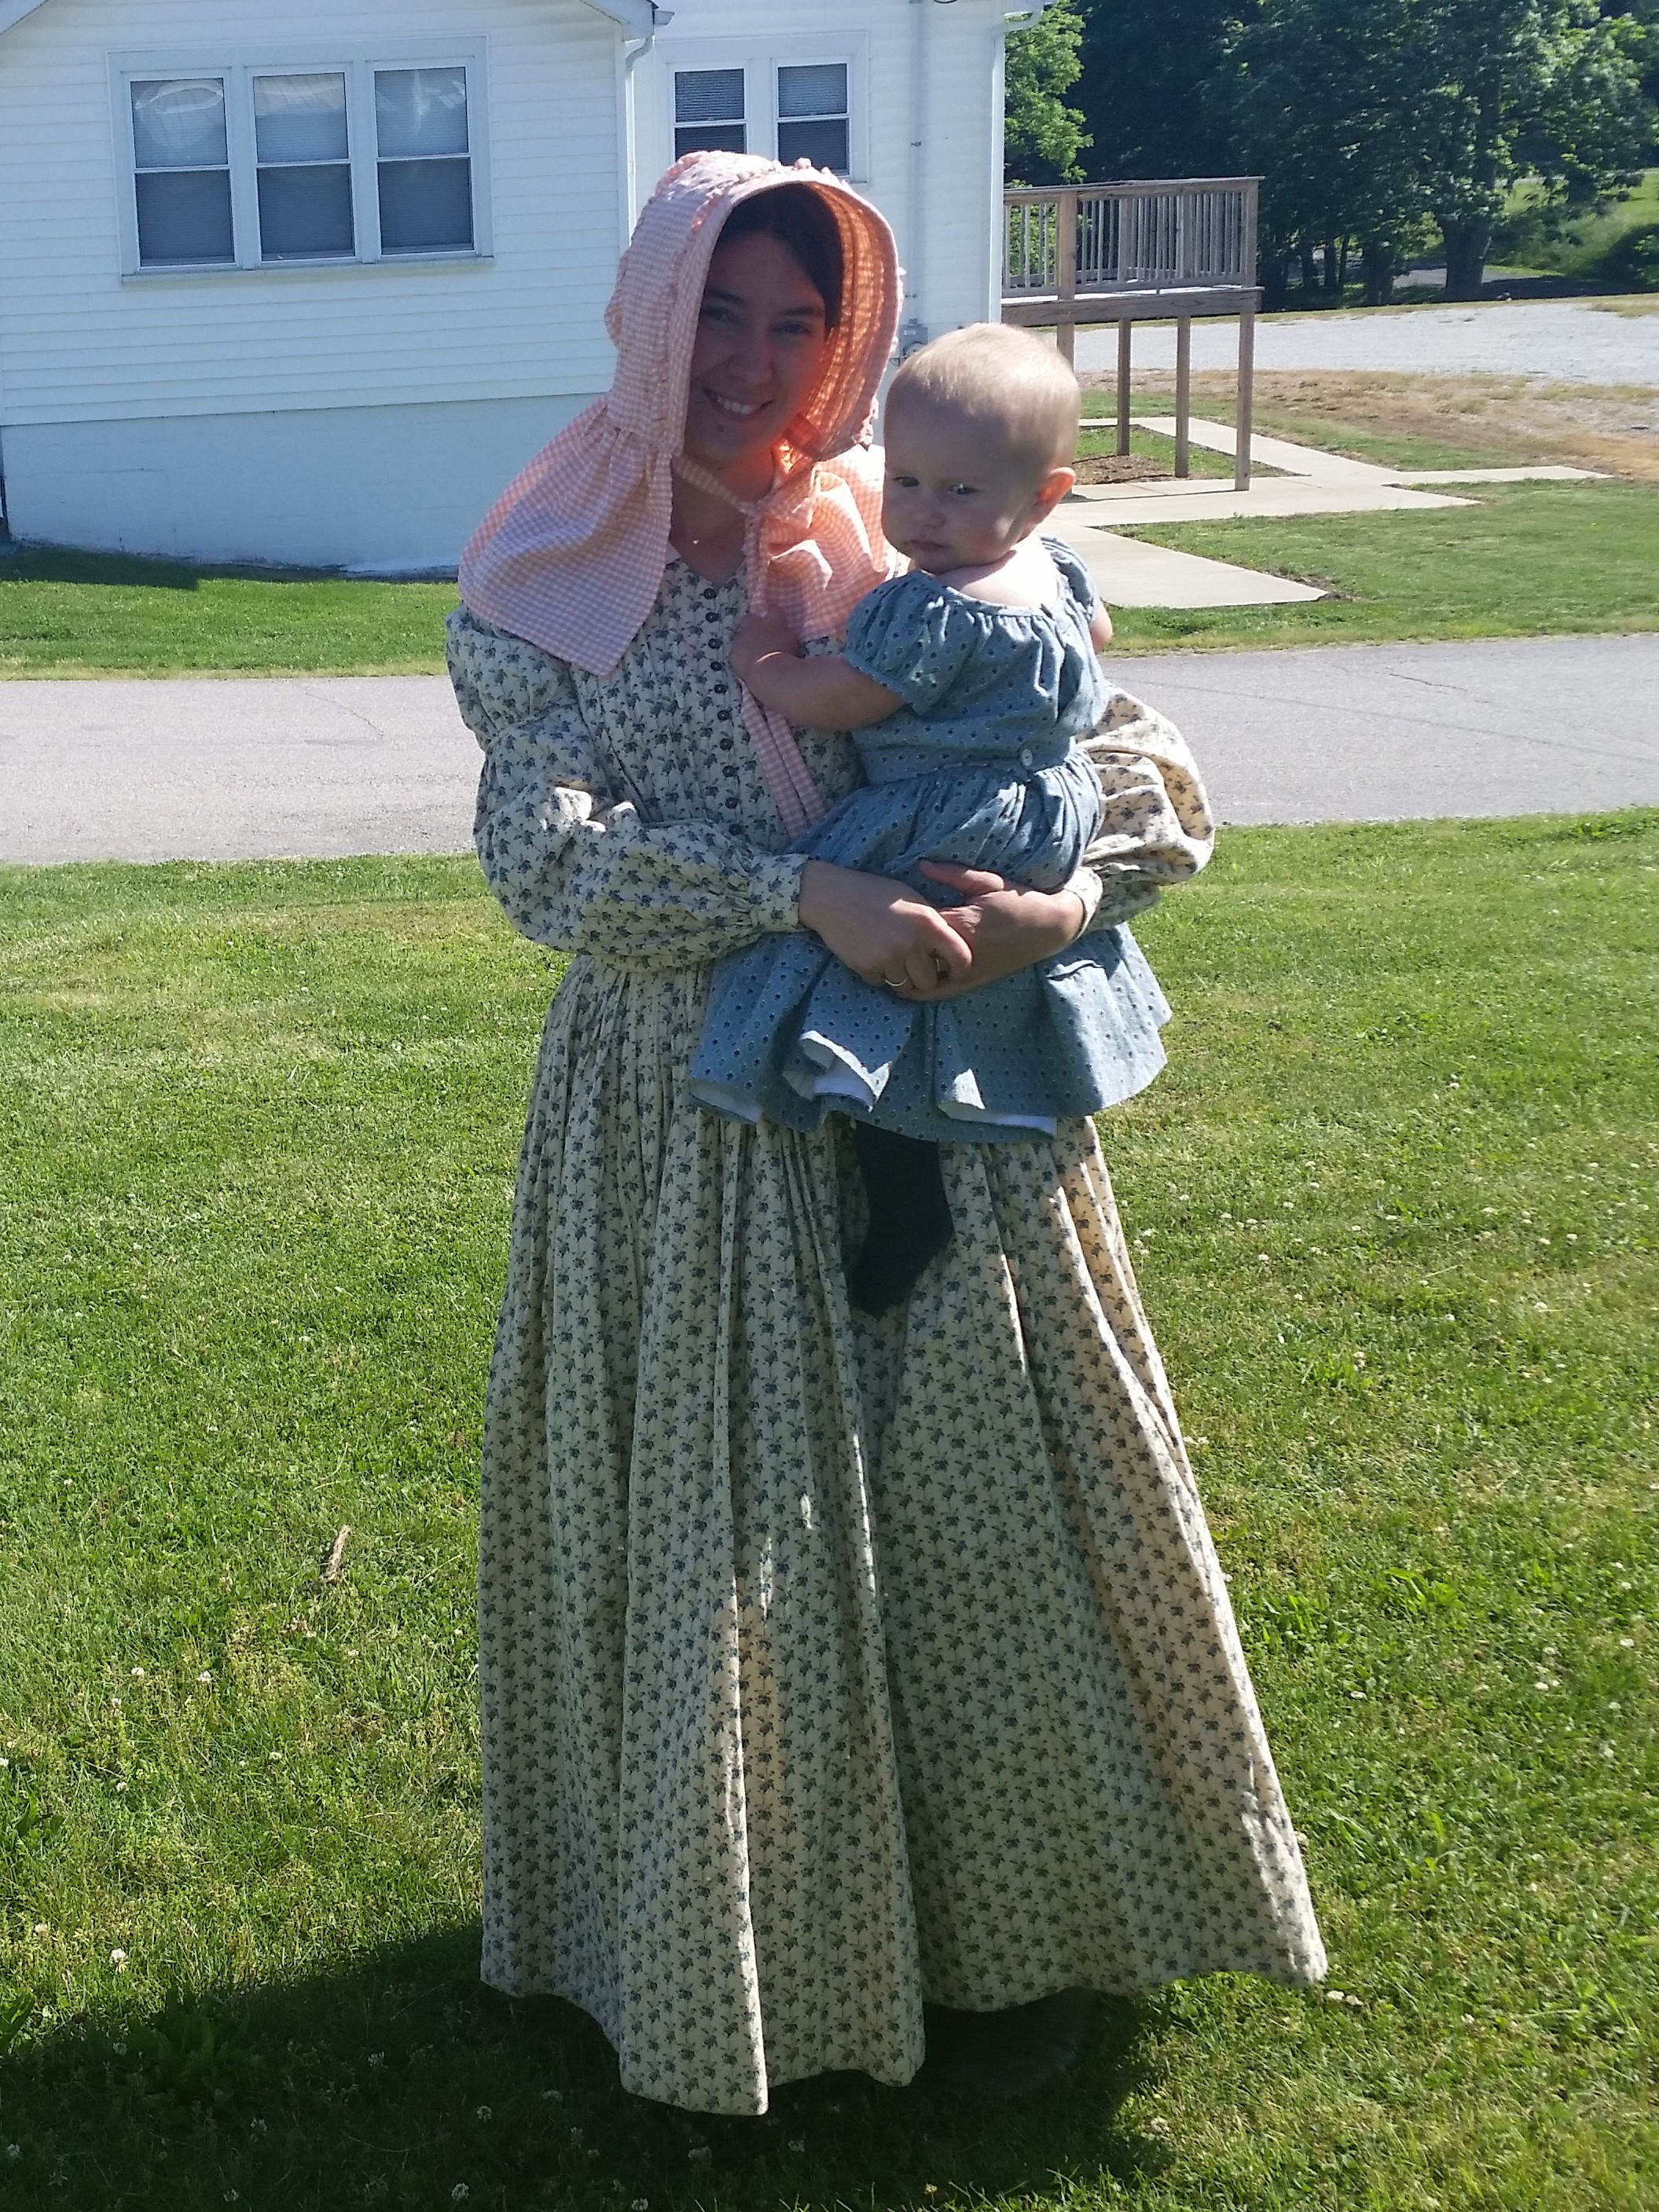
These bonnets were made from a pattern I’ve used for adult sunbonnets before – one taken from a Godey’s Lady’s Magazine from 1857.

wpid-20160514_111643.jpg
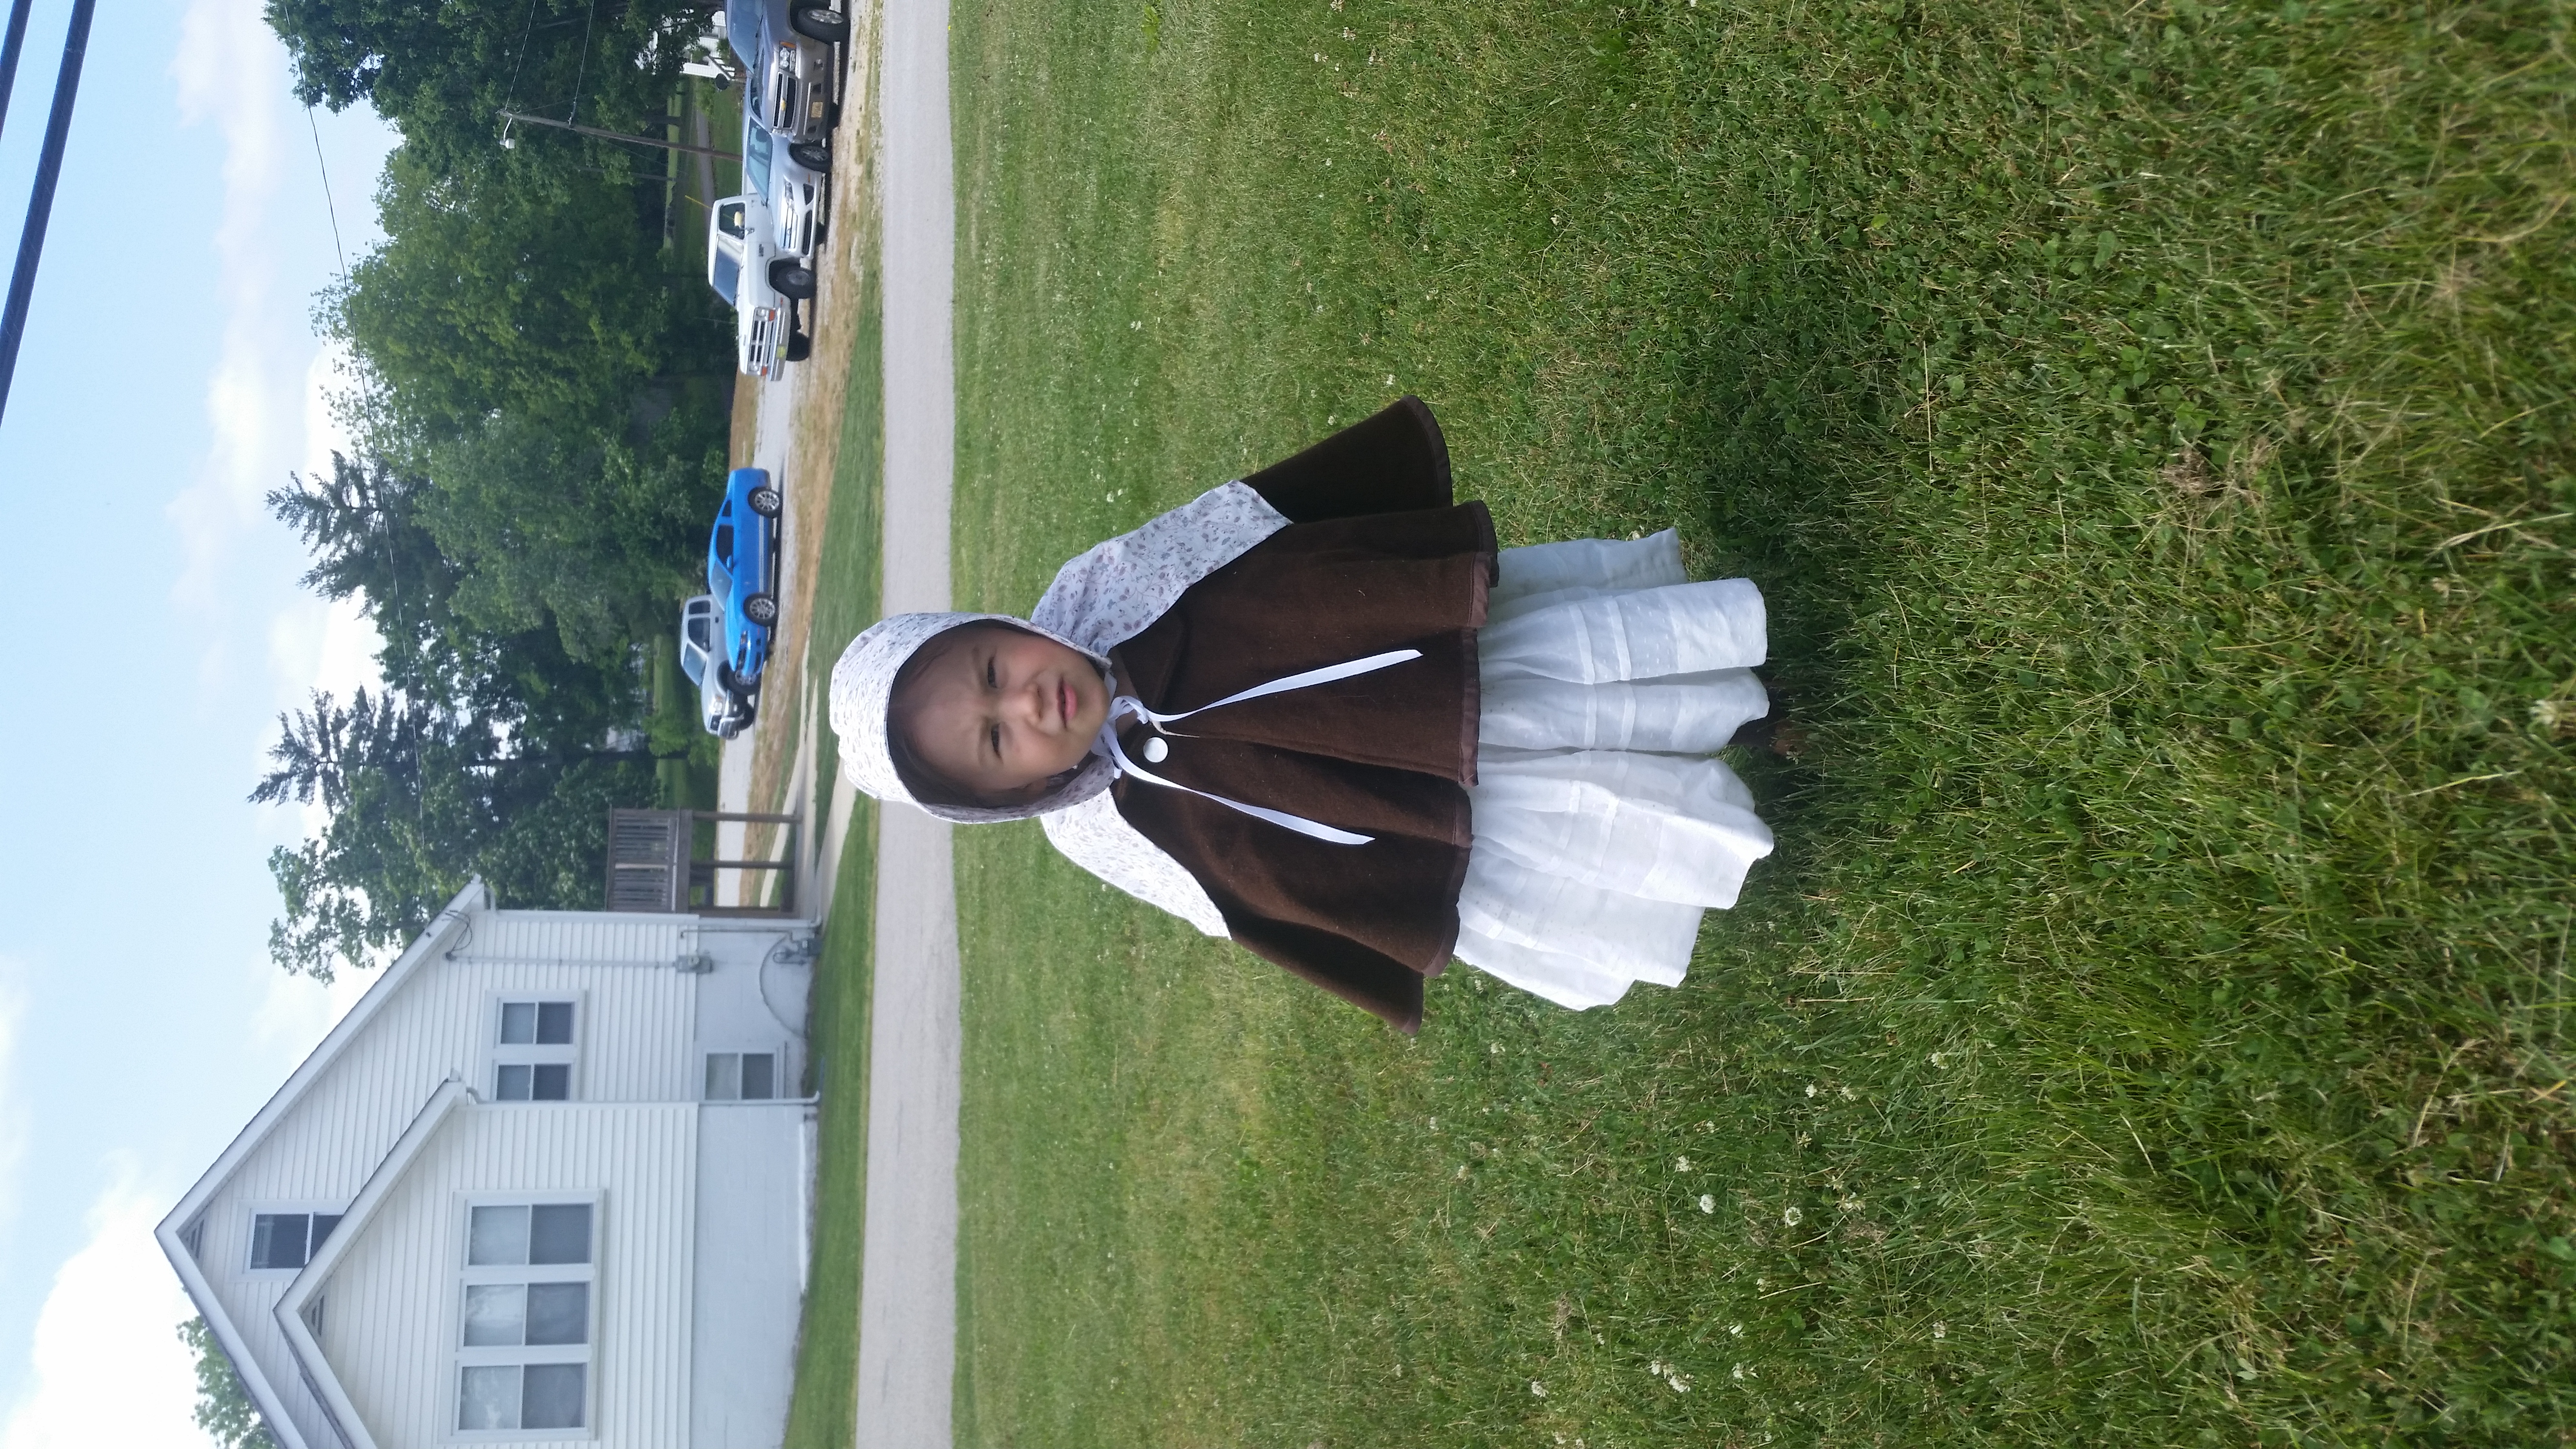
The day ended up being chilly, so hoods might have been more appropriate, but oh well! Marian and Alan looked quite darling all dressed up! Marian just loved having a “pettitote” to make her dress  “go round and round” better.

wpid-20160514_111645.jpg

wpid-20160514_111813.jpg

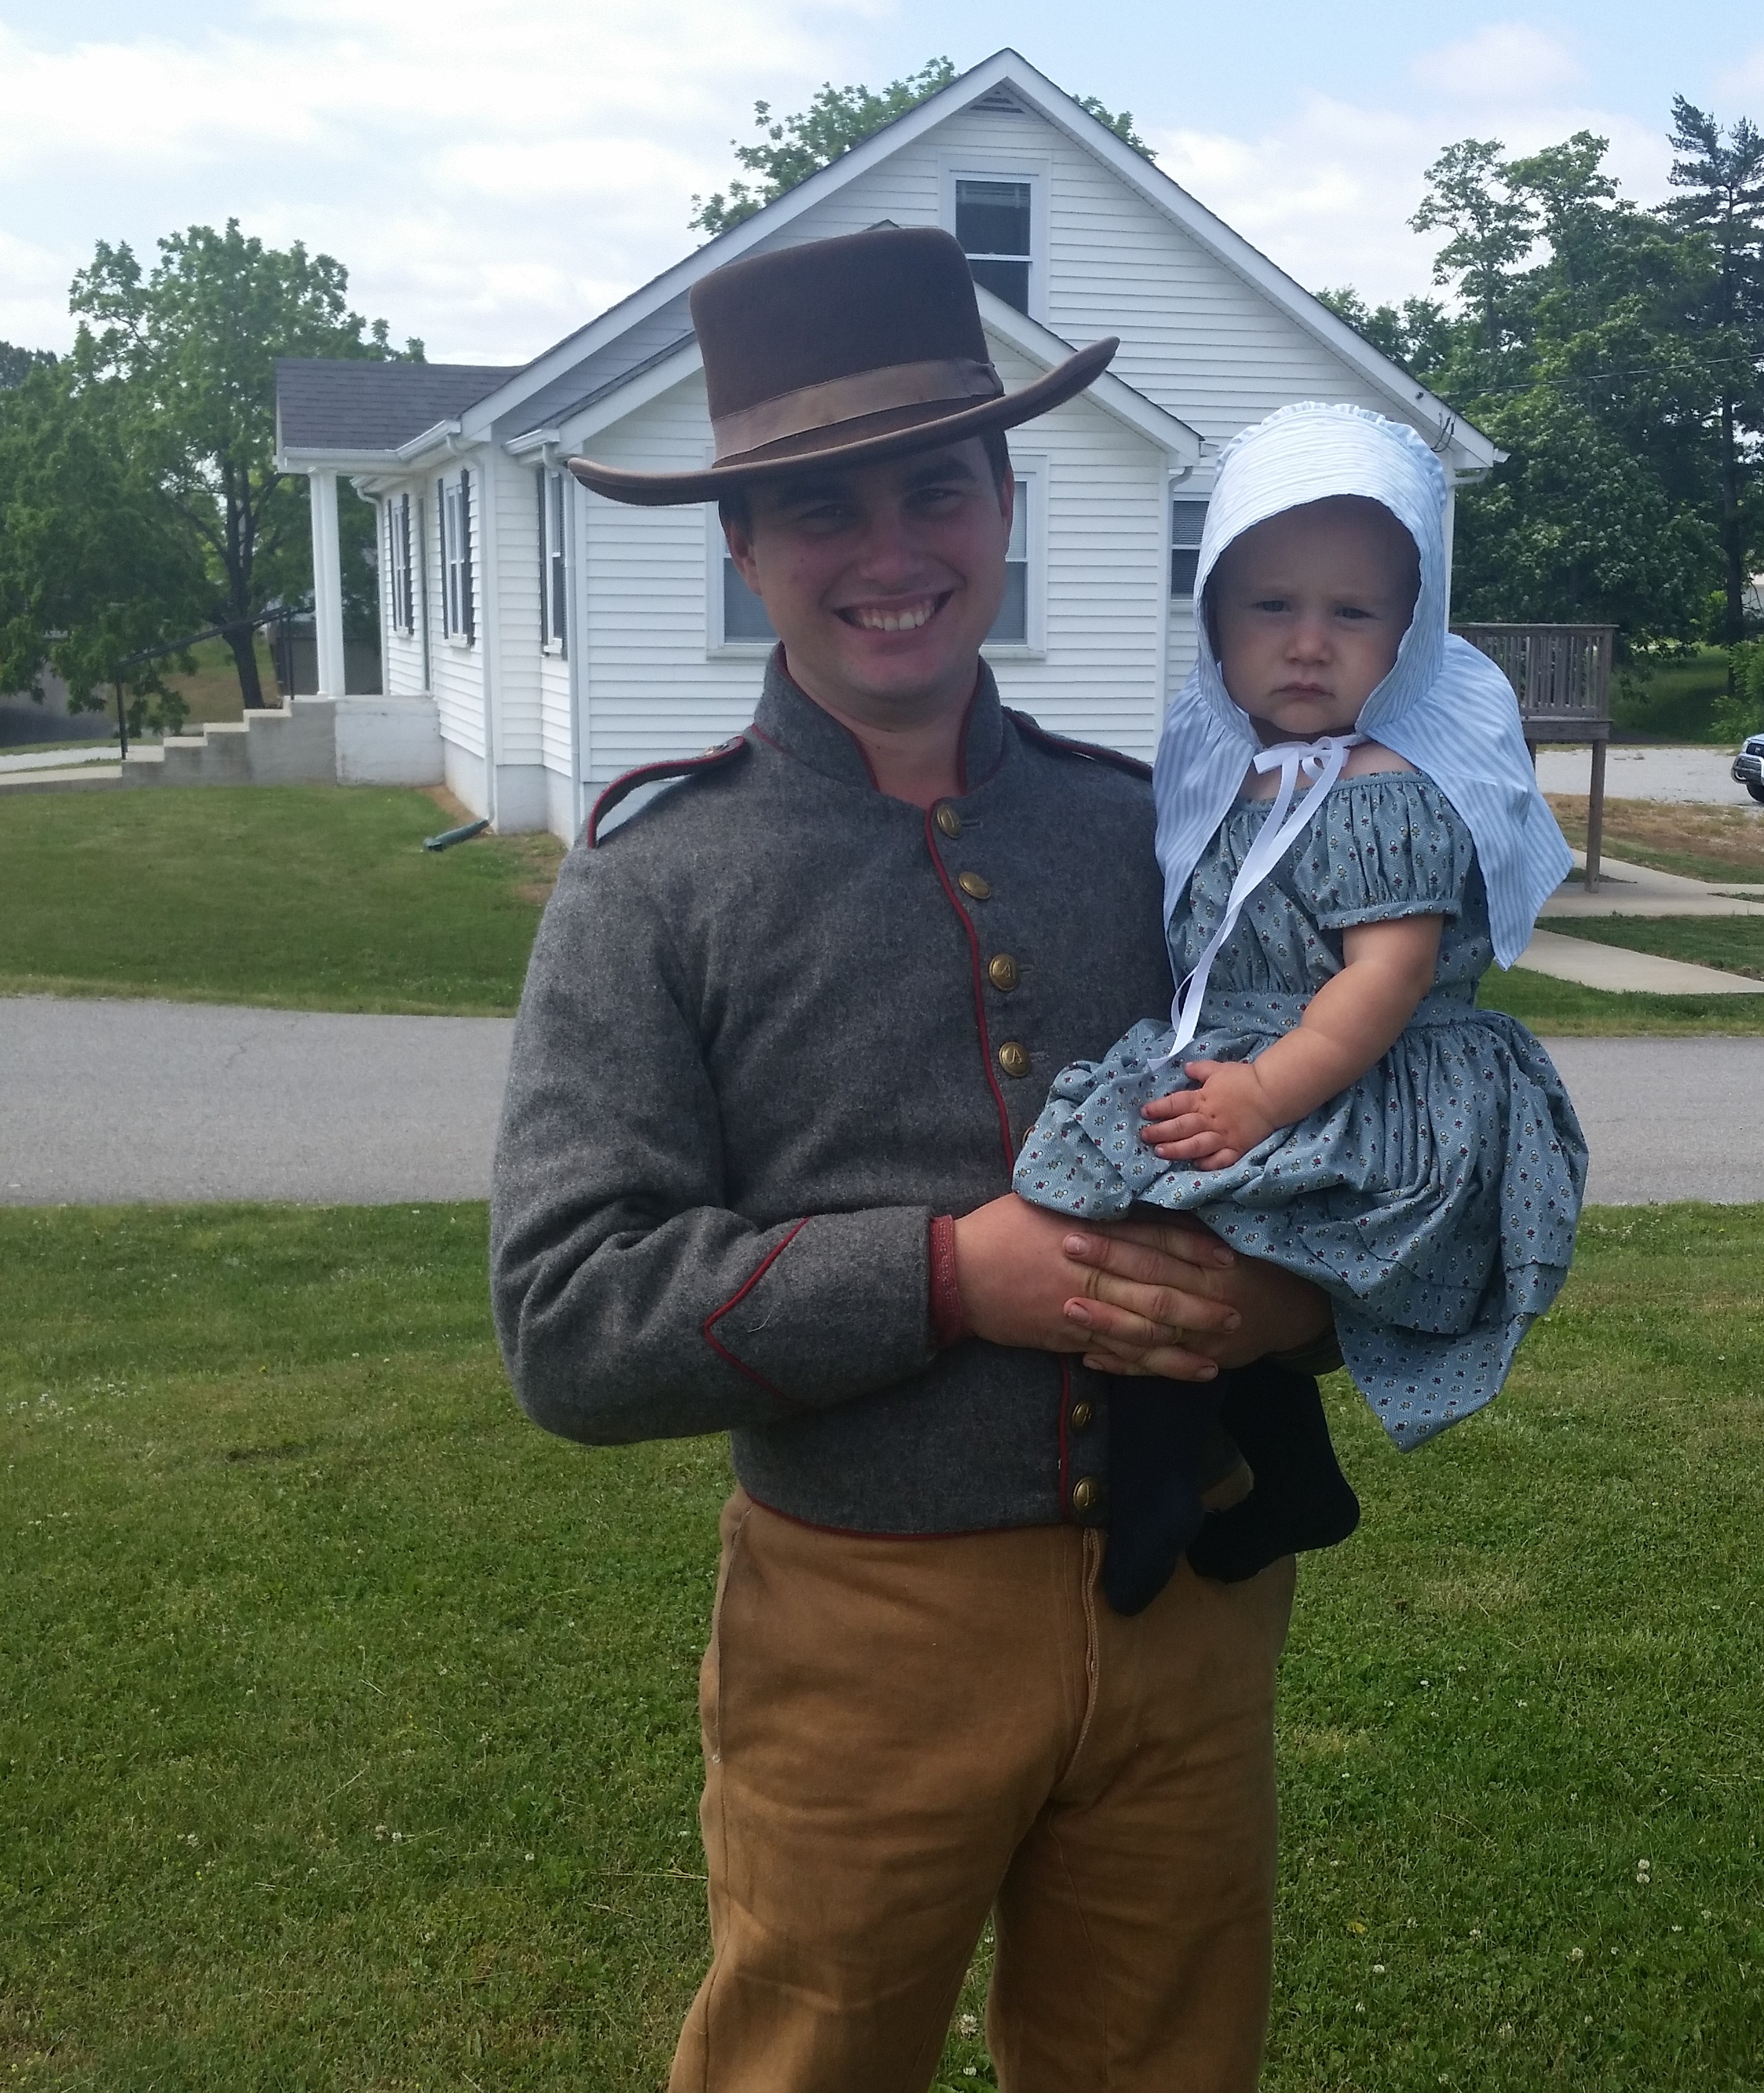
Alan in his little blue dress was just too adorable! I thought he wouldn’t like wearing that much fabric, but he really didn’t seem to notice. Jordan and I hadn’t worn our reenactment clothing in a while, so it was fun to be in character for a day!

wpid-20160514_160225.jpgwpid-20160514_160245.jpg
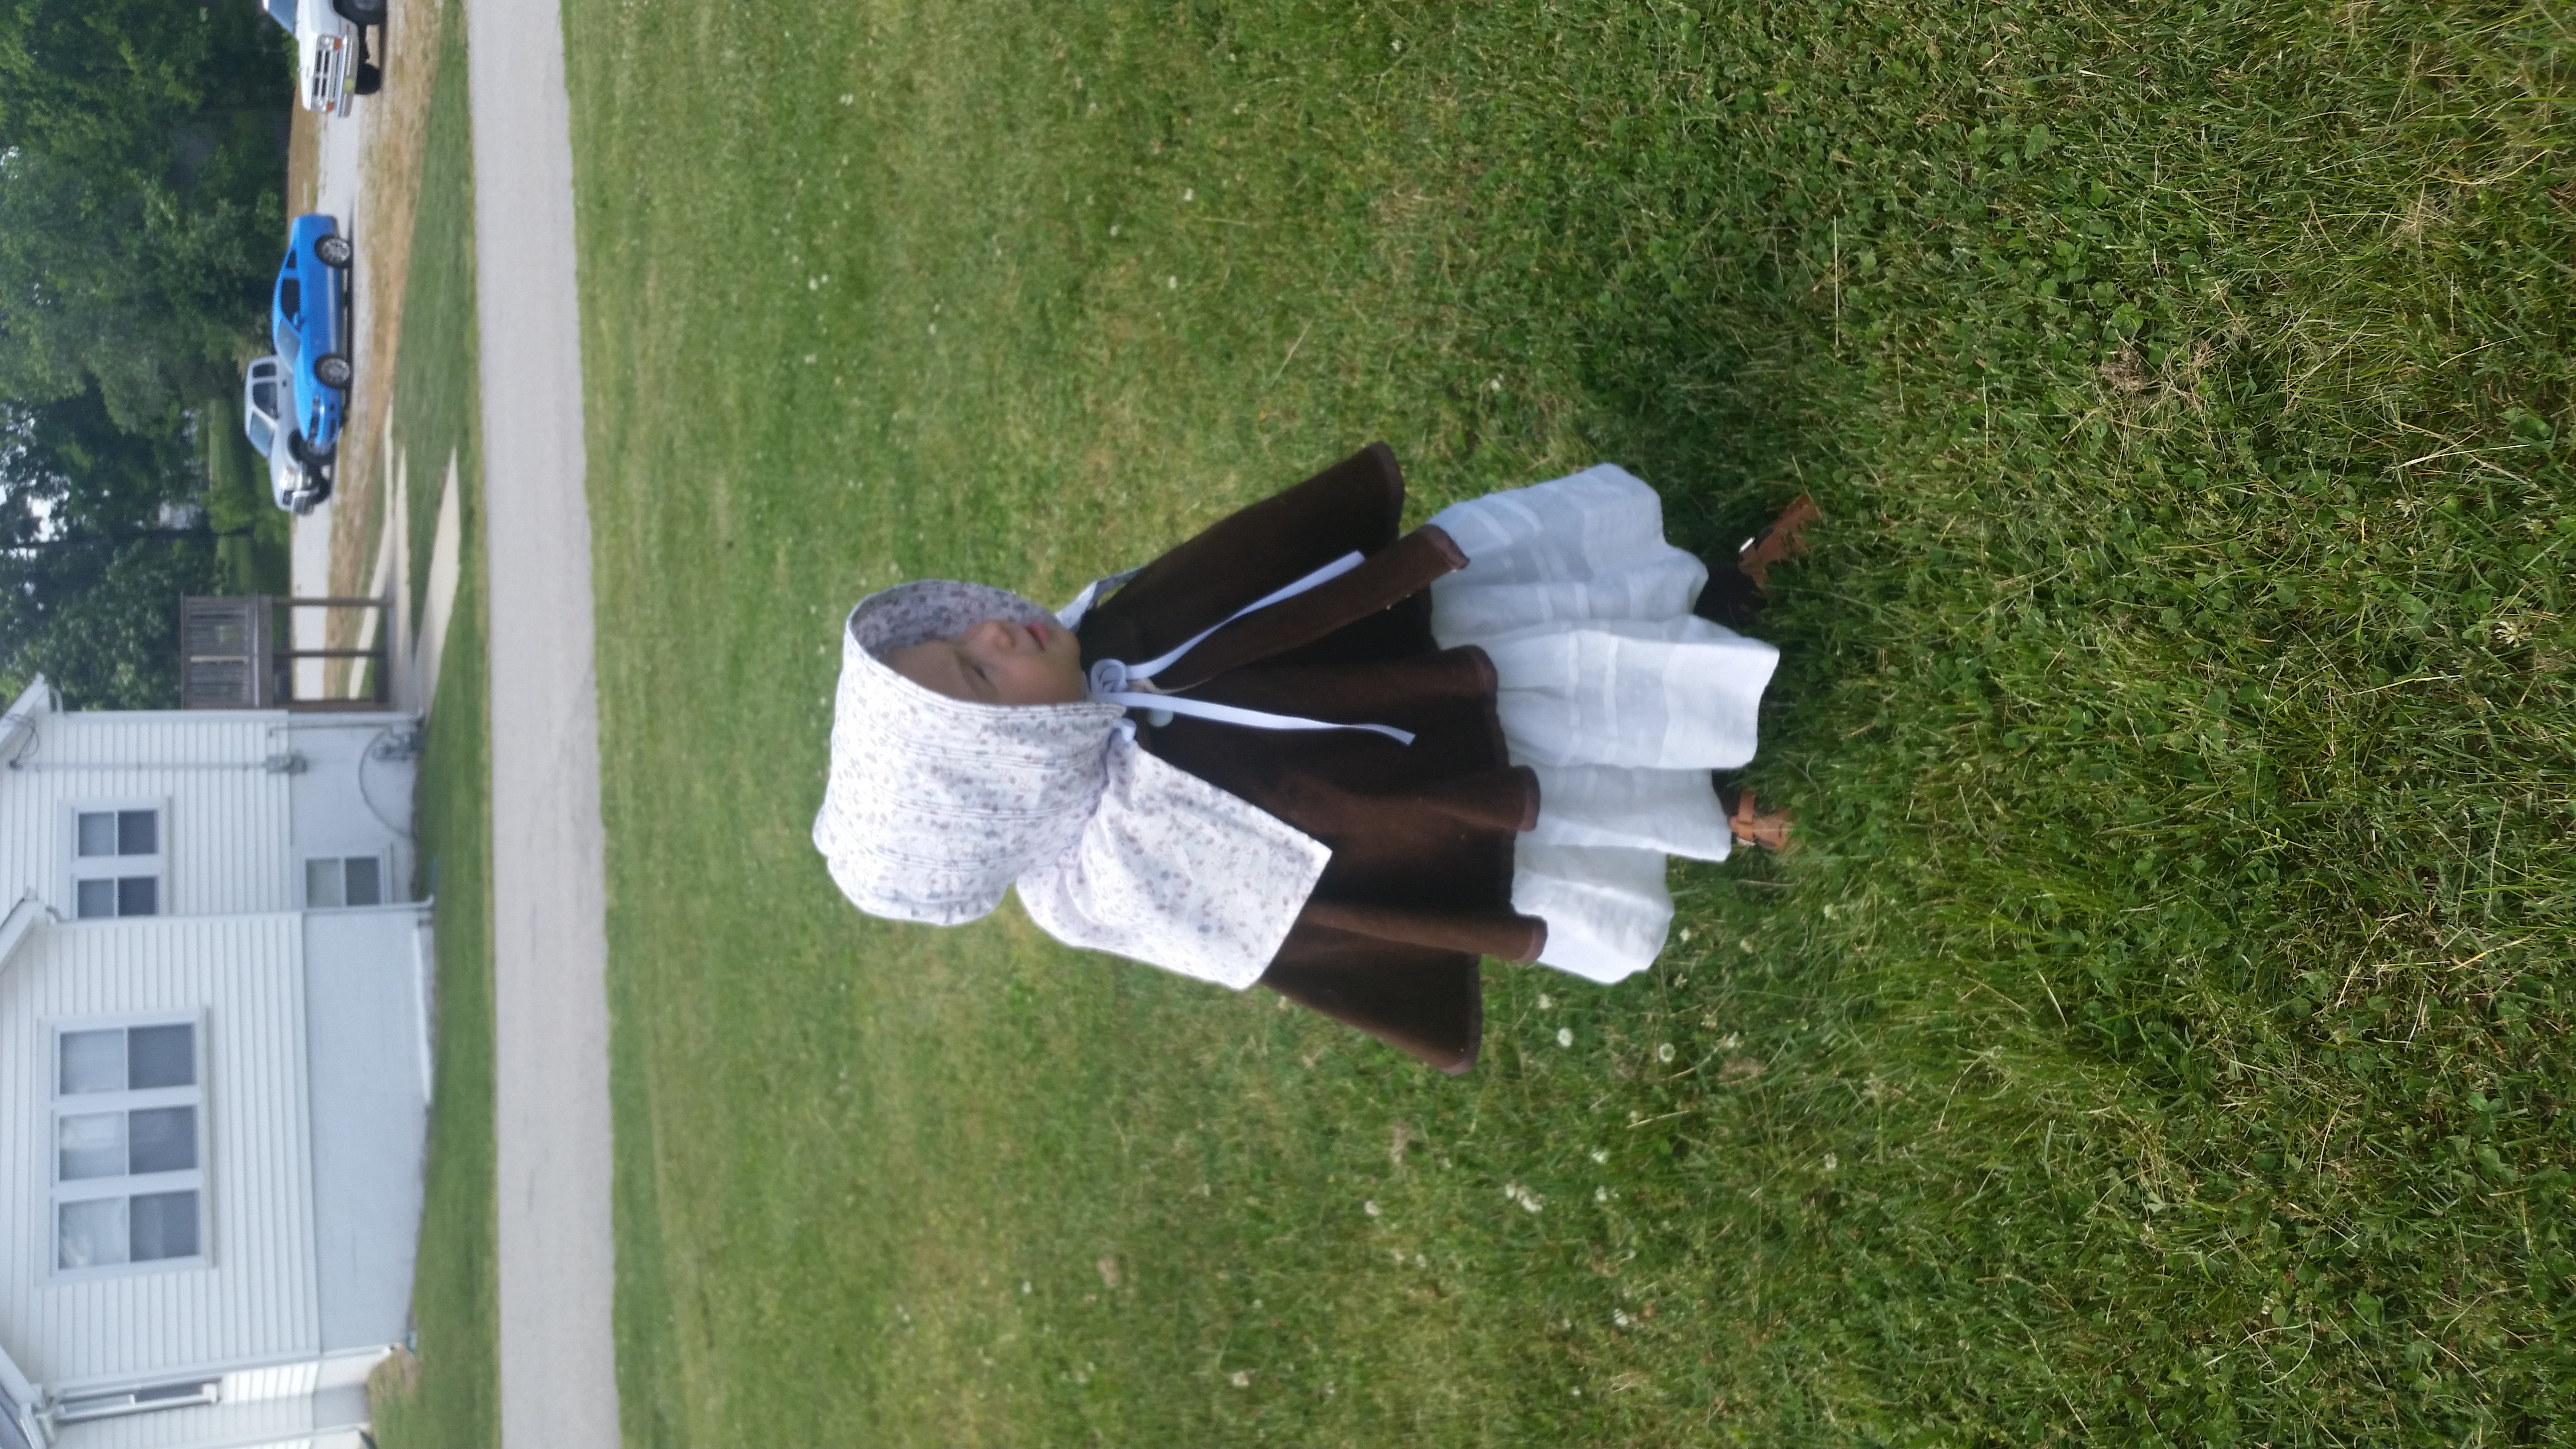
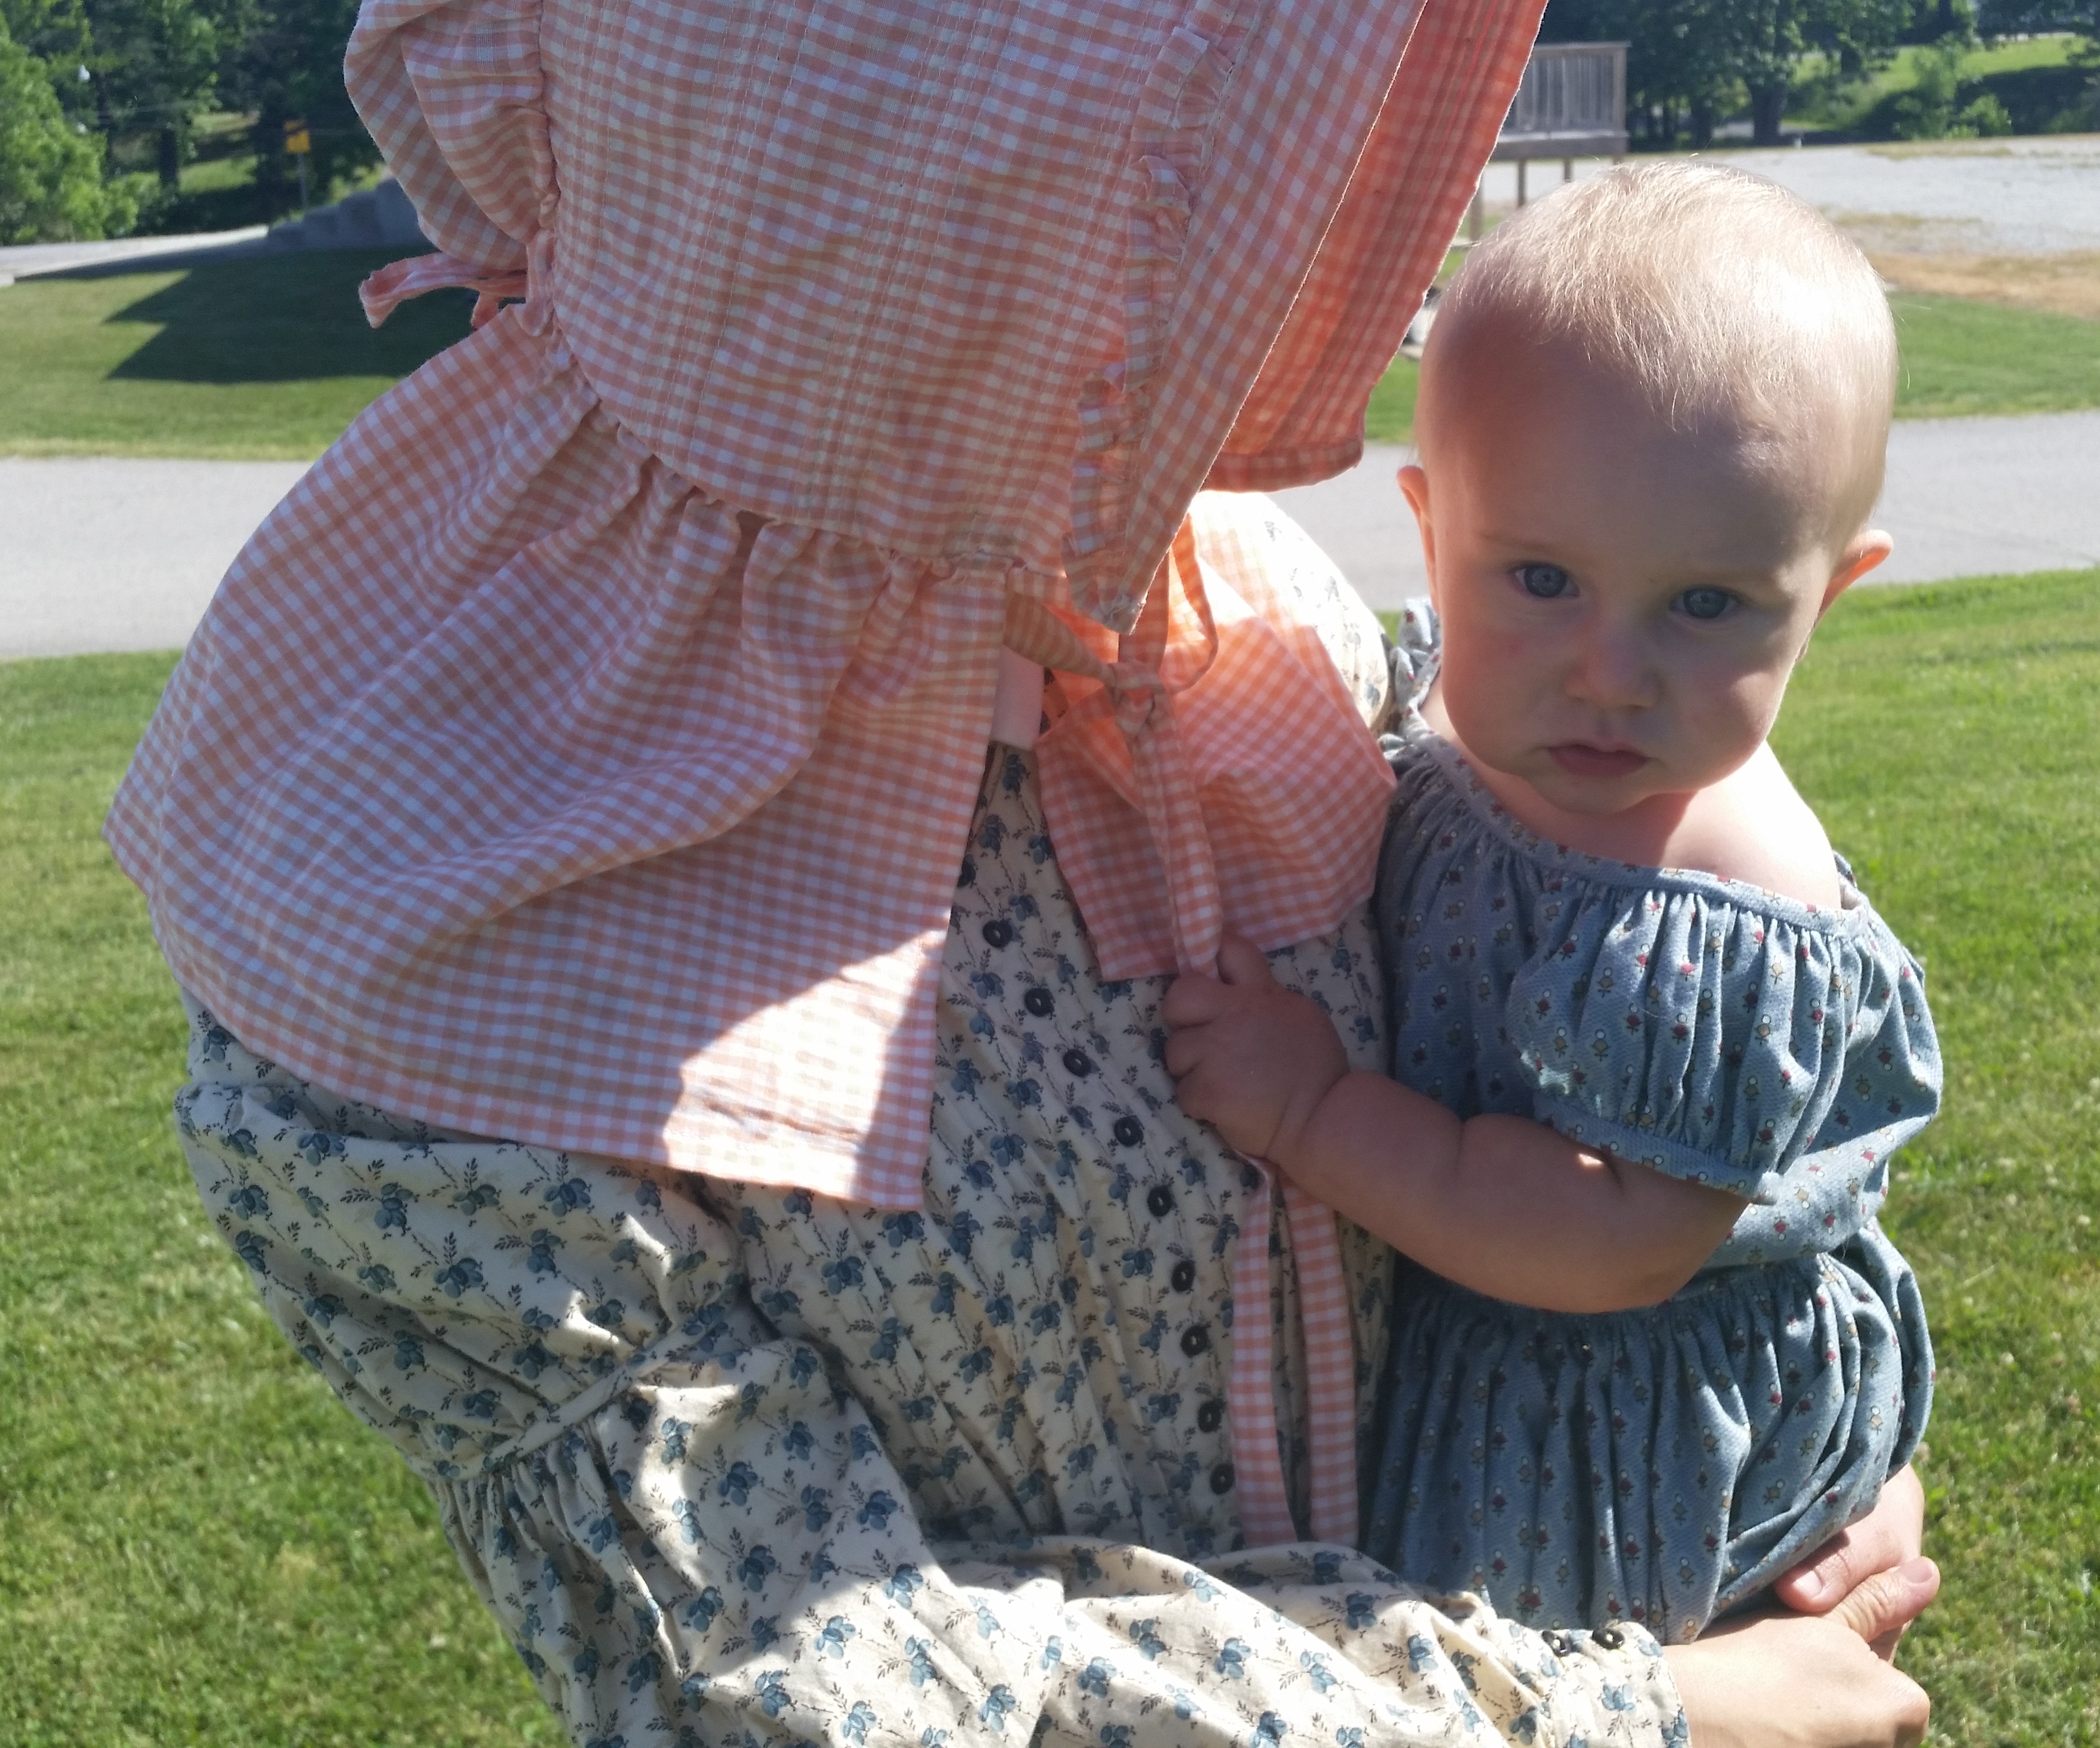
Some one getting sleepy!

wpid-20160514_134910.jpg

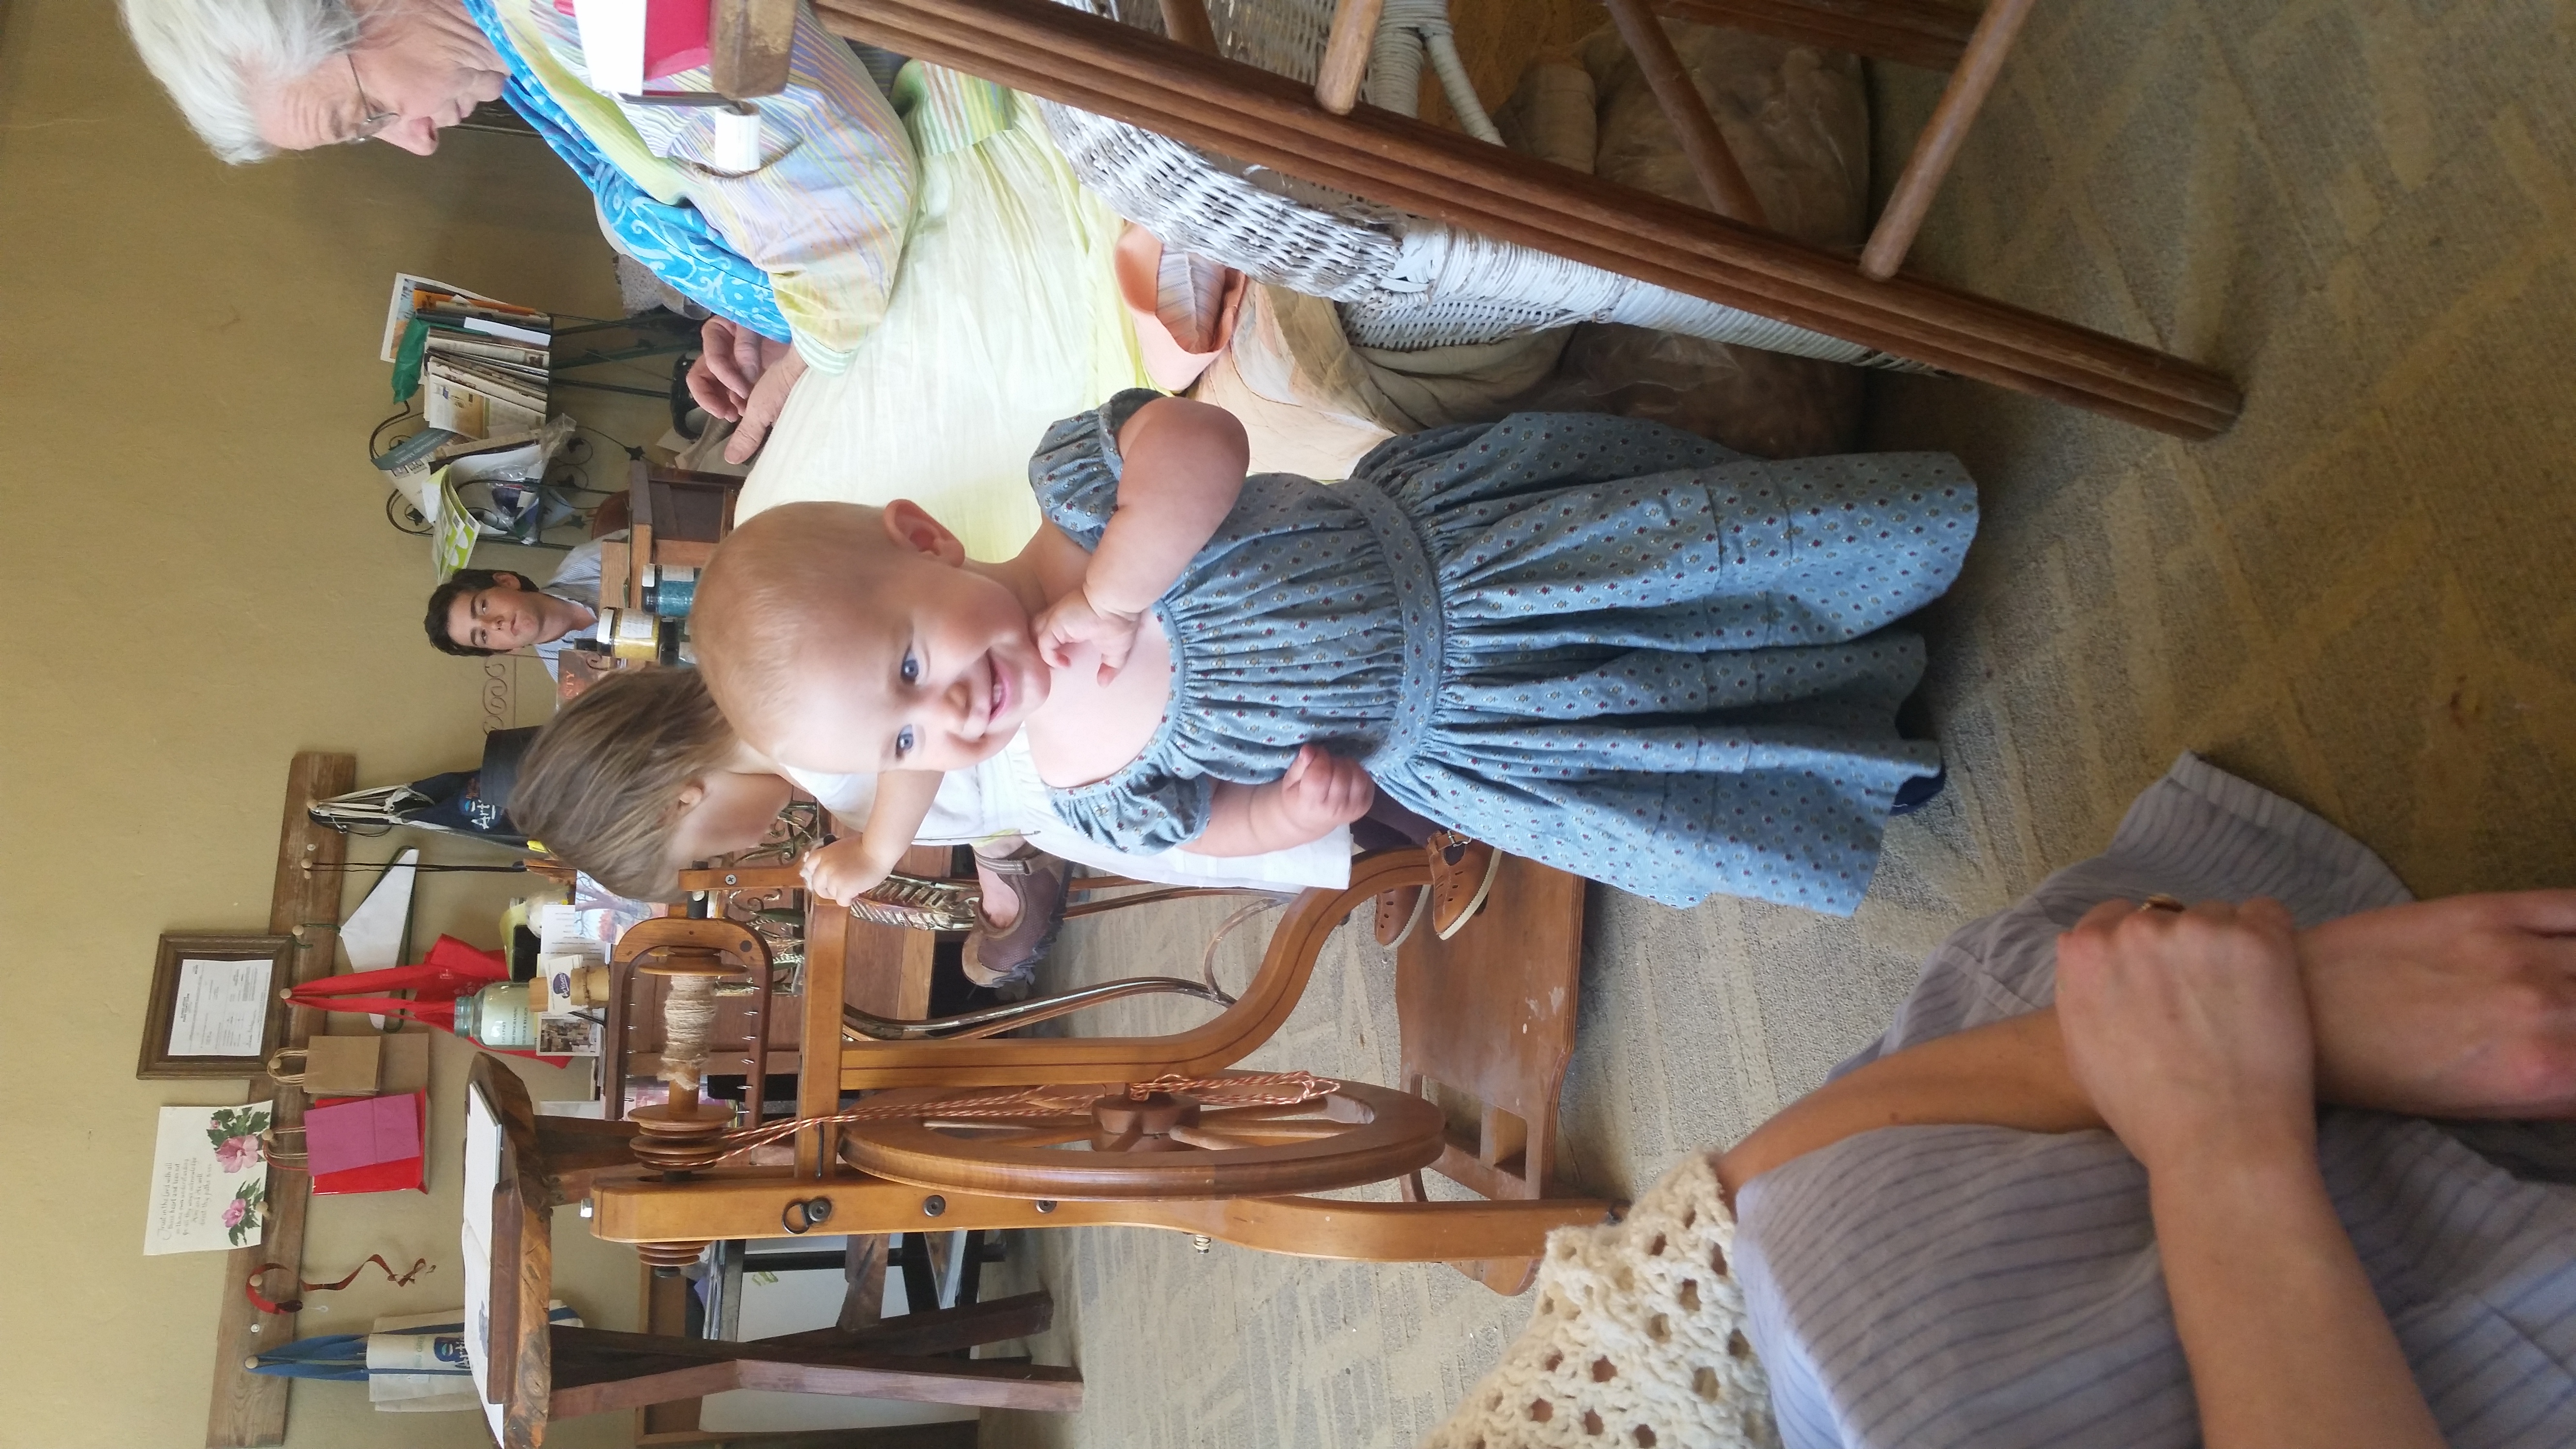
The battle, which took place in the streets of the small town, was pretty loud and close, so the kids and I took refuge in their Nana’s shop on main street where they could see and hear but not be too frightened. They had a grand time playing with her spinning wheels!

wpid-20160514_220723.jpg

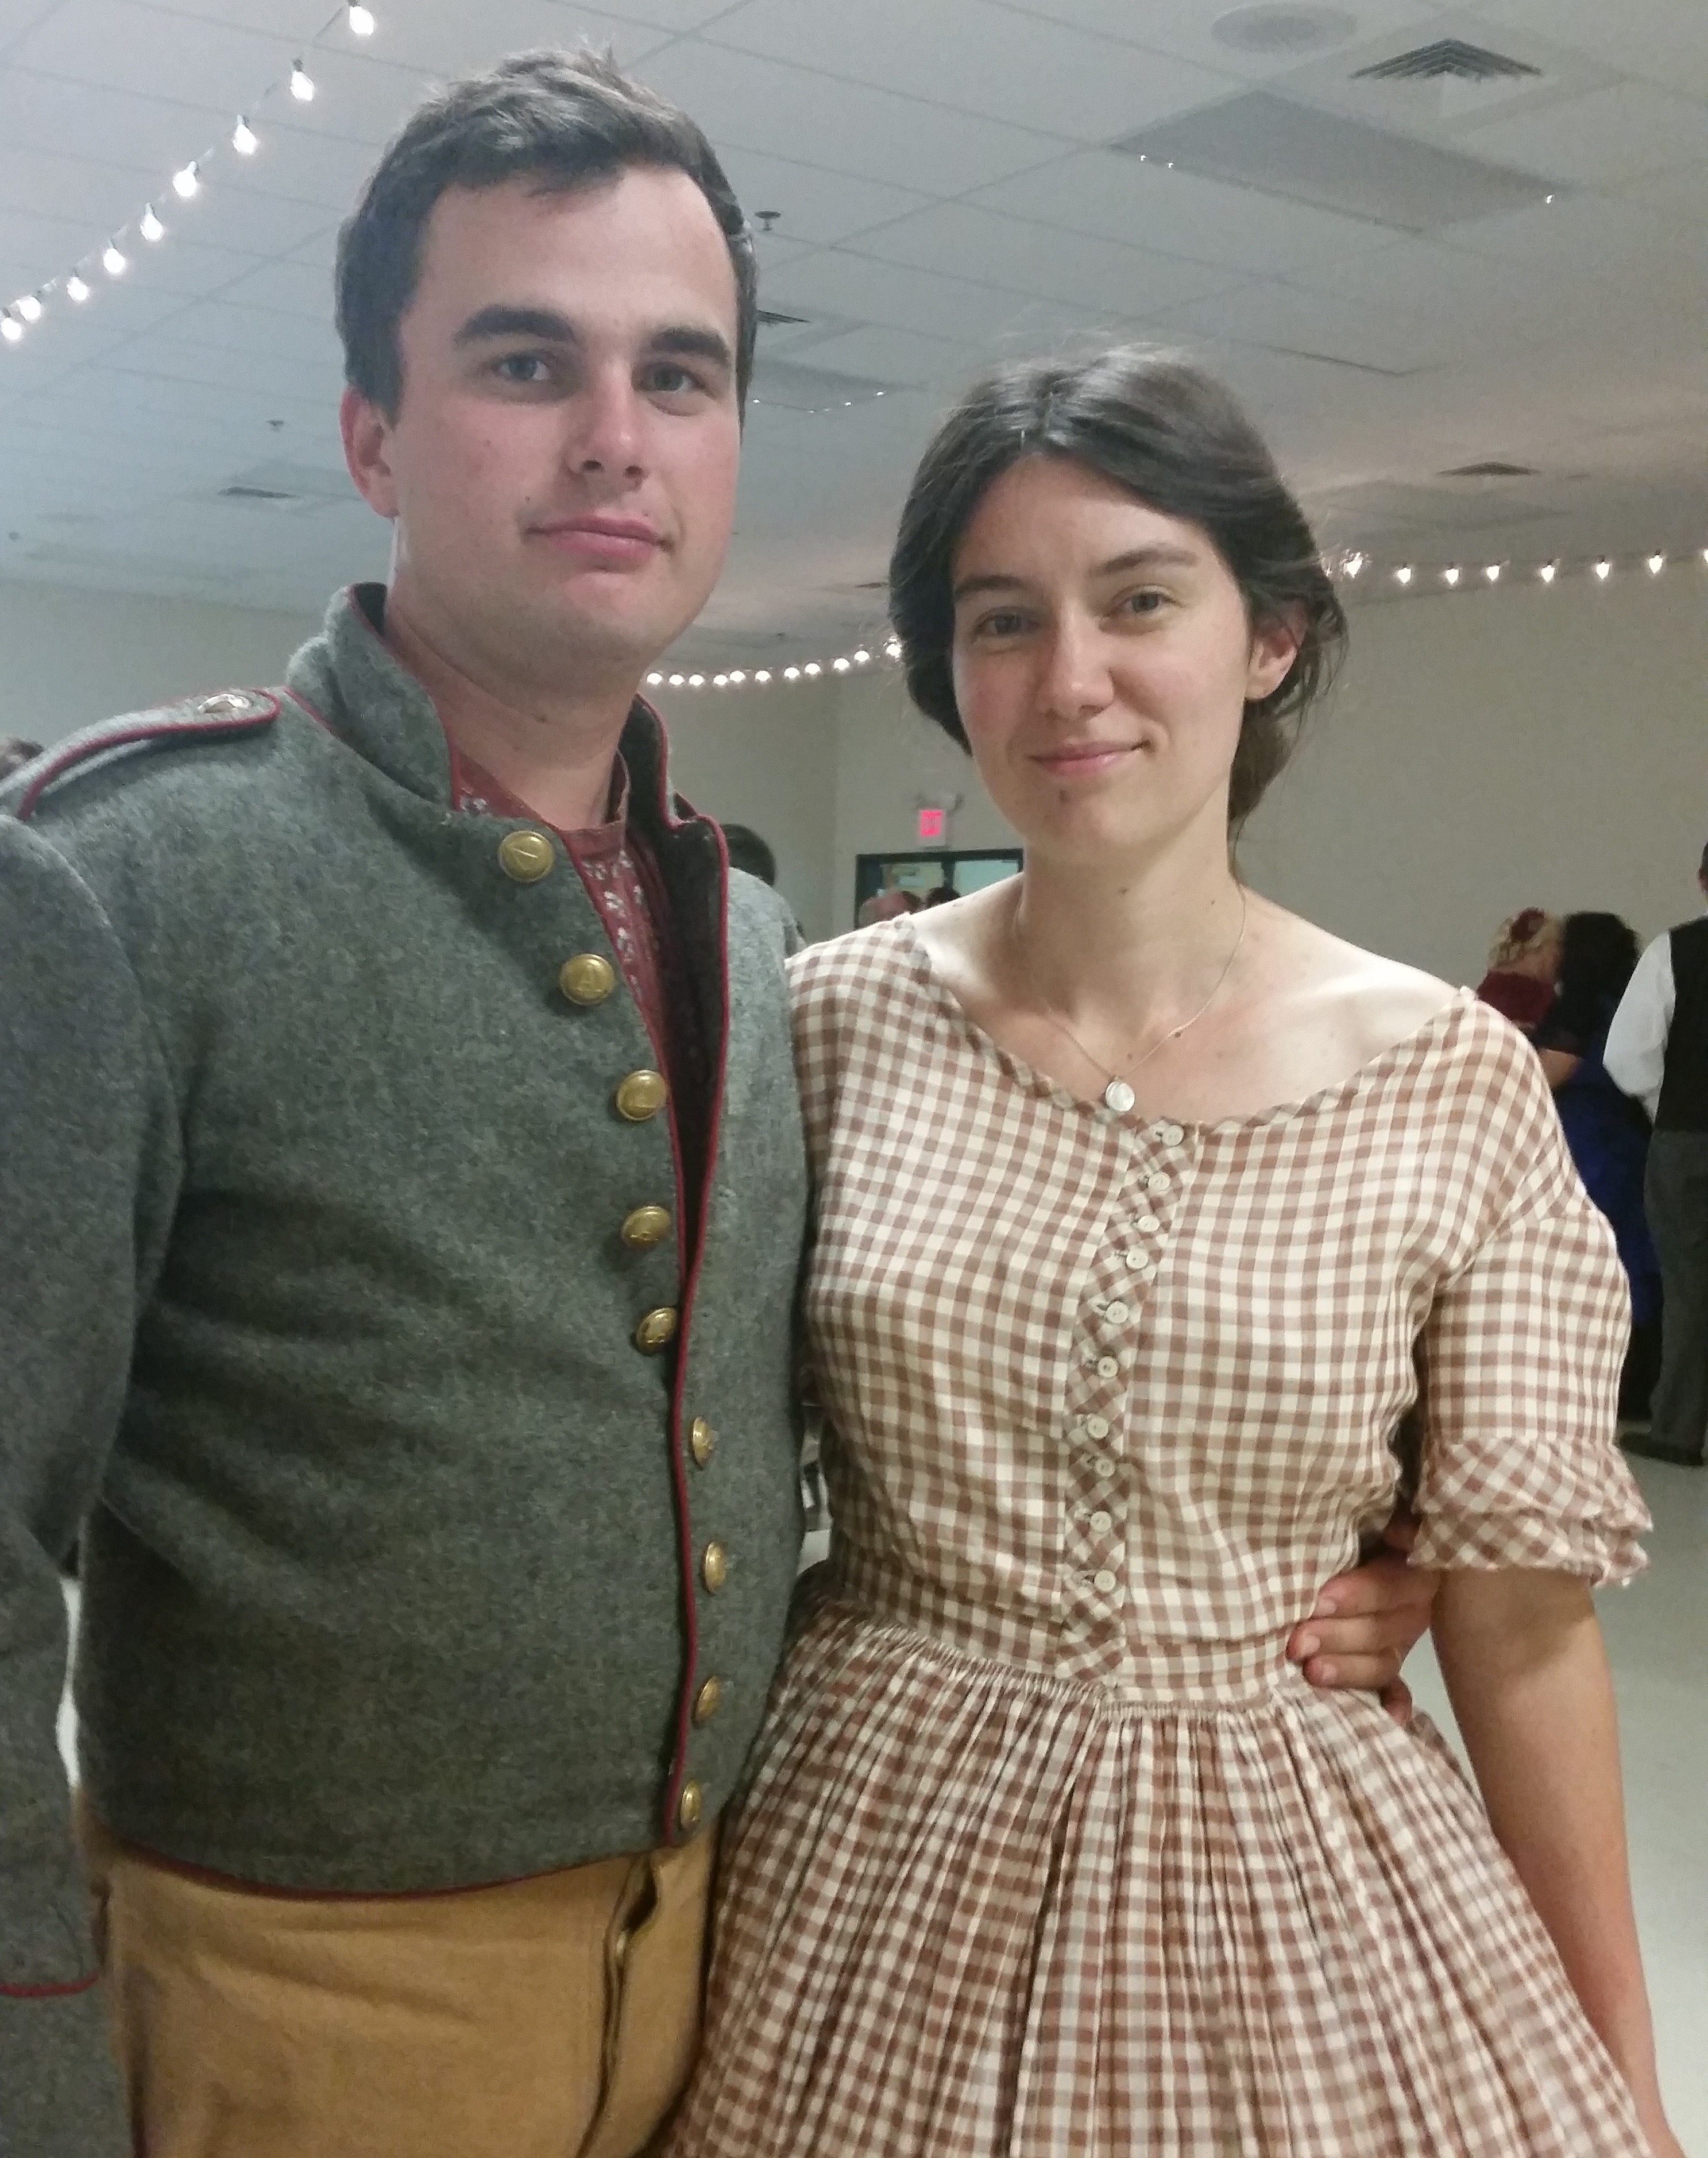
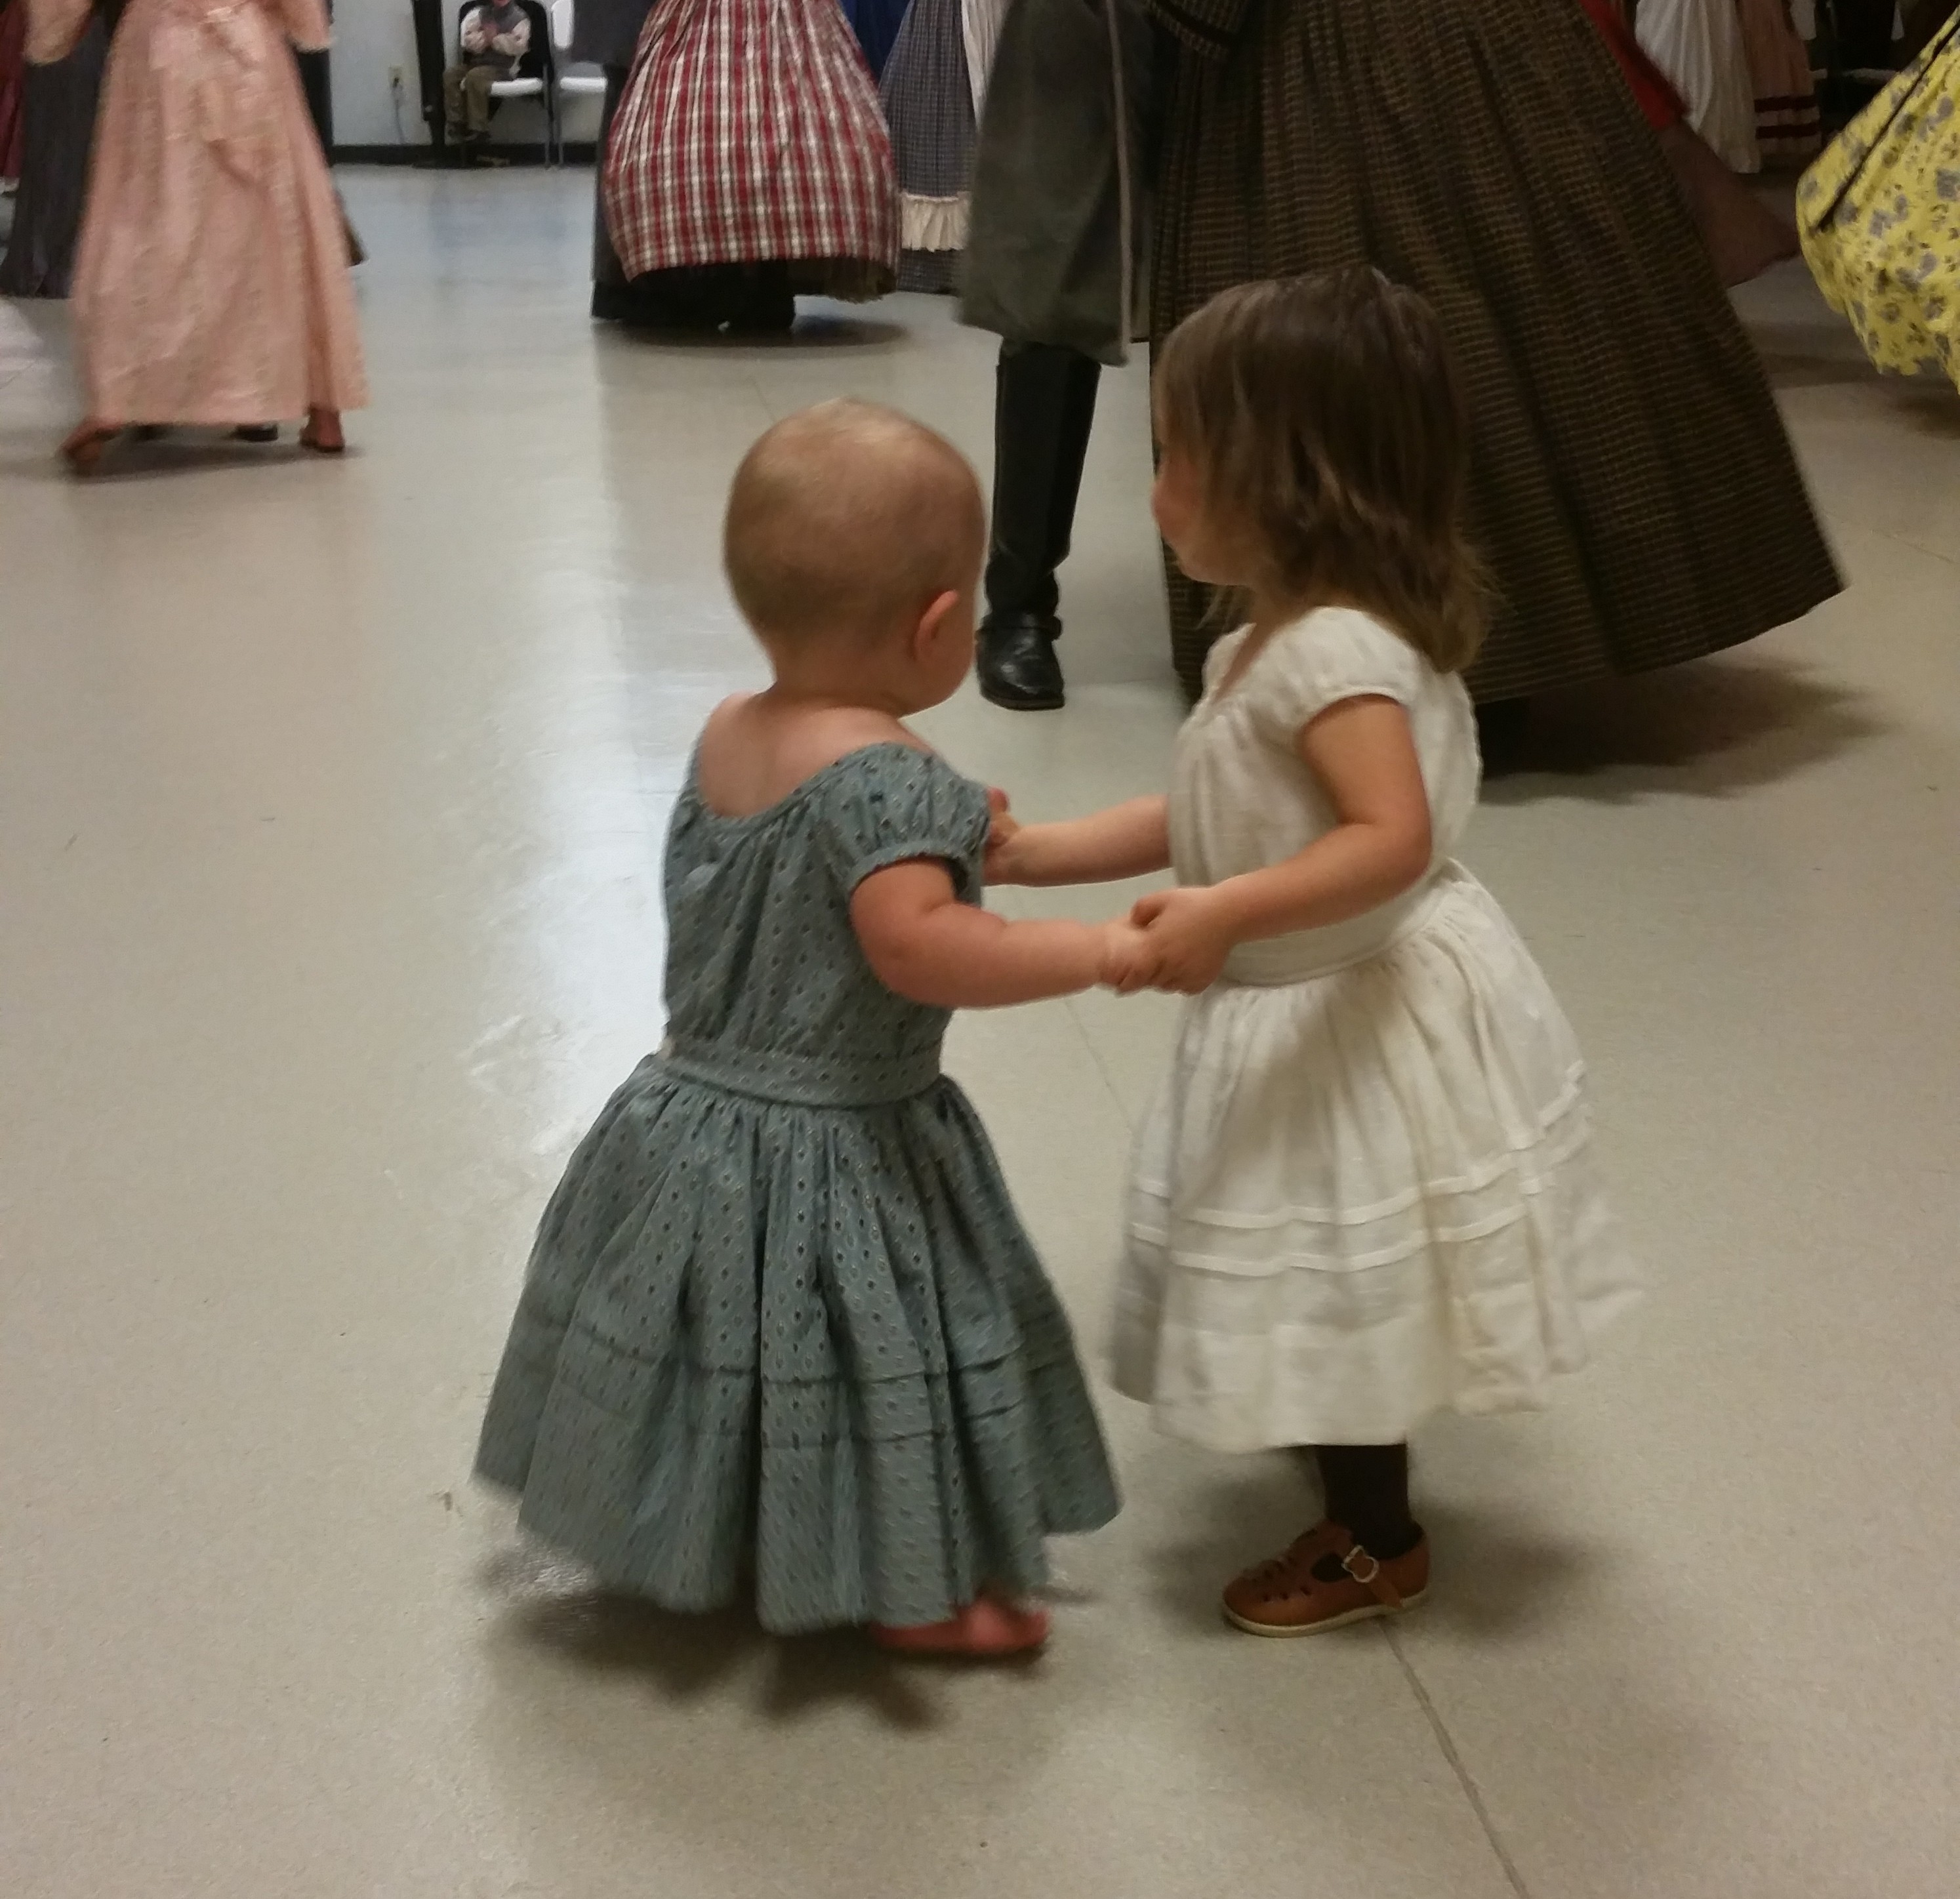
After the battle we returned home and let the kids have a long nap. By the time they woke up it was time to make the short drive back to town for the dance. We had a good time, got to dance quite a bit – there was a live military band, so that was lovely – but the best part was seeing how enthusiastically Marian and Alan danced with each other! It was a good ending to an enjoyable day…

wpid-20160514_203439.jpg

Split Rail Fence

Earlier this spring, we got around to starting on our fence which will, when finished, run the perimeter of our little homestead. The fence is built of split cedar rails, made by splitting eastern red cedar logs that are around 8 inches in diameter into fourths lengthwise, and is modeled after those commonly used up into the early 20th century in America.
A steel splitting maul with a 6 pound head is used as a hammer, and a combination of wooden and steel wedges are driven into the logs to split them. More traditionally, a large wooden mallet would have been used to drive wooden wedges, called gluts, to do the splitting.

To start the split, the first wedge is driven into the end of the log.


As the crack forms and widens, another wedge is inserted and driven in to widen the crack further.

As the second wedge is driven in, and the crack grows, the first wedge loosens and is removed. It is now leap-frogged over the other wedge, and driven in again, further up the log.

The split is continued to the end of the log, and then the resulting log halves are split into quarters. It is usually easier to split the log halves than it is the first split.

I consider this quite enjoyable work. As the wood splits it makes a very loud satisfying crackling sound. Split wood also lasts longer than wood cut by a sawmill, because the split follows the fibrous grain of the wood, while a saw cuts the wood with no regard to the direction of the grain, and leaves a sort of fuzzy surface which soaks up water.

When ever I see a good building rock – one that is somewhat square – I gather it from the creek bed for future use. These rocks or stacks of rocks  8 to 12 inches high are placed in a zigzag pattern which straddles the line the fence is to follow, and the first rails are set in place. The rocks add some height, and will keep the wooden rails away from the damp ground, helping the already-rot-resistant cedar wood to last even longer.

Got some great help from our dear friends, Jesse and Alice from over at The Wright Family Farm.

Marian and Alan love to watch anything that is being done outside. They’re joined here by little Gavin.

The finished fence will be stacked 5 rails high, with vertical braces and an added top rail, which add stability to the fence and bring it to about 6 feet in height.

This type of fence is sturdier than you might think from simply being stacked – once the height is completed the weight of the wood is considerable, and the rails and sections of fence lock together well. We also like how it provides a significant visual barrier (as opposed to a hot-wire fence for instance) and we are hoping this will discourage any escape-minded animals we may have in the future, as well as acting as a deterrent to the occasionally wandering critters belonging to neighbors. Looking forward to trying it out with livestock. Until then, we love how picturesque the split-rail fence is and are anxious to add more sections!

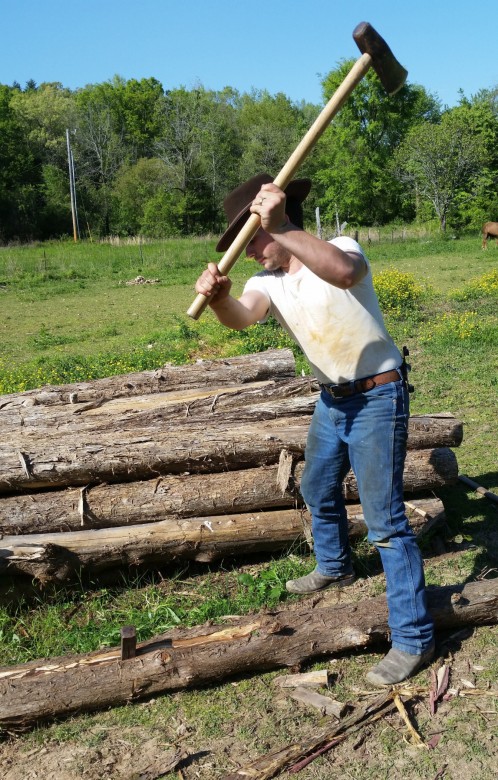
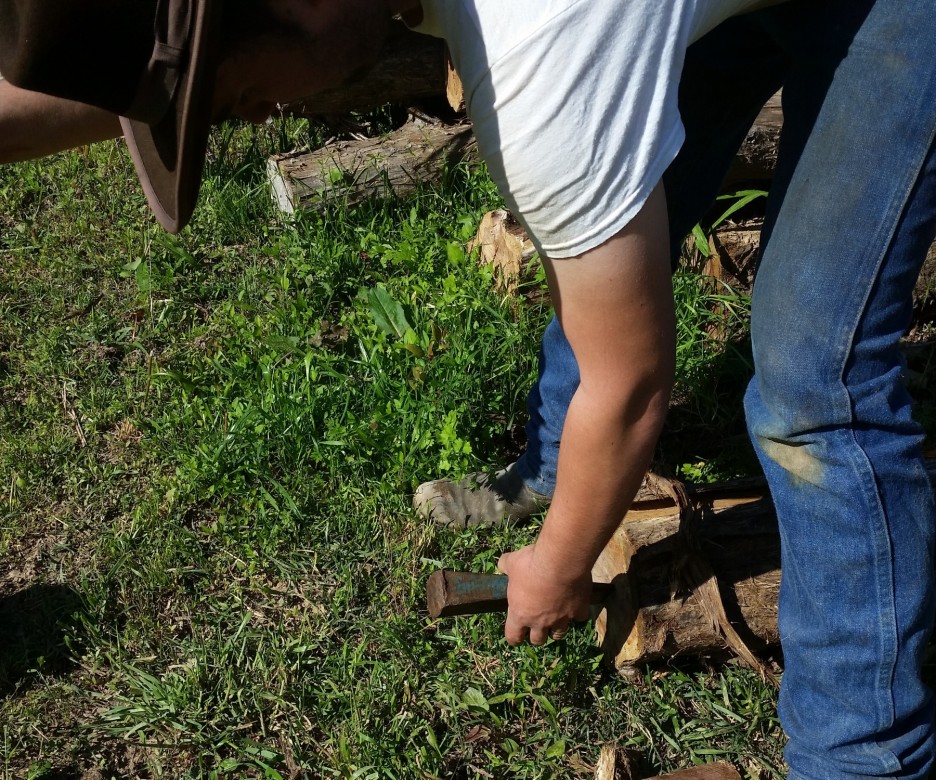
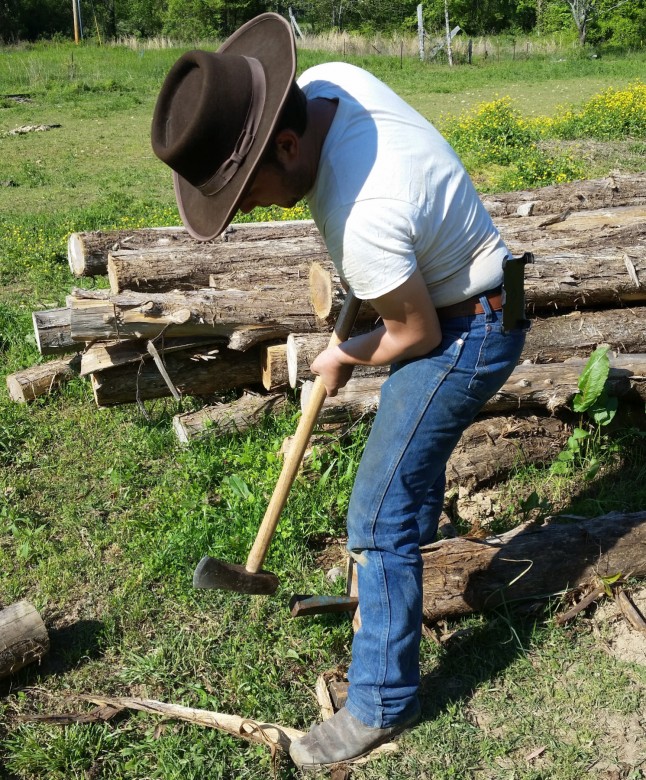
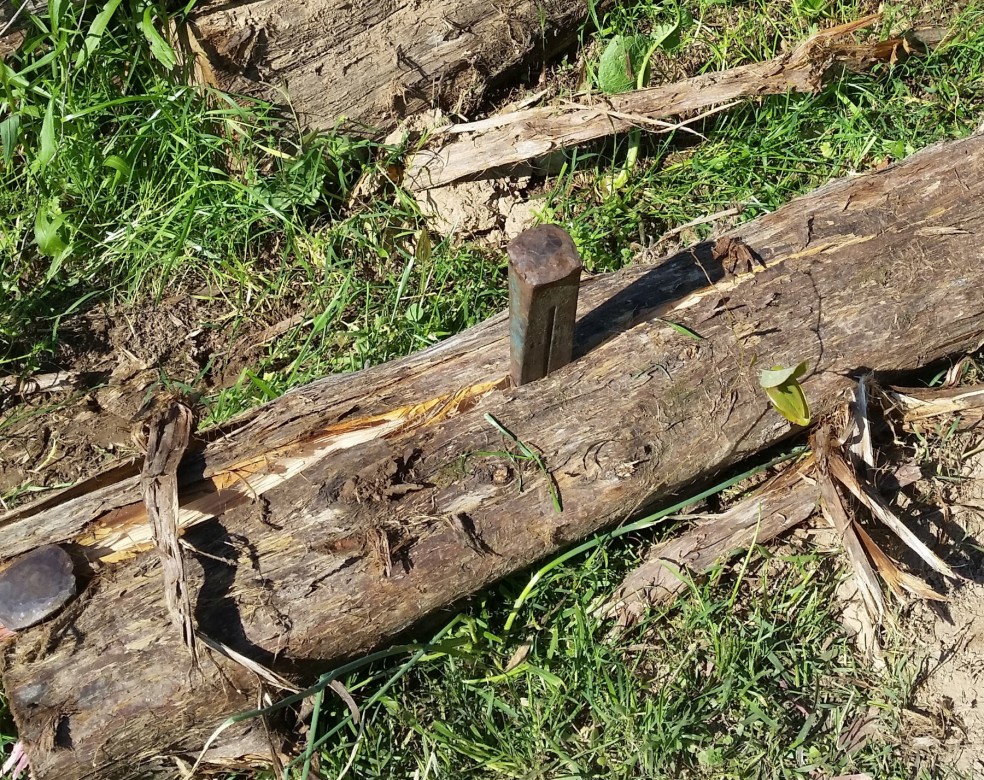
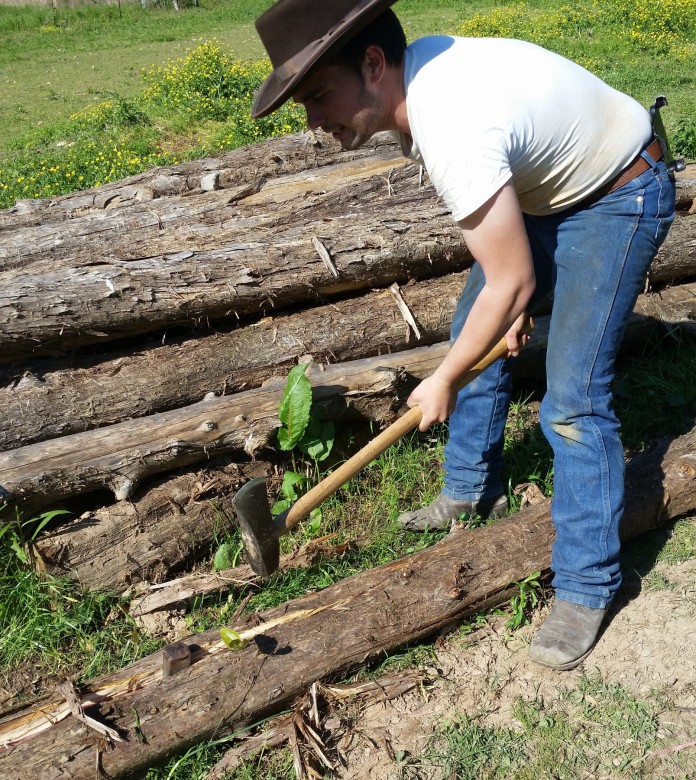
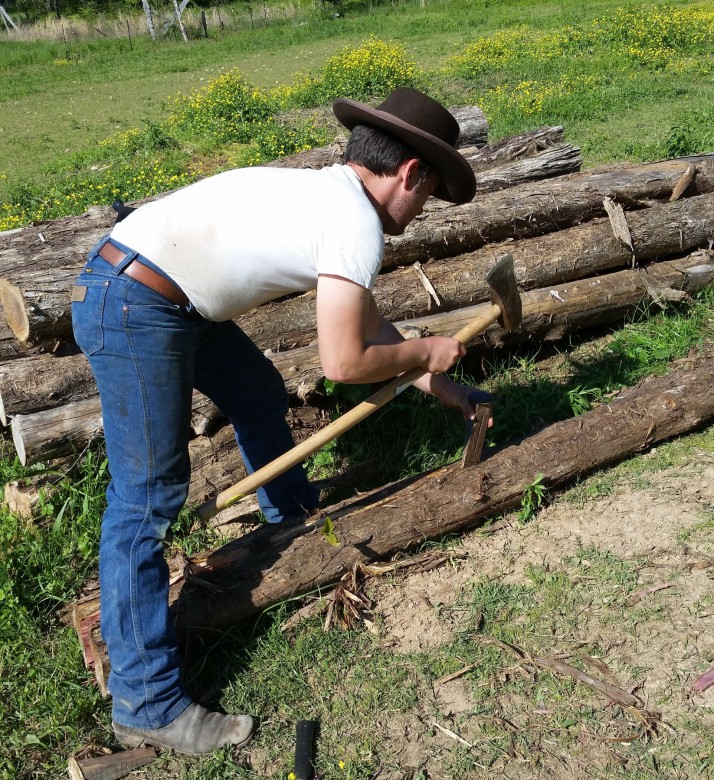
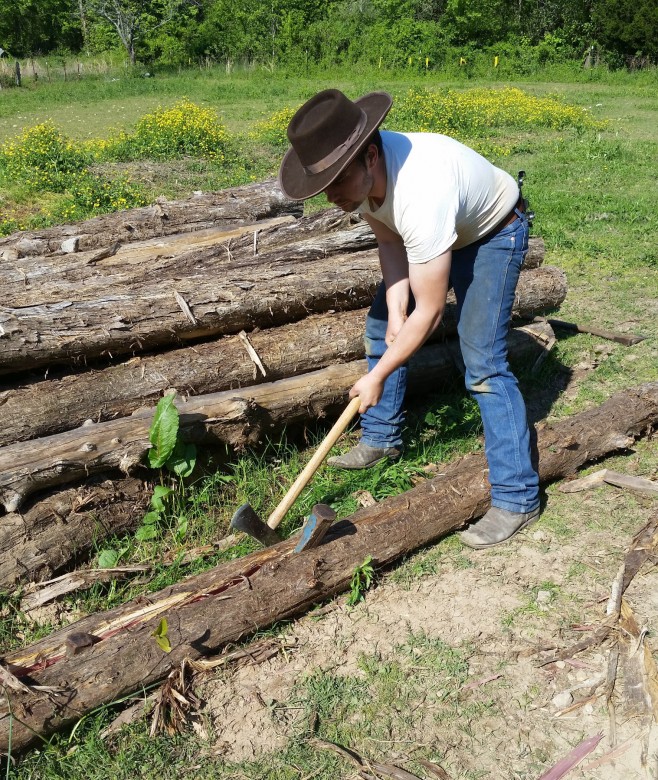
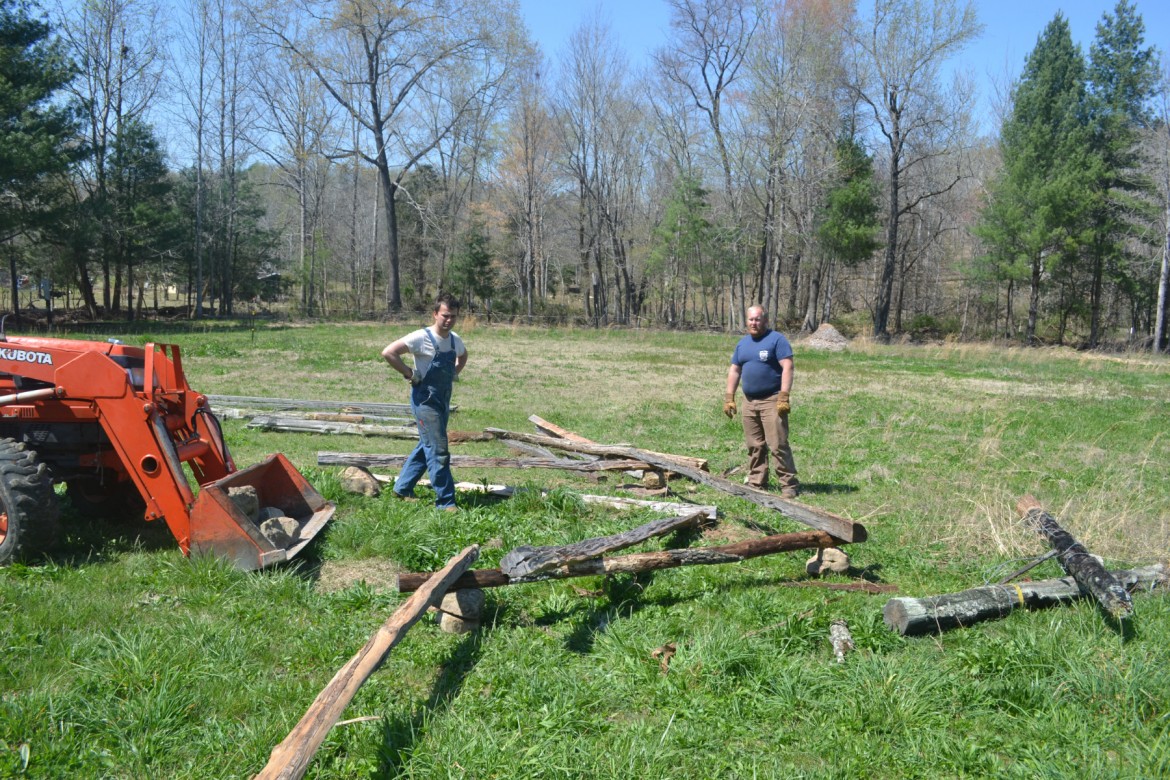
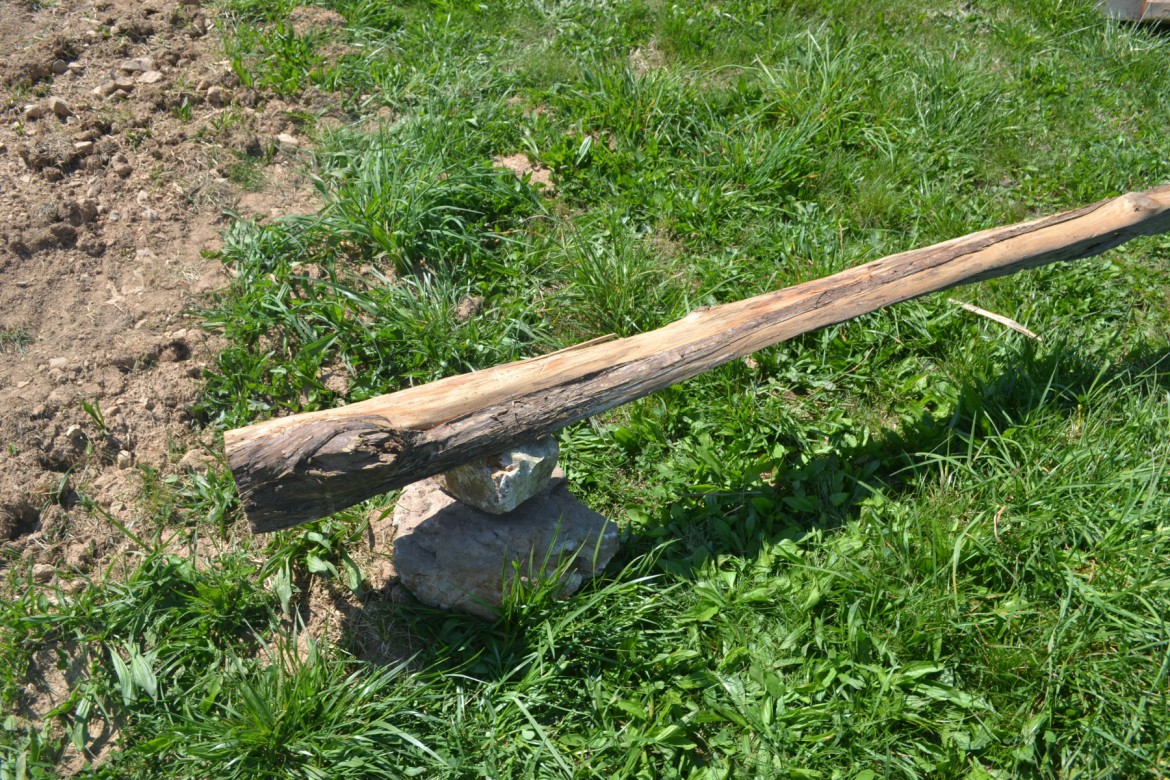
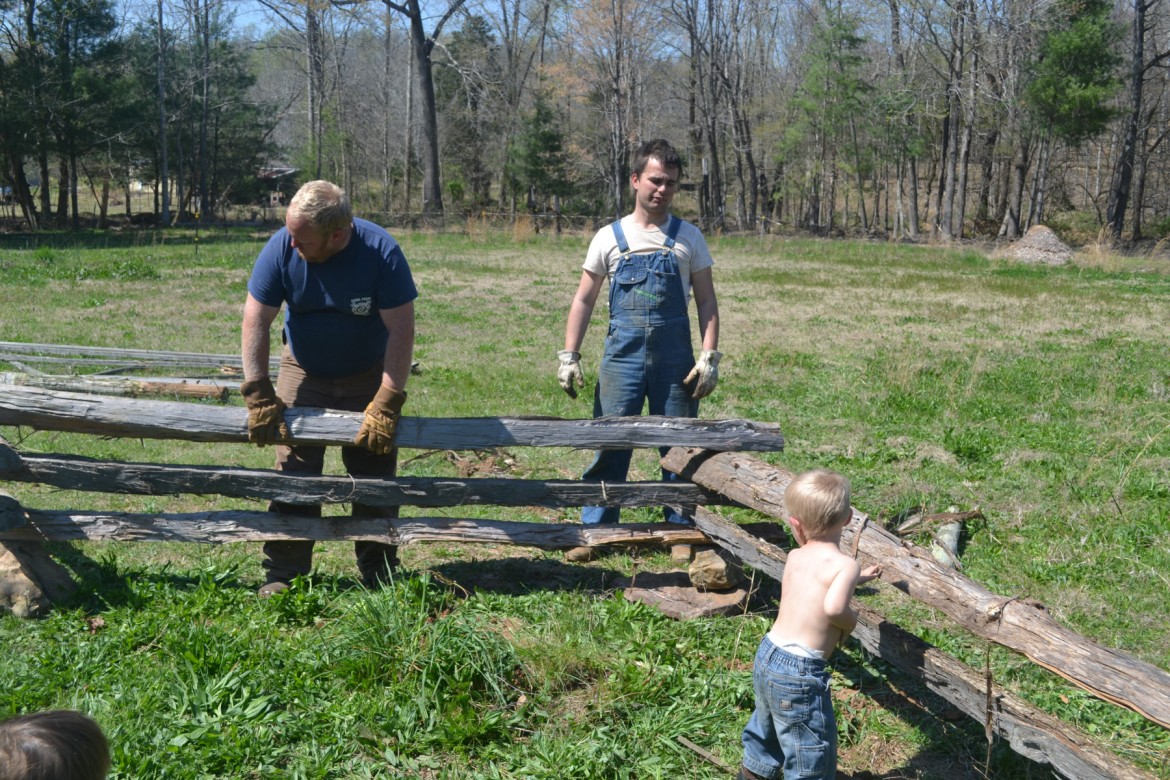
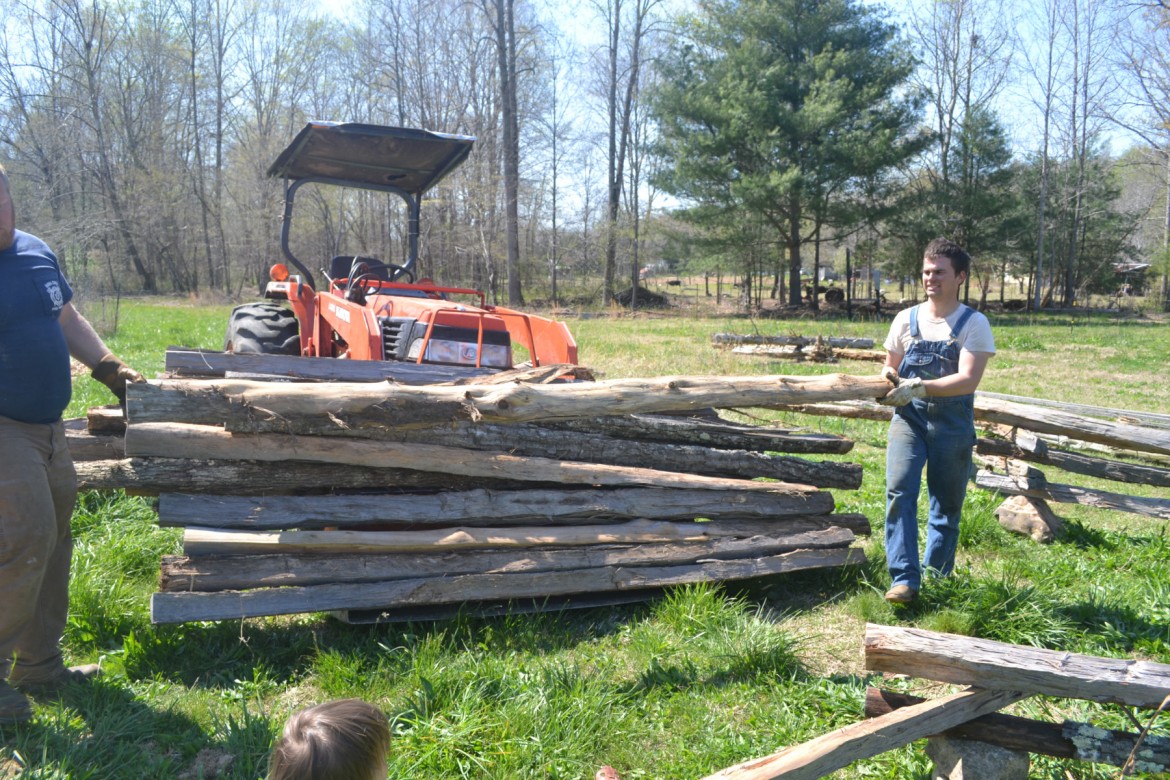
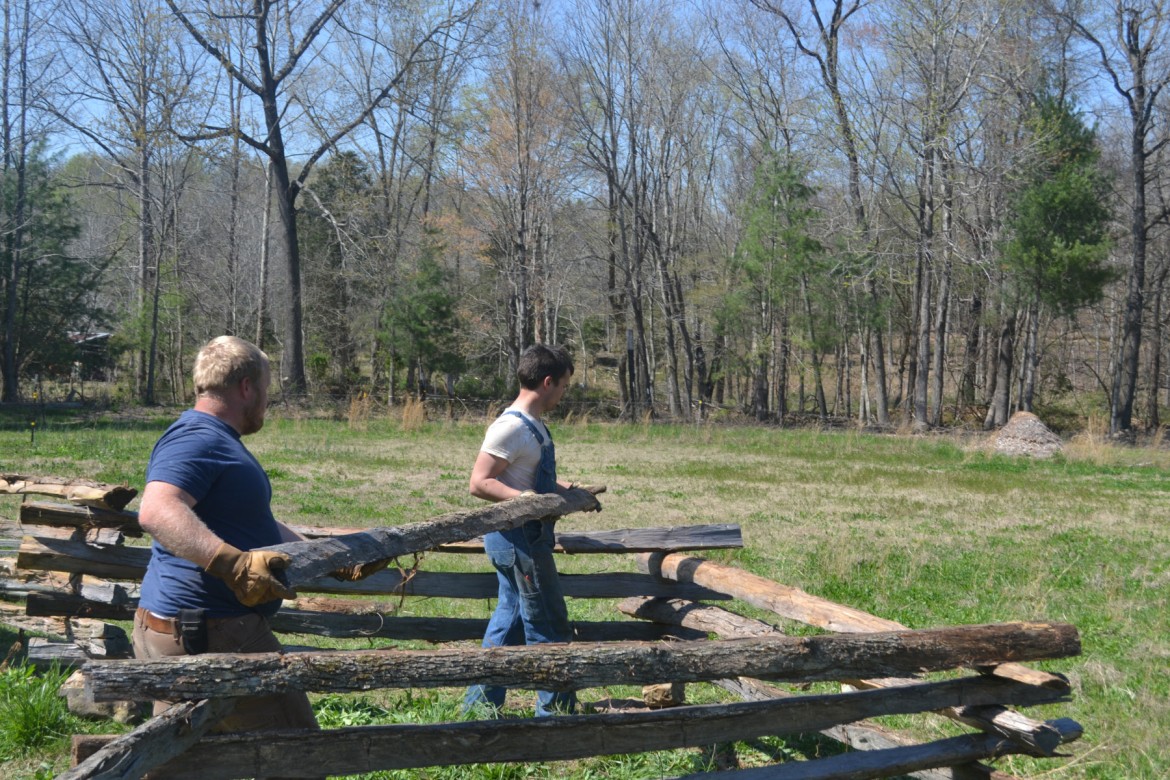
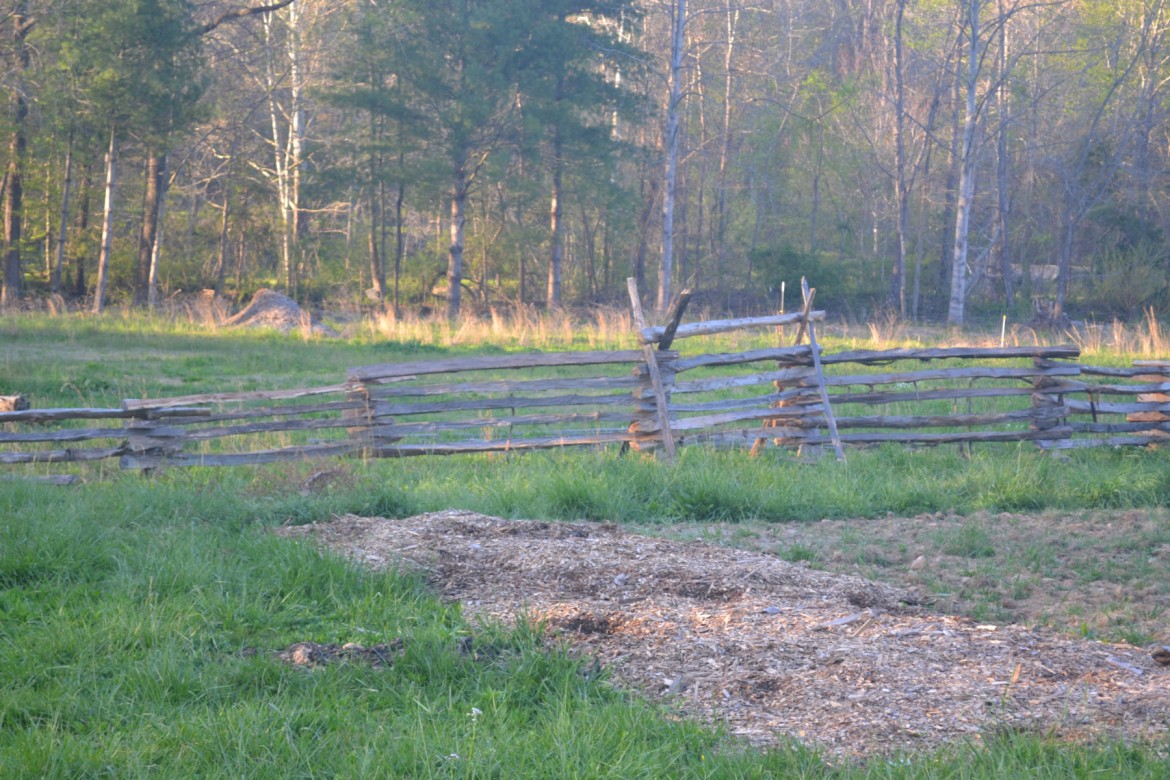
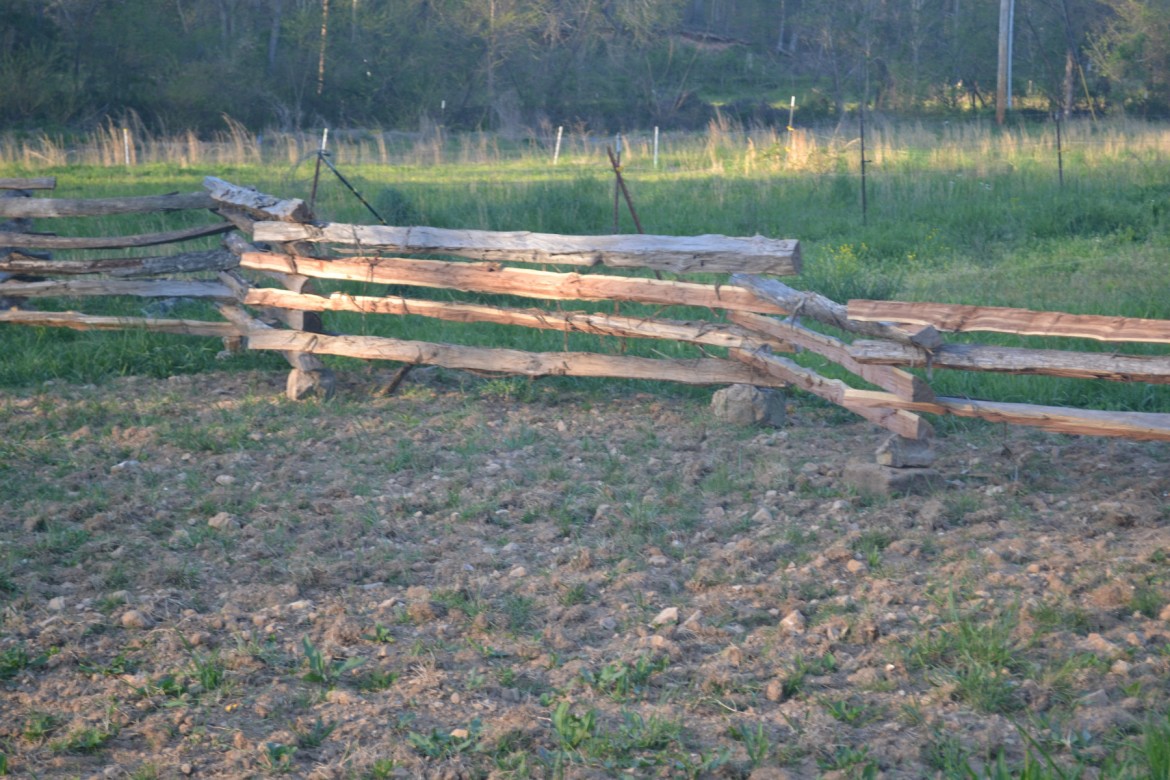
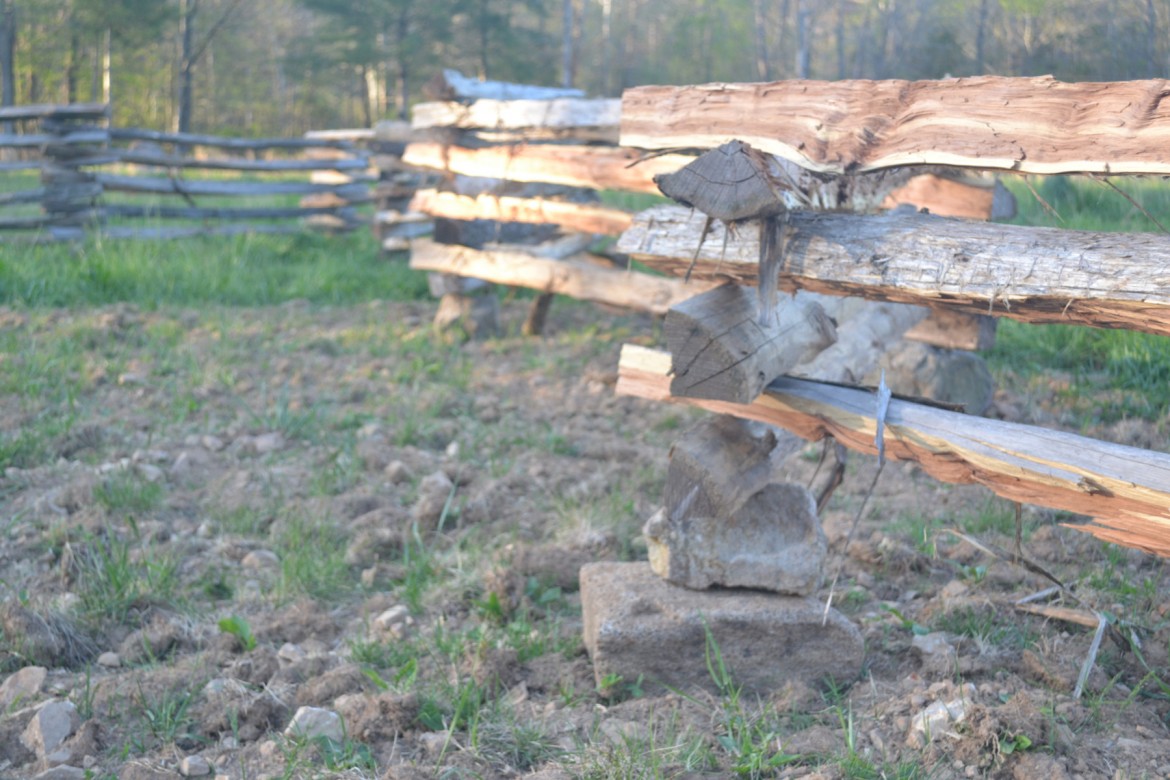
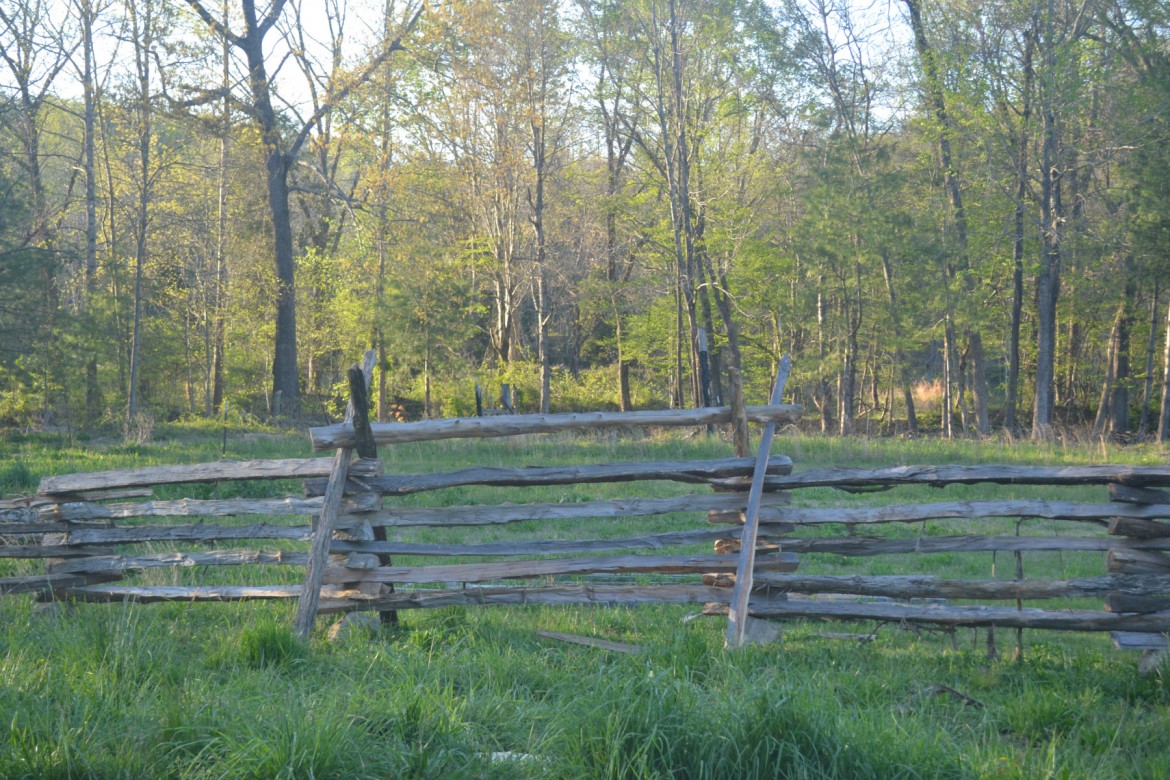
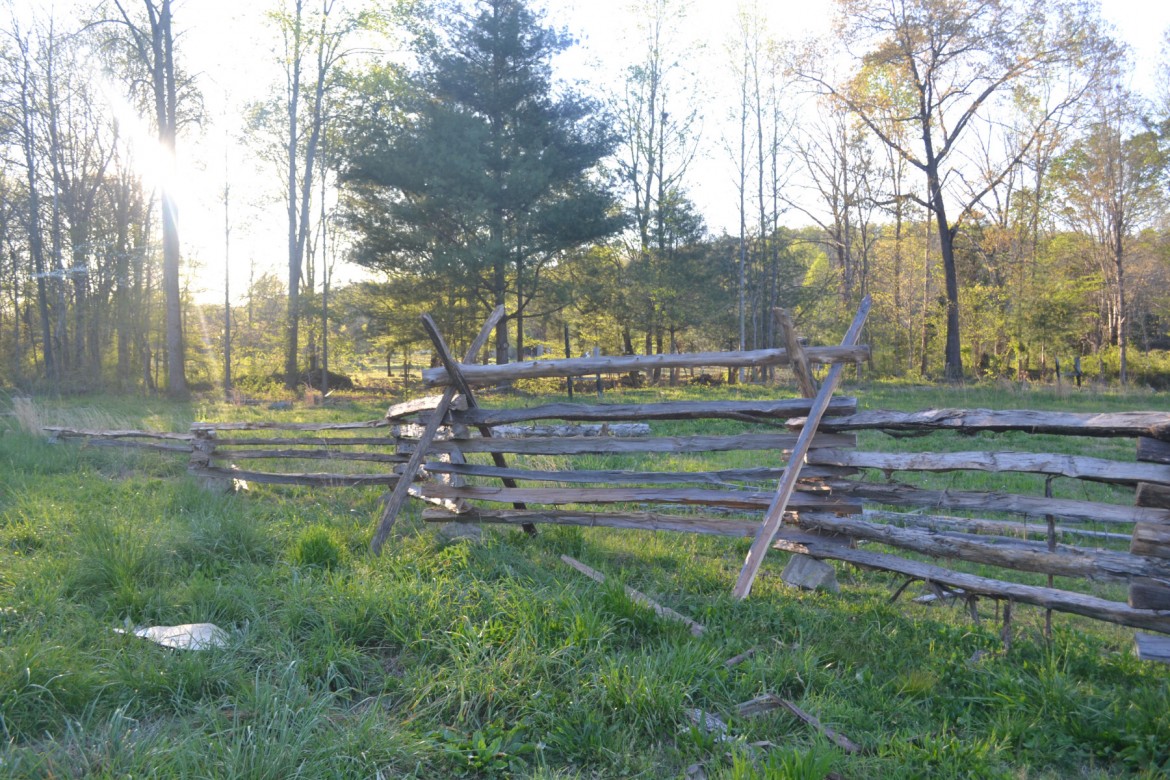
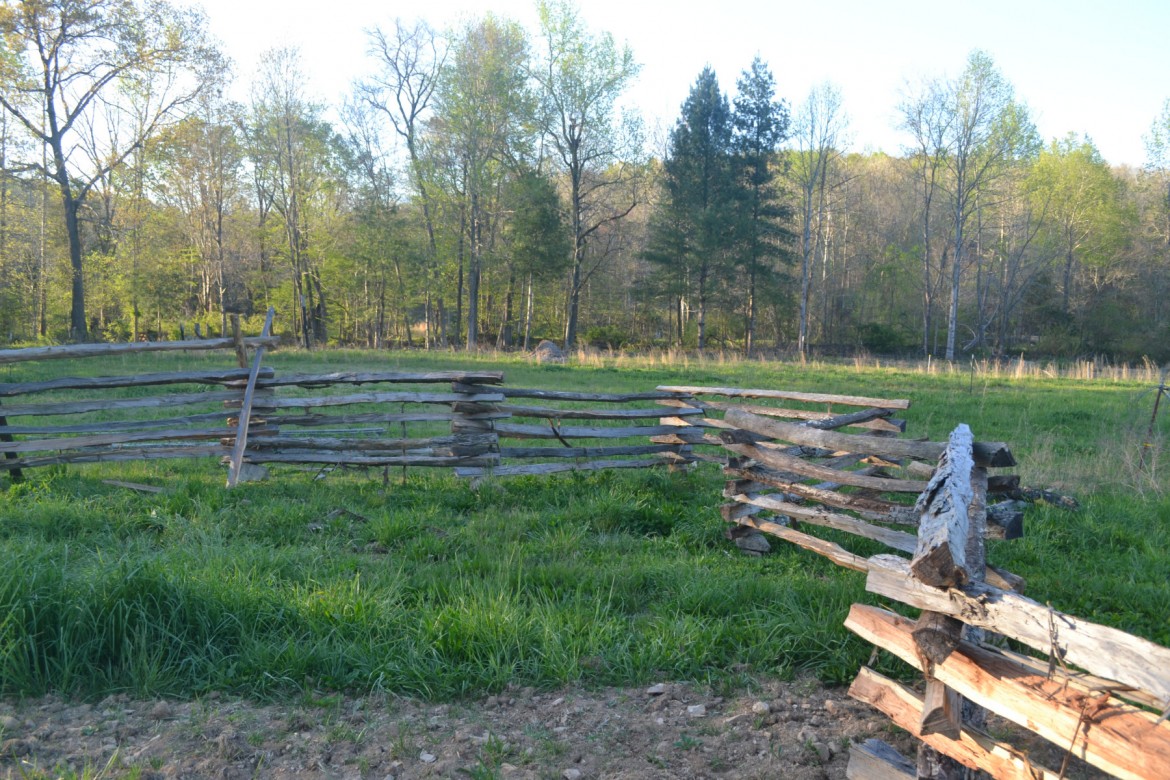
So far, only a little corner of the fence is (mostly) done. Lots more to build!