Last autumn, with baby #3 on the way, I had been reconsidering diapering options. Before Marian was born a friend loaned me a stash of newborn cloth diapers in various styles, so I did some cloth but mostly disposables from honest.com . With Alan, since I didn’t have any cloth diapers of my own, I did all disposables with the Honest subscription, which I felt was quite affordable in the world of ‘natural’ or chemical free disposable options….however that payment coming around every single month still made our budget say ‘ouch’. So, before Elsie was born I was considering cloth diapers in the back of my mind – but then it is usually a big investment getting started in cloth diapers, even though it’s much cheaper in the long run, and there are SO many cloth diaper options, it gets really confusing trying to research it online! The one consideration that really pushed me to seriously do cloth diapers this time around was the insane amount of garbage disposable diapers make. Think about it – if you had to deal with the garbage you make on your own property, there’s no way you would even consider using disposables and have piles and piles of old diapers sitting around in your back yard – it’s not like they are biodegradable! The more I thought about it the more wasteful it appeared to do that (even though they don’t end up in our yard -they end up somewhere taking up valuable land space), and I determined to find a way to do cloth diapers, even though it didn’t seem like we could afford it. The thought never entered my head to make my own diapers, until…
In mid- November (Elsie was due December 5th!) I was talking to a friend and neighbor who had done cloth diapers with all of her 4 children, and she showed me how she makes her own diapers with THIS pattern . The pattern looked so simple, and since I could make my own diapers so much cheaper (nearly for free, since I had so many sewing supplies on hand already) than buying any other cloth or disposable option, I was sold! I started making diapers in every spare minute for the next few weeks. When Elsie was born, I still didn’t have all I wanted made, but we had enough to limp by with, and I’ve still been making more in any spare time. I only have a handful left to make before I will have enough to go a few days between washing a load. (about 30 diapers)
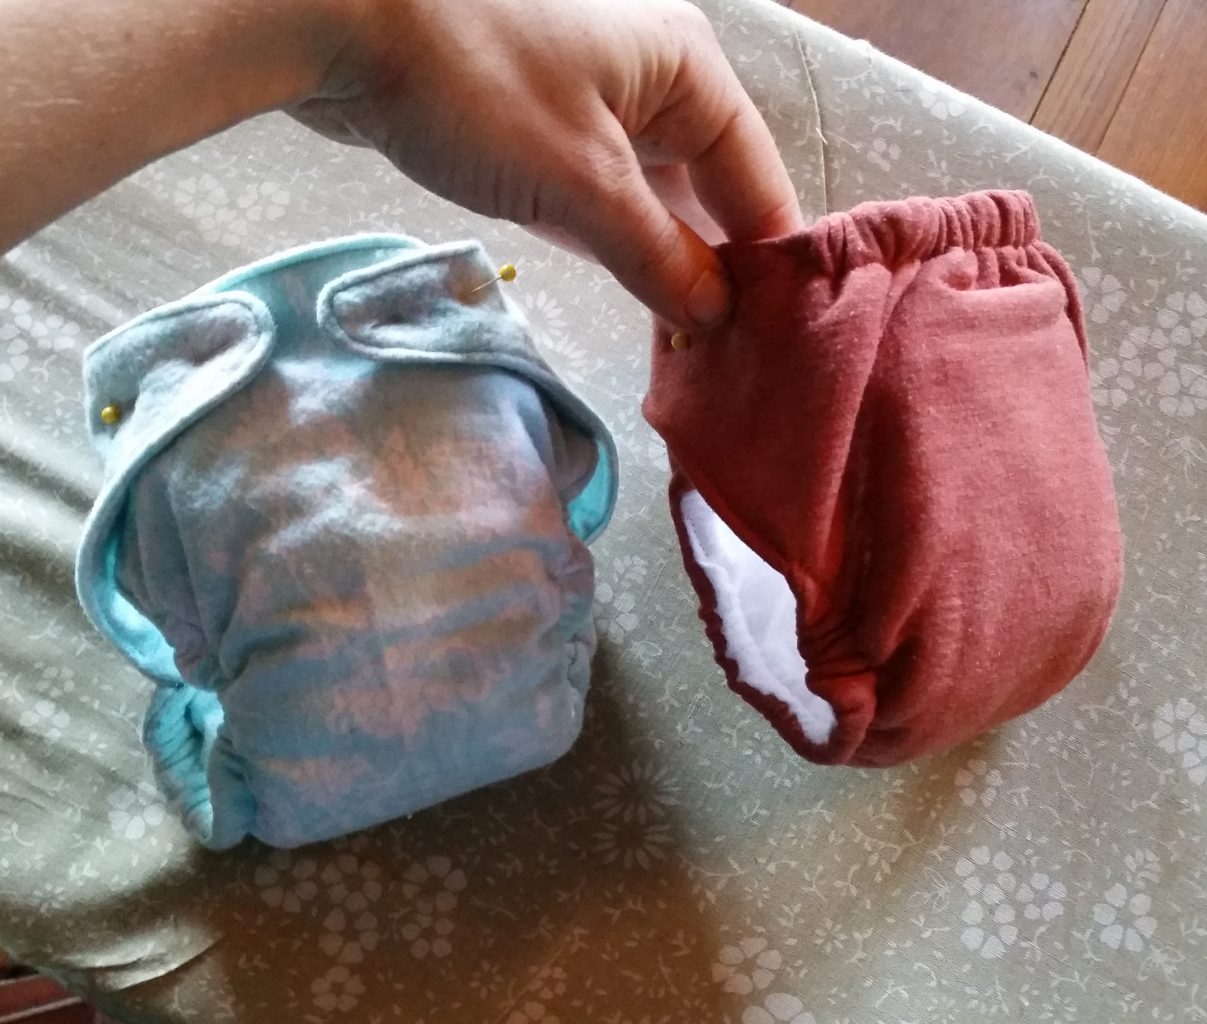
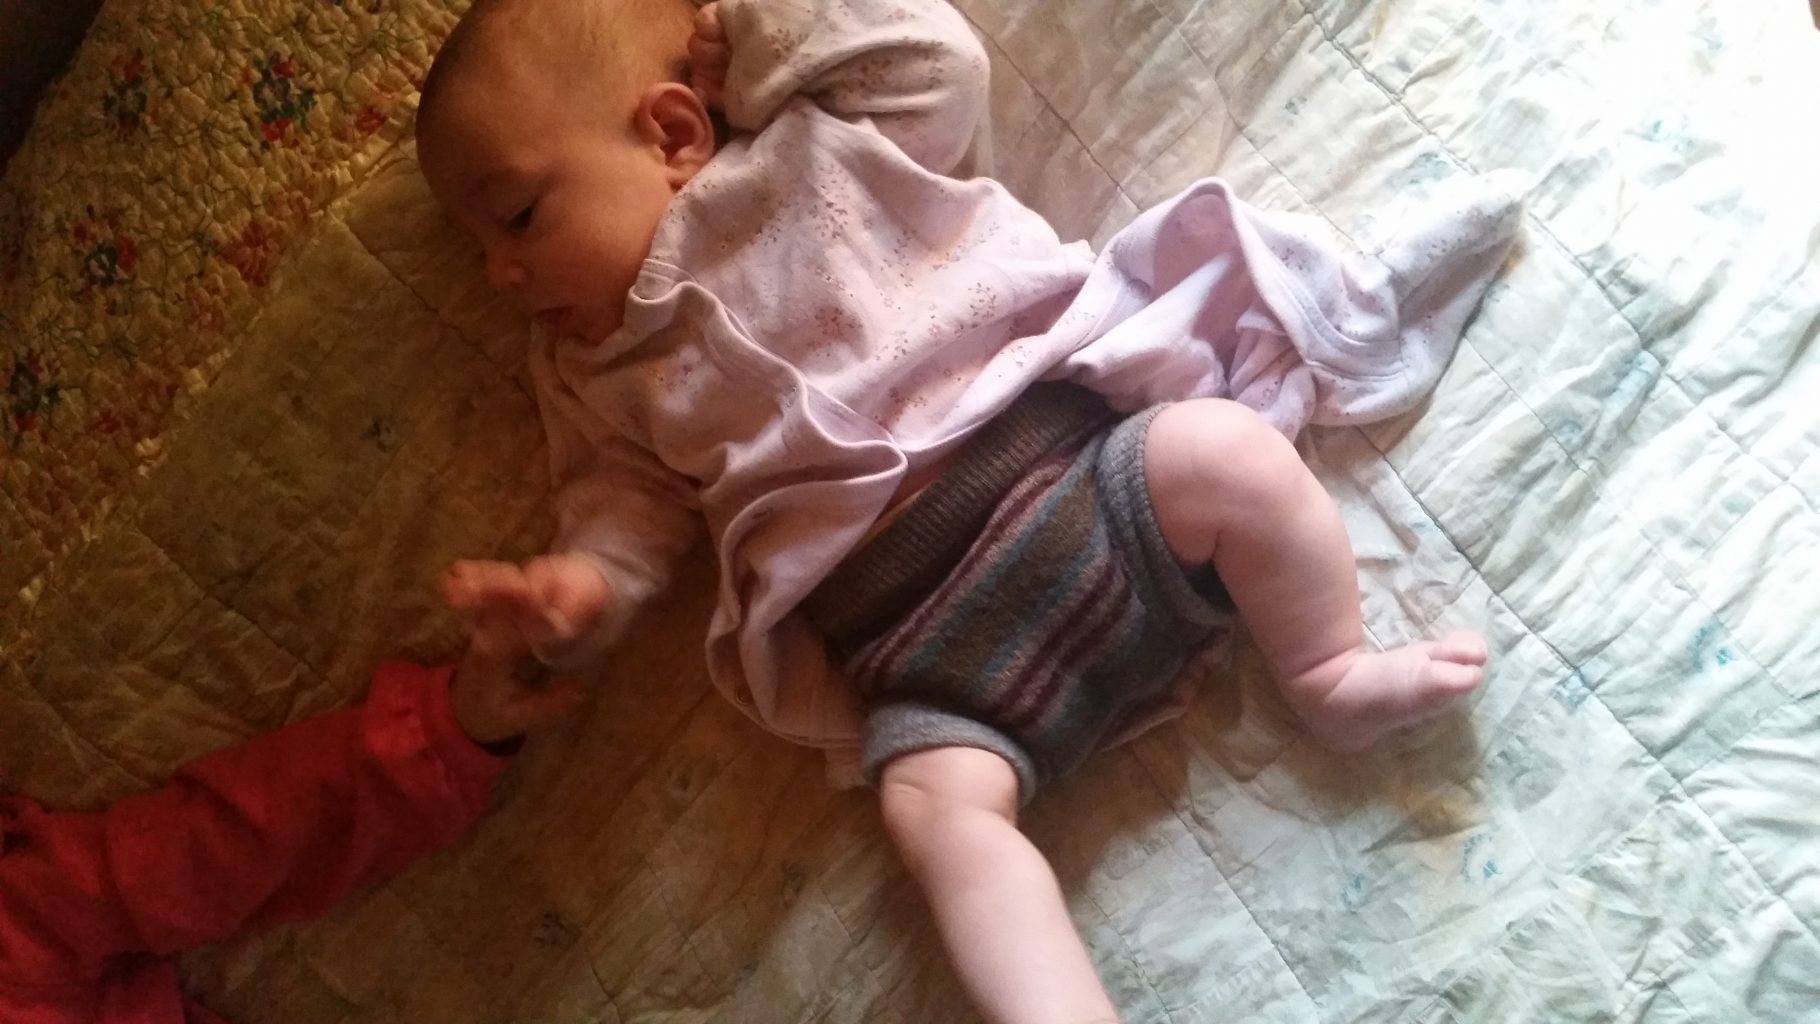
Here are a couple of the first diapers I made, the teeny newborn size.
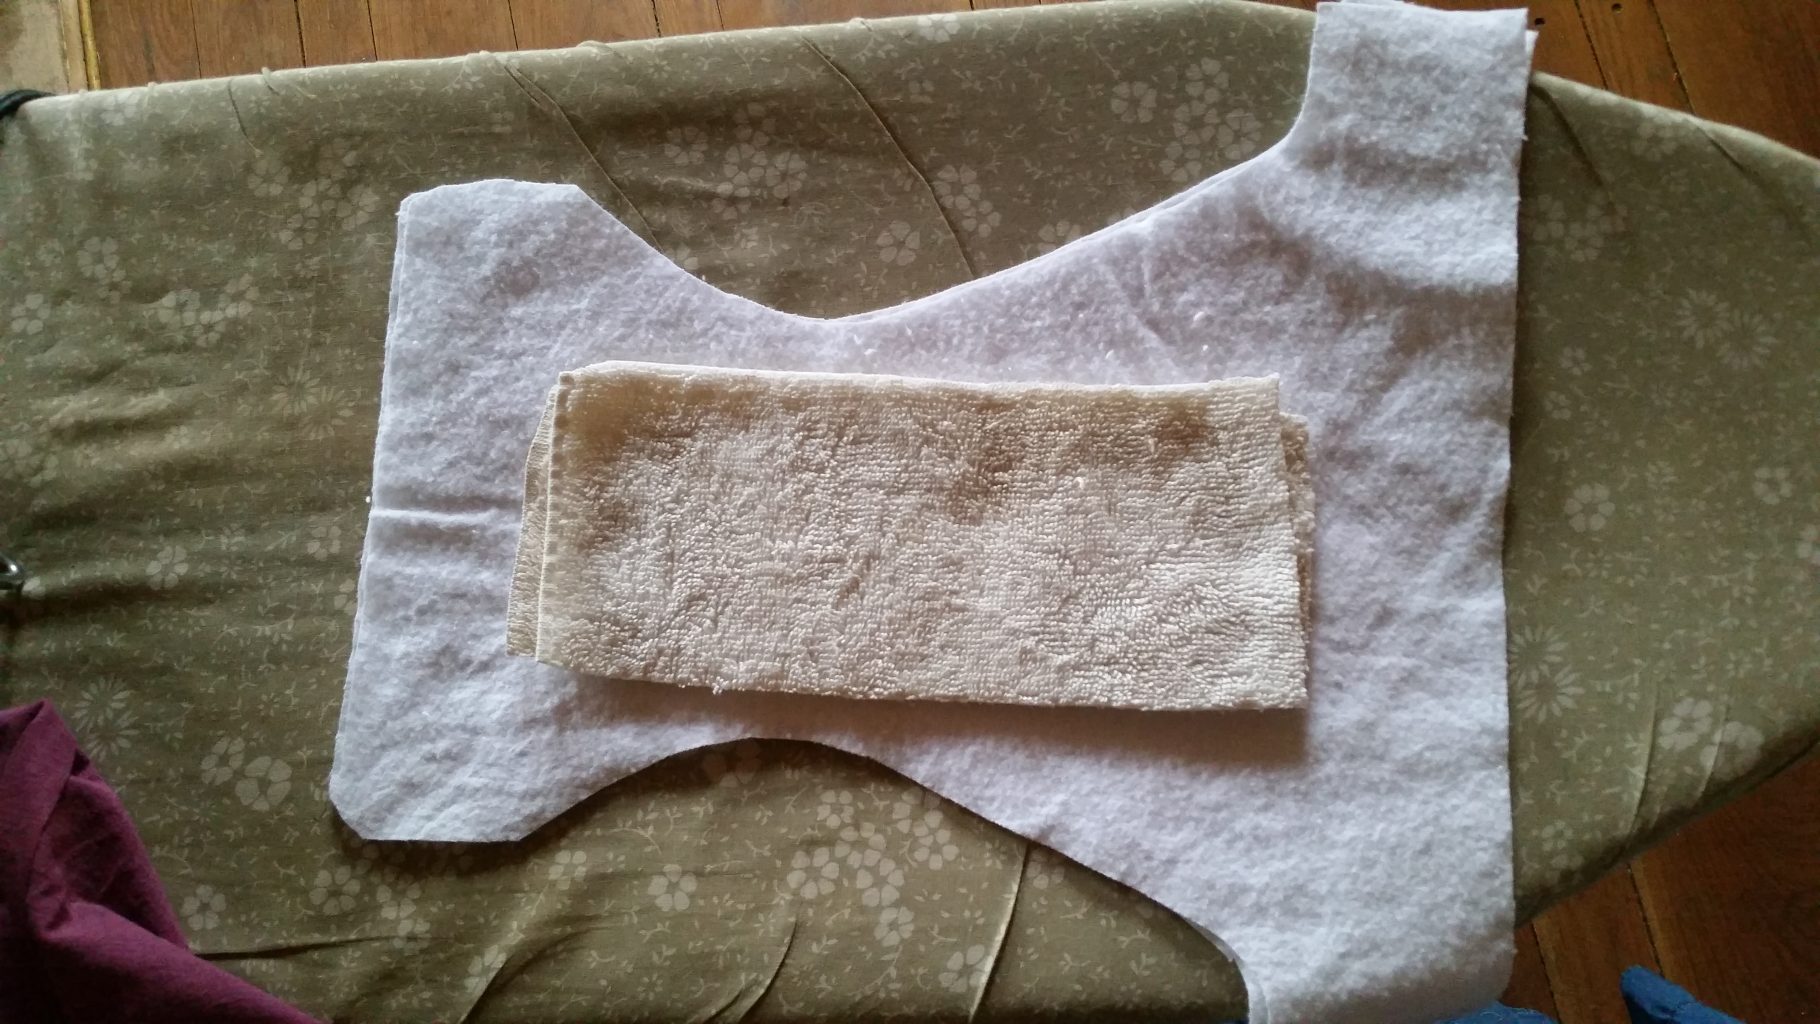
The diapers have layers of towels or other padding, then three layers of main fabric.
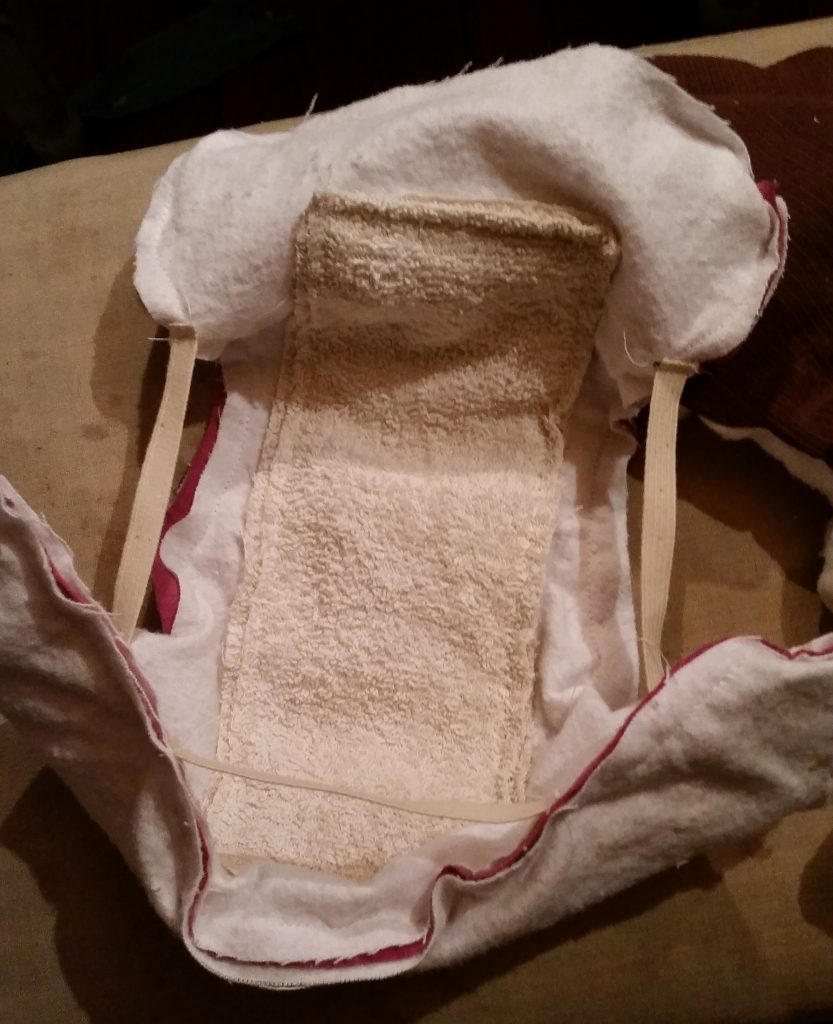
All layers are sewn flat together inside out and elastic is tacked on at points around the leg holes, and back of waist.
Then, the diapers are turned right side out and top stitched all around. Super easy and fast!
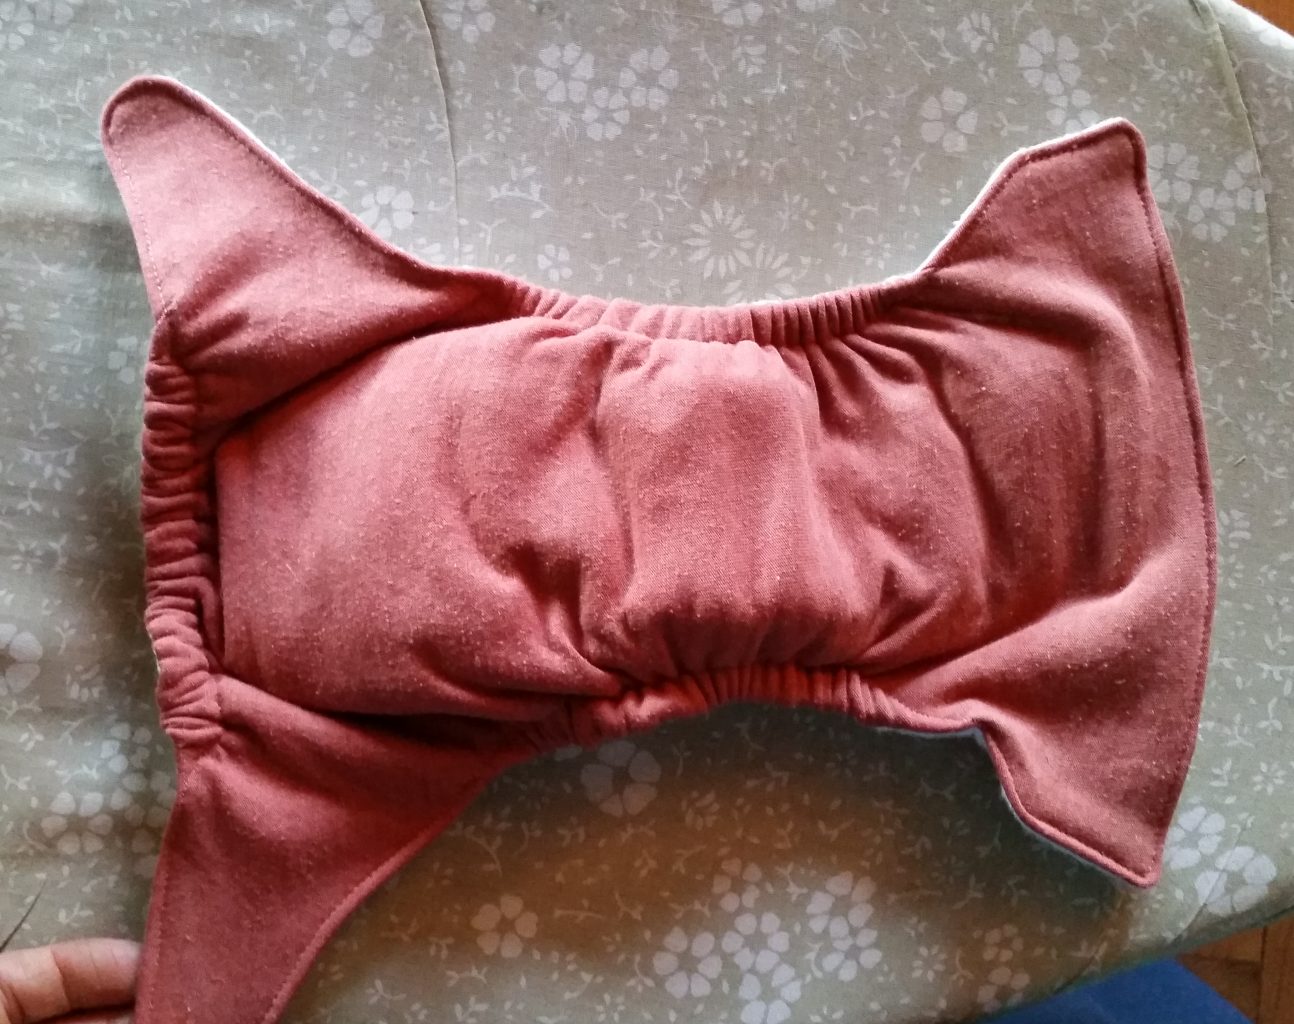
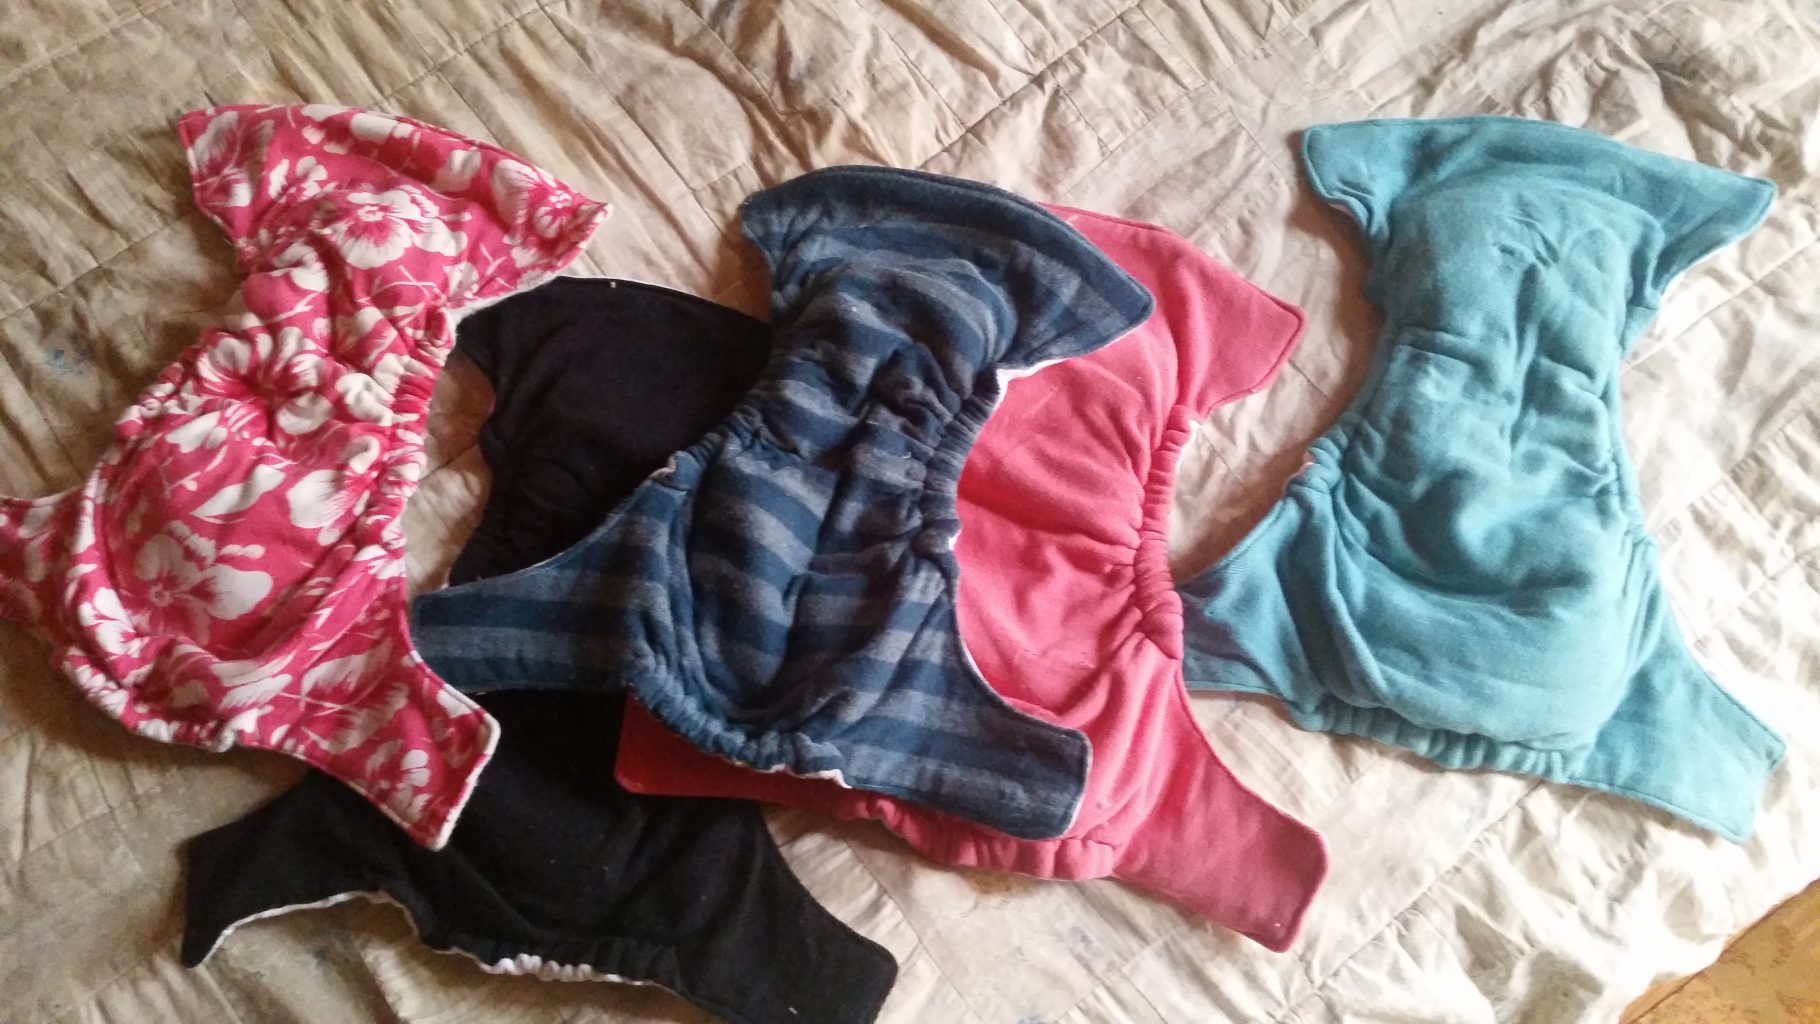
Outside diaper laying flat
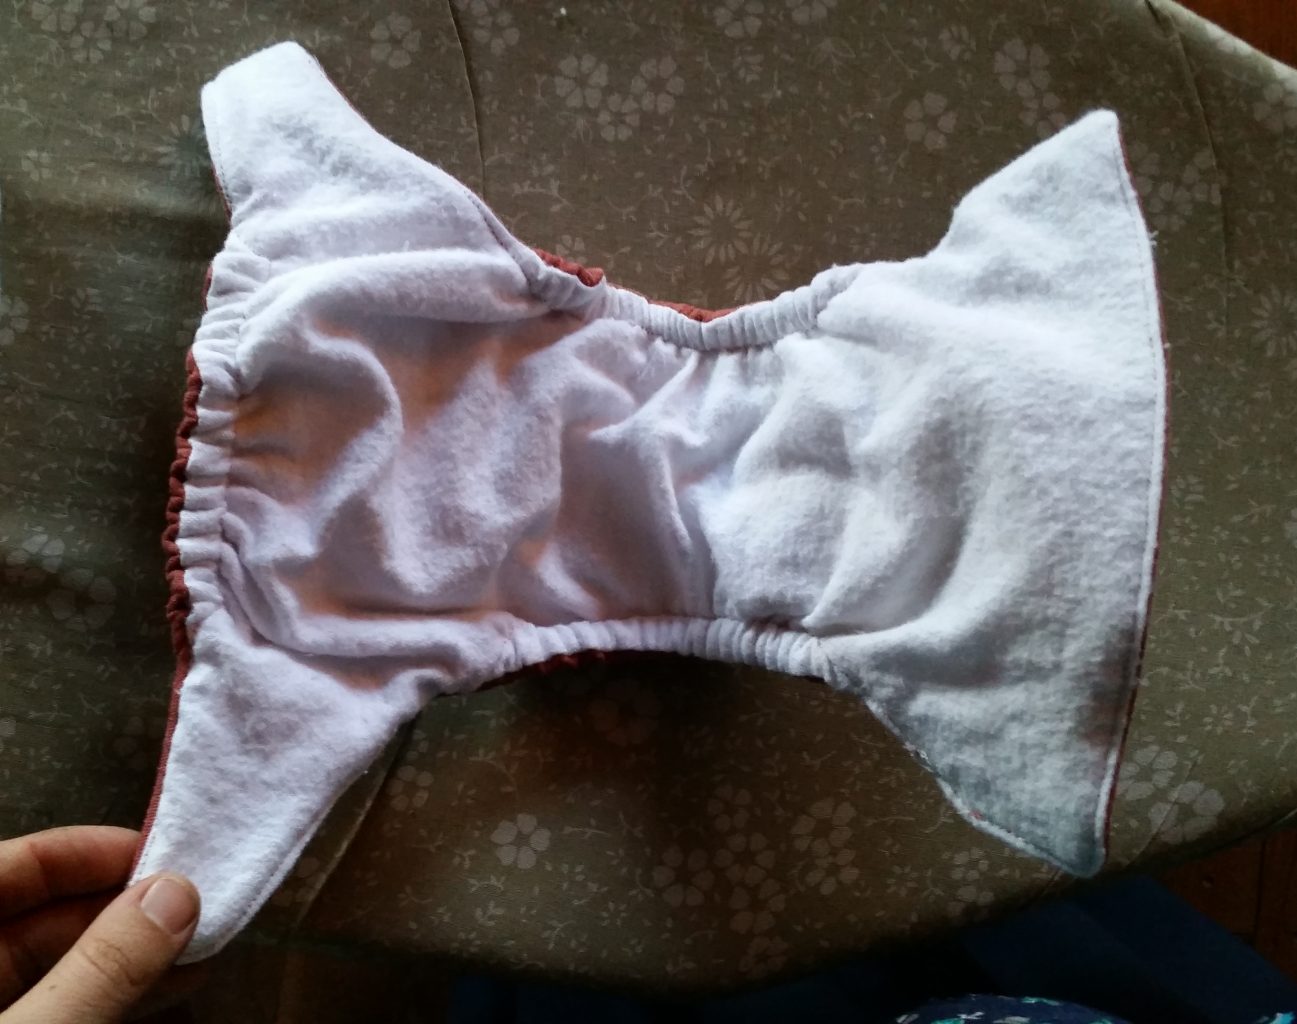
Inside diaper laying flat. I always use white fabric for the inside of the diapers so that any stains can bleach white again in the sun.
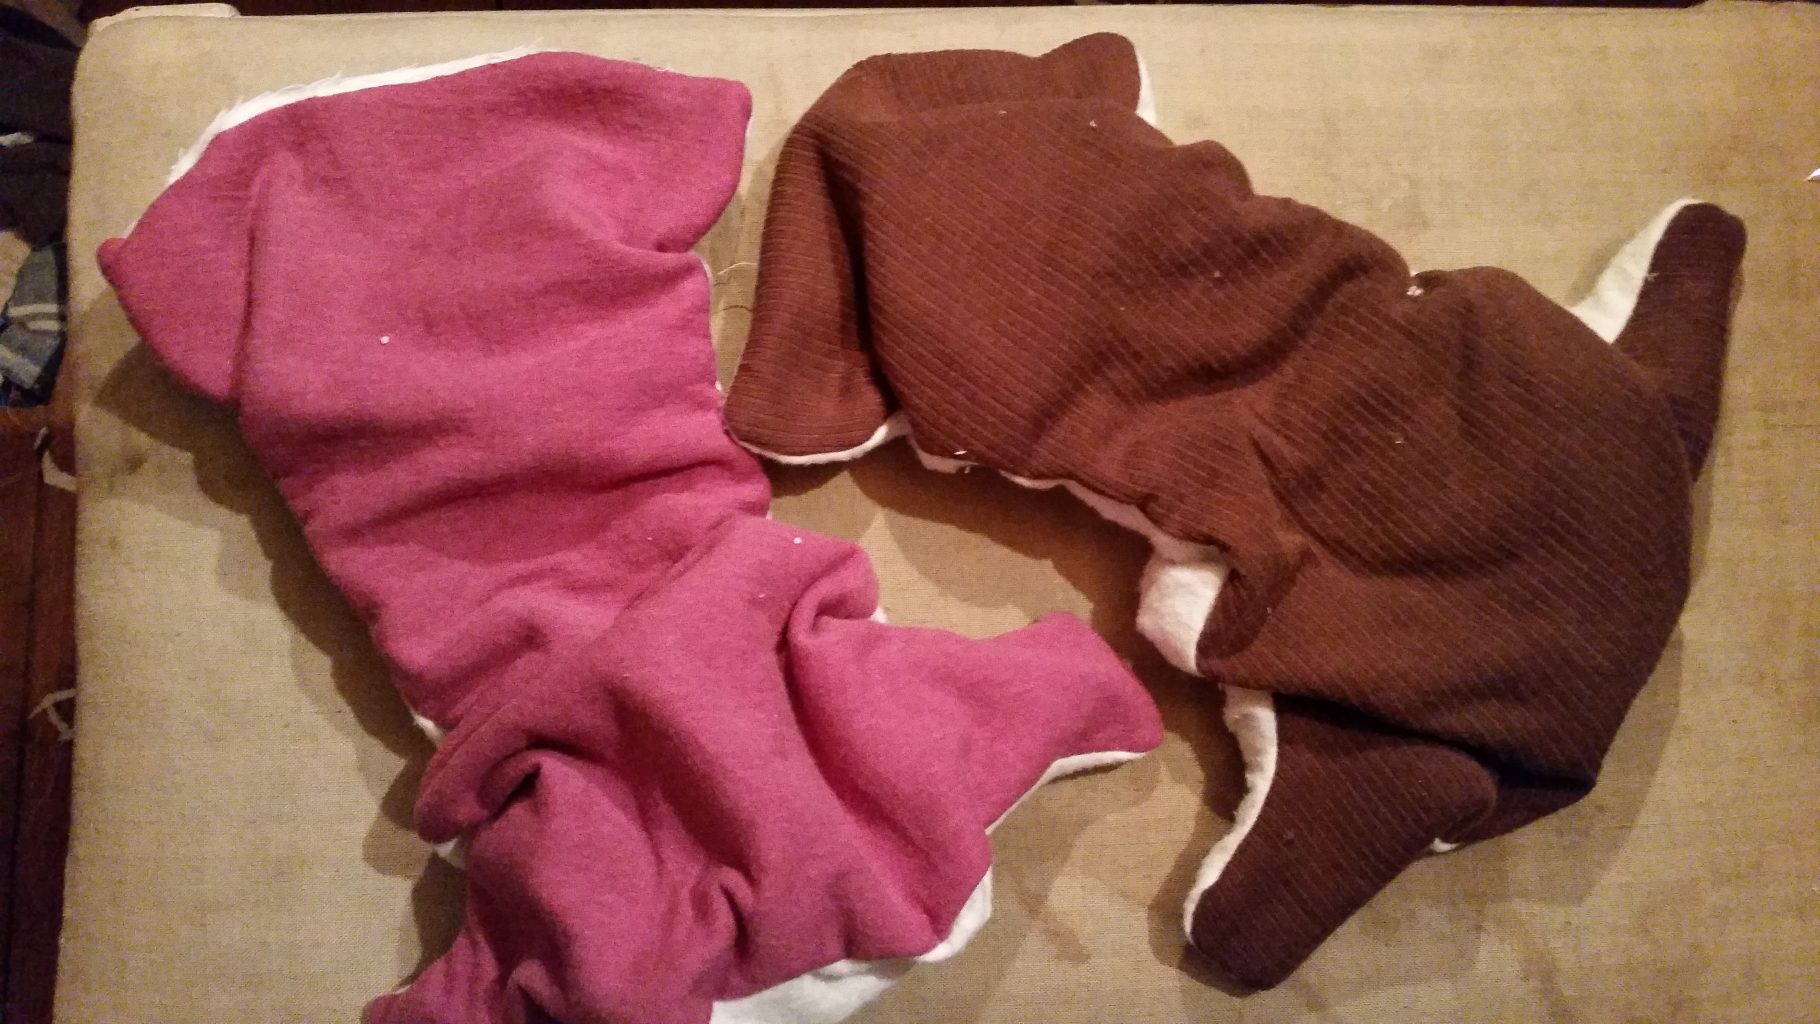
I started using old soft cotton t-shirts for the outside layer of the diapers. This fabric seems to work better than flannel for my fastening method. (see below) For the other two layers I used white cotton knit and white cotton flannel I bought. All the other supplies (old towels, elastic, old t-shirts) I either had on hand or was able to find for free.
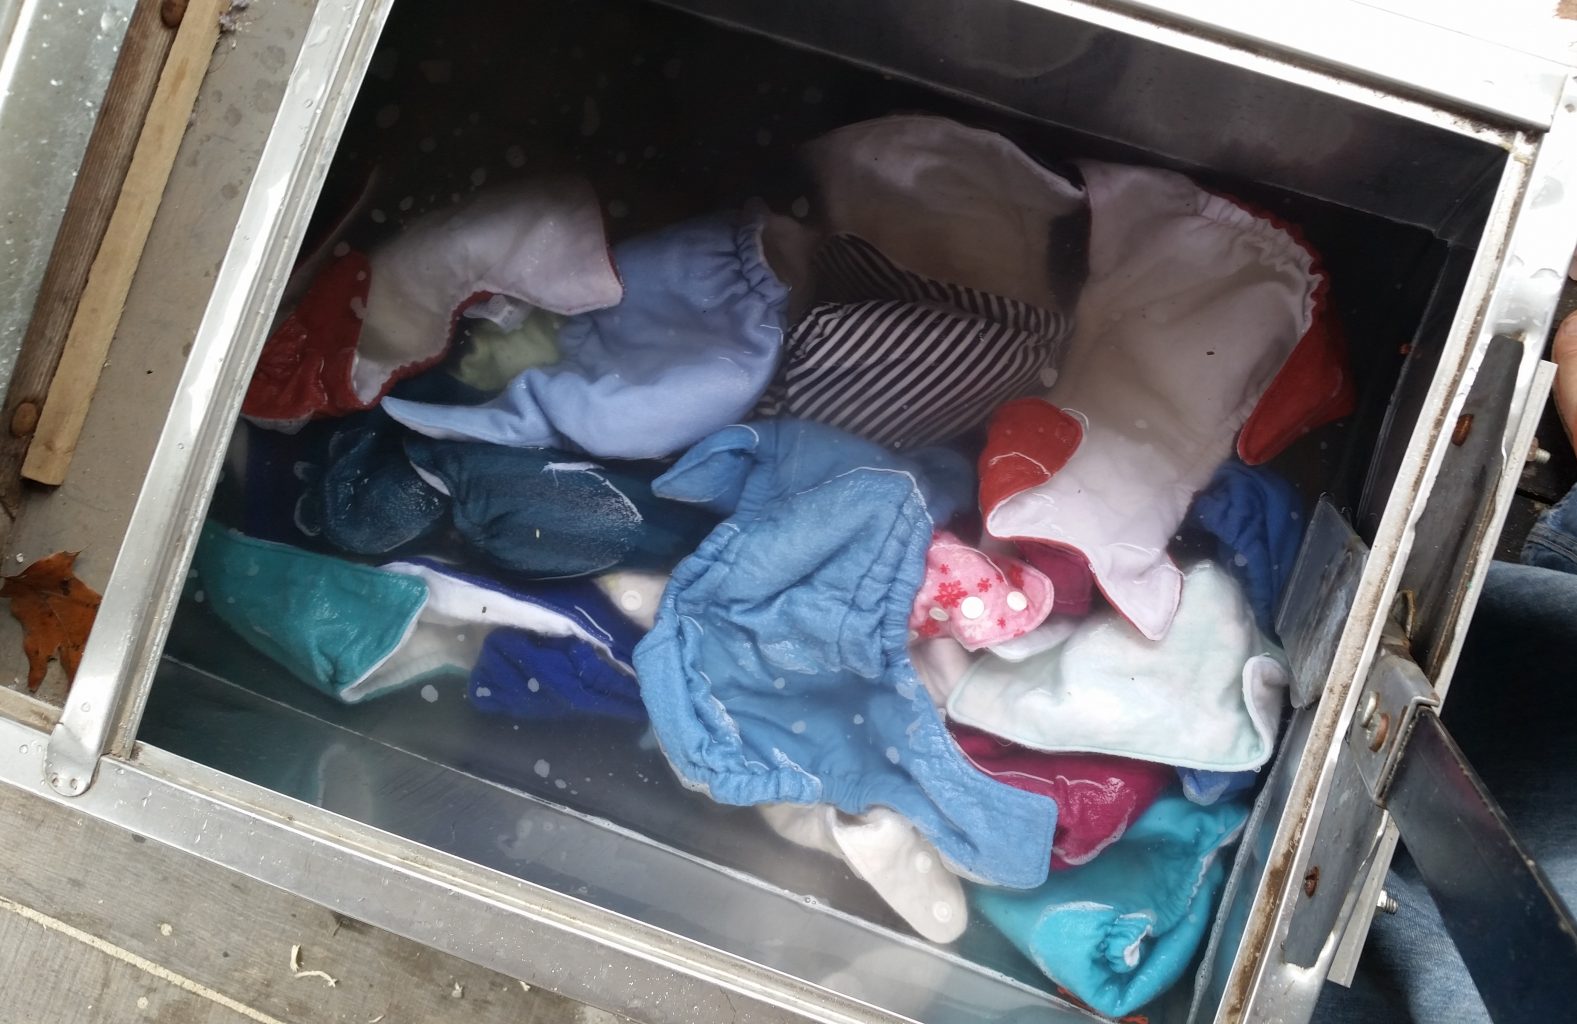
These diapers wash really well in my hand powered James washer. They are pretty slim, and don’t have any sewn on fasteners, so they can go through my wringer without any hang ups. They also dry on the line, or by the woodstove much faster than the store bought cloth diapers I used before.
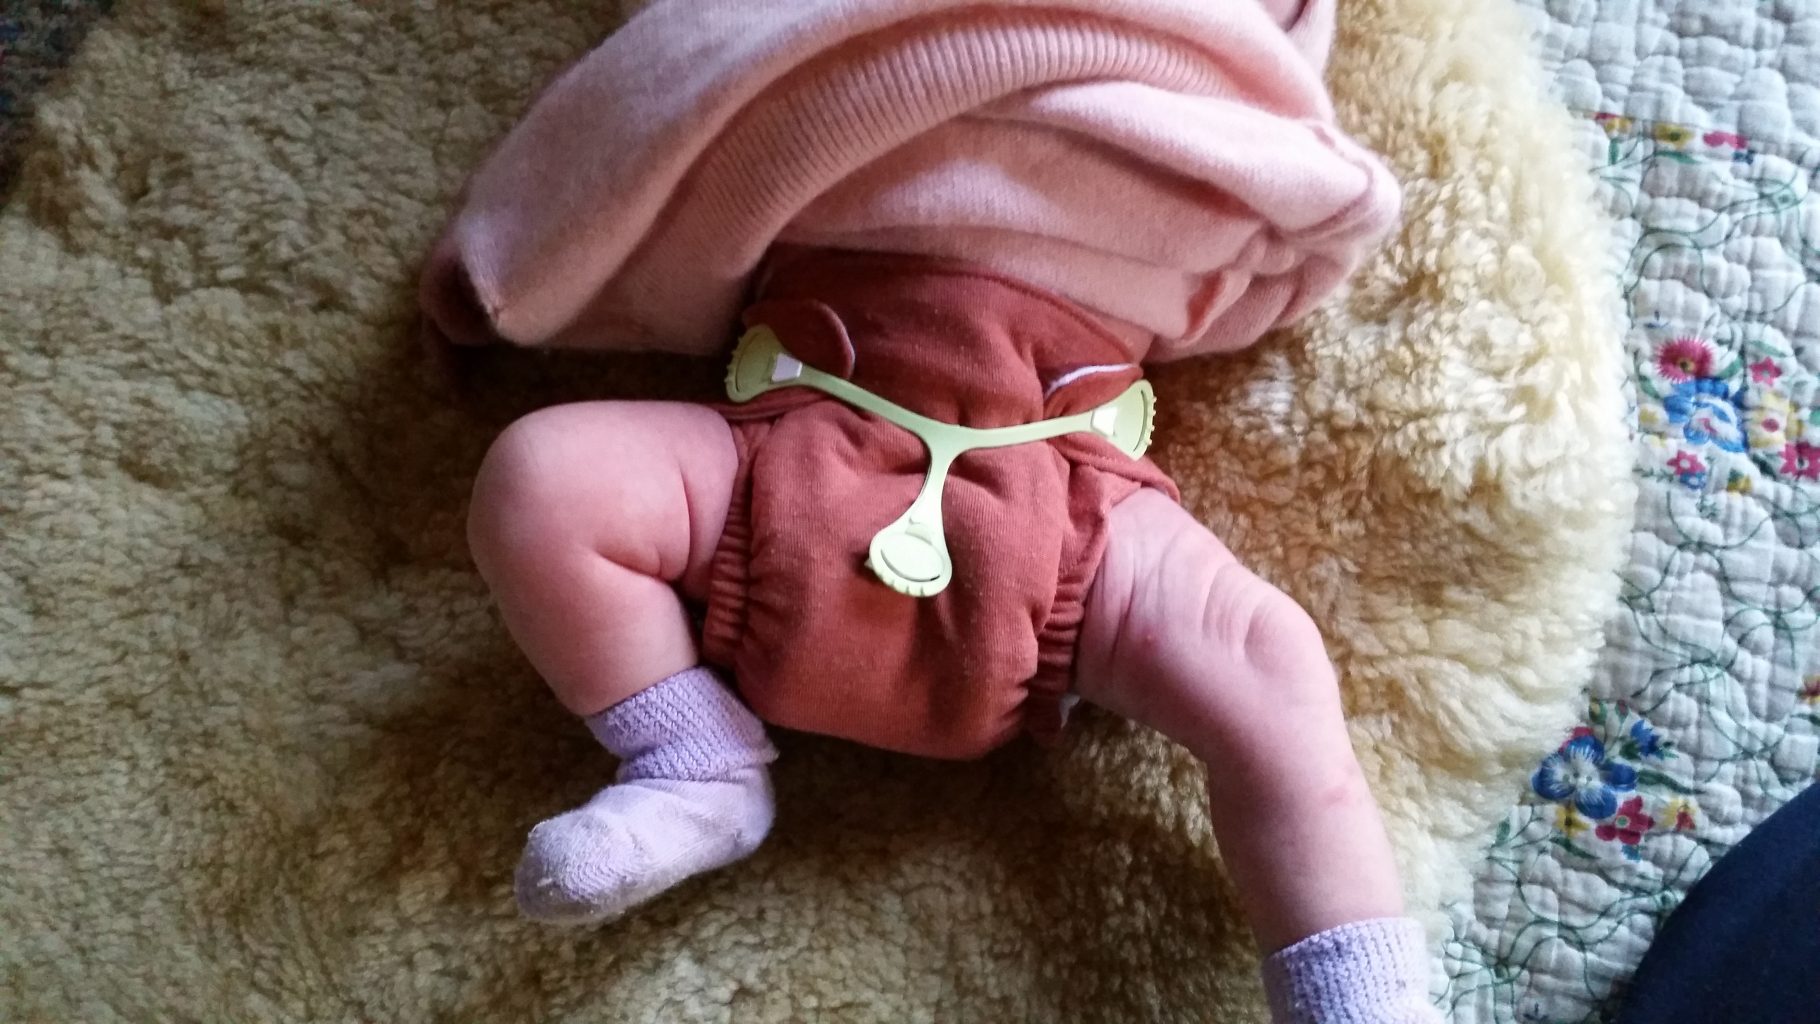
I decided not to use individual fasteners on each diaper, but to use these clever little things called ‘Snappis’ (also recommended by my neighbor). Much better than diaper pins!

Now, with cloth diapers there of course must be some outer layer to keep the diaper from soaking through to the clothing once it is wet. There are lots of different cover options available – I bought two waterproof Thirsties covers, that work pretty well, but I really don’t like anything plasticy next to my baby’s skin, plus they will start to have an odor if you aren’t very careful to wipe with the cover with a baby wipe between each change. I knew I also wanted to try wool covers, so I made several using thin old 100% wool sweaters that had been felted by washing and drying in a regular machine. I used this pattern.
Wool is amazing. I love that these covers are soft and natural, and do the job so well. Once these covers are sewn and finished, they should be’ lanolized’ . (basically just soaked in warm water while you rub lanolin into the fibers, I found a very helpful video tutorial on YouTube) Wool is already naturally somewhat water resistant, but treating with extra lanolin makes them amazingly so. I’ve never had them leak, even going overnight, and don’t have any smell. Another great thing is, these covers only have to be washed about once every two weeks, due to the natural neutralizing properties of the wool.
I am quite pleased with my cloth diapering system thus far. It makes me very happy that I have been able to make the items myself, which has saved us so much money! I’ve been enjoying the whole process much more than I thought I would – it’s much easier than I expected! I also wanted to write a bit about the infant potty training that I am doing with Elsie, but this is getting long already, so I will save that for another post!
![]()
I really enjoyed reading about your cloth diapering method! We’ve been using cloth diapers for my little one for over a year now and I really love them. We were able to use gift cards to buy almost all of ours, which was a huge blessing. I’d really like to try making my own diapers though, and I really like the pattern you used. Thanks for sharing that!
Very neat! When we realized that we could no longer afford to buy disposables for our first born, my mom bought me the Babyville Boutique pattern along with the PUL, snaps, and elastic needed for them. So all we had to cover was the cost of prefolds, which was about $60 for 25 diapers. I learned how to make covers start to finish in about 30 minutes each. When #2 was born, I pulled out some flat-folds my MIL had given us. Wipes were made out of any extra scrap of flannel I had laying around. With #3, I MIL was able to get me 10 pocket diapers with the snaps that allow them to grow. I really liked using those, and wish I could have had more than 10. After using those prefolds for about 4 years straight, they turned into sheds, and whenever #4 come along I’ll have to figure out some else. I like the pattern you linked too! I’ve never tried wool covers as I’m allergic to lanolin, and don’t know how my babies would respond to it either.
Thank you for sharing your pattern and ‘system’ (the snappis look neat!)
My husband and I aren’t quite at the baby stage yet but when we are I’m hoping to use cloth nappies and would love to make my own!
Congrats on your new wee family member ^.^
I love the diapers; they are so cute!
This was sor interesting – thank you for writing it! I don’t have any babies yet but am making some preparations for when we do (Lord willing). I love that you were able to reuse things you already have. I’ve got a question regarding the wool soakers – does lanolising the wool soften it any? My husband and I unfortunately both have sensitive skin (I couldn’t wear wool at all as a child because of scratching) and I imagine it’s likely our babies will too. Annoying because I have a bag of old jumpers I’ve been waiting to find something to do with!
Thank you!
Hi Katy!
The lanolin definitely makes the wool feel softer. If the jumpers that you have feel scratchy, you might trying thrifting for some 100% wool cashmere sweaters. I find those really often at Goodwill, and you can felt them and they are SO soft. I’ve made baby gowns from them before because they are just so snuggly. Good luck!